
Is your soap dispenser pump stuck or not working properly? It’s frustrating when you try to get soap and nothing comes out.
But before you toss it away or buy a new one, there’s good news—you can fix it yourself. With a few simple steps, you’ll save money and avoid the hassle of replacement. Keep reading, and you’ll learn easy tricks to bring your soap dispenser pump back to life in no time.
Your hands will thank you!
Credit: beautypluspacking.com
Common Soap Dispenser Issues
Soap dispensers are a simple convenience in many homes, but they can develop issues that interrupt your daily routine. Knowing the common problems can save you time and frustration. Let’s look at some typical soap dispenser troubles and how you might recognize them in your own device.
Pump Not Dispensing Soap
When you press the pump and nothing comes out, it’s easy to get annoyed. Often, air trapped in the tube or a clogged nozzle causes this problem.
Try removing the pump and rinsing it under warm water. This can clear out dried soap or debris blocking the flow. Have you checked if the soap inside is too thick? Thicker soaps may need dilution to flow properly.
Pump Stuck Or Jammed
If the pump feels stuck or won’t press down smoothly, it might be jammed. This usually happens when soap dries and hardens around the pump mechanism.
Soaking the pump in warm water for a few minutes can loosen the hardened soap. Gently wiggle the pump back and forth to free it. Remember, forcing it too hard can break the pump, so be patient and careful.
Leaking Soap Dispenser
Soap leaking from your dispenser can create a sticky mess. This often occurs if the pump’s seal is damaged or if the dispenser is overfilled.
Check the seal around the pump and replace it if you see cracks or wear. Make sure you don’t fill the dispenser beyond the recommended level to avoid pressure buildup. Could you try placing a small tray underneath to catch drips while you troubleshoot?

Credit: beautypluspacking.com
Tools And Materials Needed
Fixing a soap dispenser pump needs the right tools and materials. Having these ready makes the process easier. It helps to avoid extra trips to the store. This section lists the essentials for a smooth repair.
Basic Household Tools
- Screwdriver (flathead and Phillips)
- Pliers
- Utility knife
- Small bowl or container
- Towel or cloth for spills
Cleaning Supplies
- Warm water
- Mild dish soap
- Old toothbrush or small brush
- White vinegar
- Paper towels or soft cloth
Replacement Parts
- New pump mechanism (if broken)
- Spring (if worn out)
- O-ring or rubber seal
- Tube or straw for soap
Step-by-step Repair Process
Repairing a soap dispenser pump might seem tricky, but breaking it down into clear steps makes the process manageable. Each part plays a role in the pump’s function, so careful attention during repair can save you from buying a new dispenser. Let’s walk through what you need to do to get your pump working smoothly again.
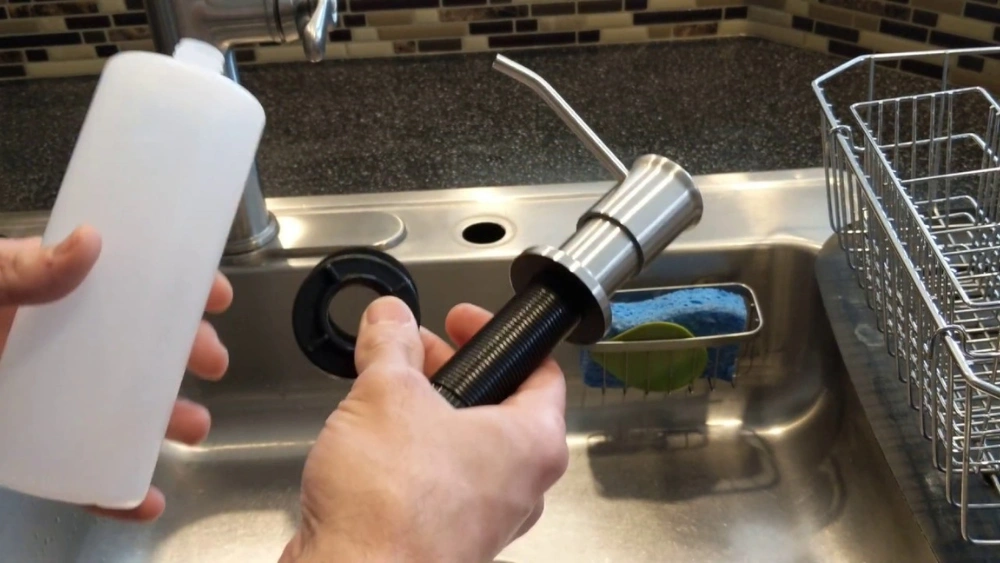
Disassembling The Pump
Start by removing the pump from the soap bottle. Twist the pump head counterclockwise to unscrew it. If it feels stuck, try applying gentle pressure while turning to avoid breaking the plastic.
Once off, carefully pull apart the visible parts of the pump. Some models have a spring inside, so be ready for it to pop out. Keep all pieces in a small bowl to avoid losing anything.
Cleaning The Components
Soap residue can harden inside the pump, causing it to clog. Soak the disassembled parts in warm water mixed with a little vinegar or mild dish soap for about 15 minutes. This helps dissolve dried soap and grime.
Use a soft brush, like an old toothbrush, to scrub the small parts gently. Pay special attention to the nozzle and the spring area where buildup often occurs. Rinse everything thoroughly under warm running water.
Clearing Clogs And Blockages
If the pump still feels stuck after cleaning, check for stubborn blockages inside the tube or nozzle. Insert a thin wire or a needle to carefully push out any debris. Be cautious not to damage the plastic tubing.
Another trick is to blow air through the tube to dislodge hidden clogs. Have you noticed your pump struggling after switching soap brands? Sometimes thicker soaps require extra clearing to flow properly.
Lubricating Moving Parts
Dry or stiff springs and seals can stop the pump from working smoothly. Apply a small amount of food-safe silicone lubricant or petroleum jelly to the moving parts. Avoid using too much—it only needs a light coating to reduce friction.
This simple step can revive a pump that feels sticky or hard to press. Do you feel the difference after lubrication? Your hands will thank you for the smoother action.
Reassembling The Pump
Put all parts back together carefully, starting with the spring if your model has one. Make sure each component fits snugly in its place. Screw the pump head back onto the bottle securely but don’t overtighten.
Test the pump by pressing it several times to check the soap flow. If it’s still not working right, revisit the earlier steps—sometimes a part wasn’t cleaned or positioned correctly. Persistence pays off with a well-functioning soap dispenser.
-201040-p.jpg?w=500&h=500&v=752B83AA-6278-47CE-B140-E3C7F71E33C5)
Credit: www.bathroomspareparts.co.uk
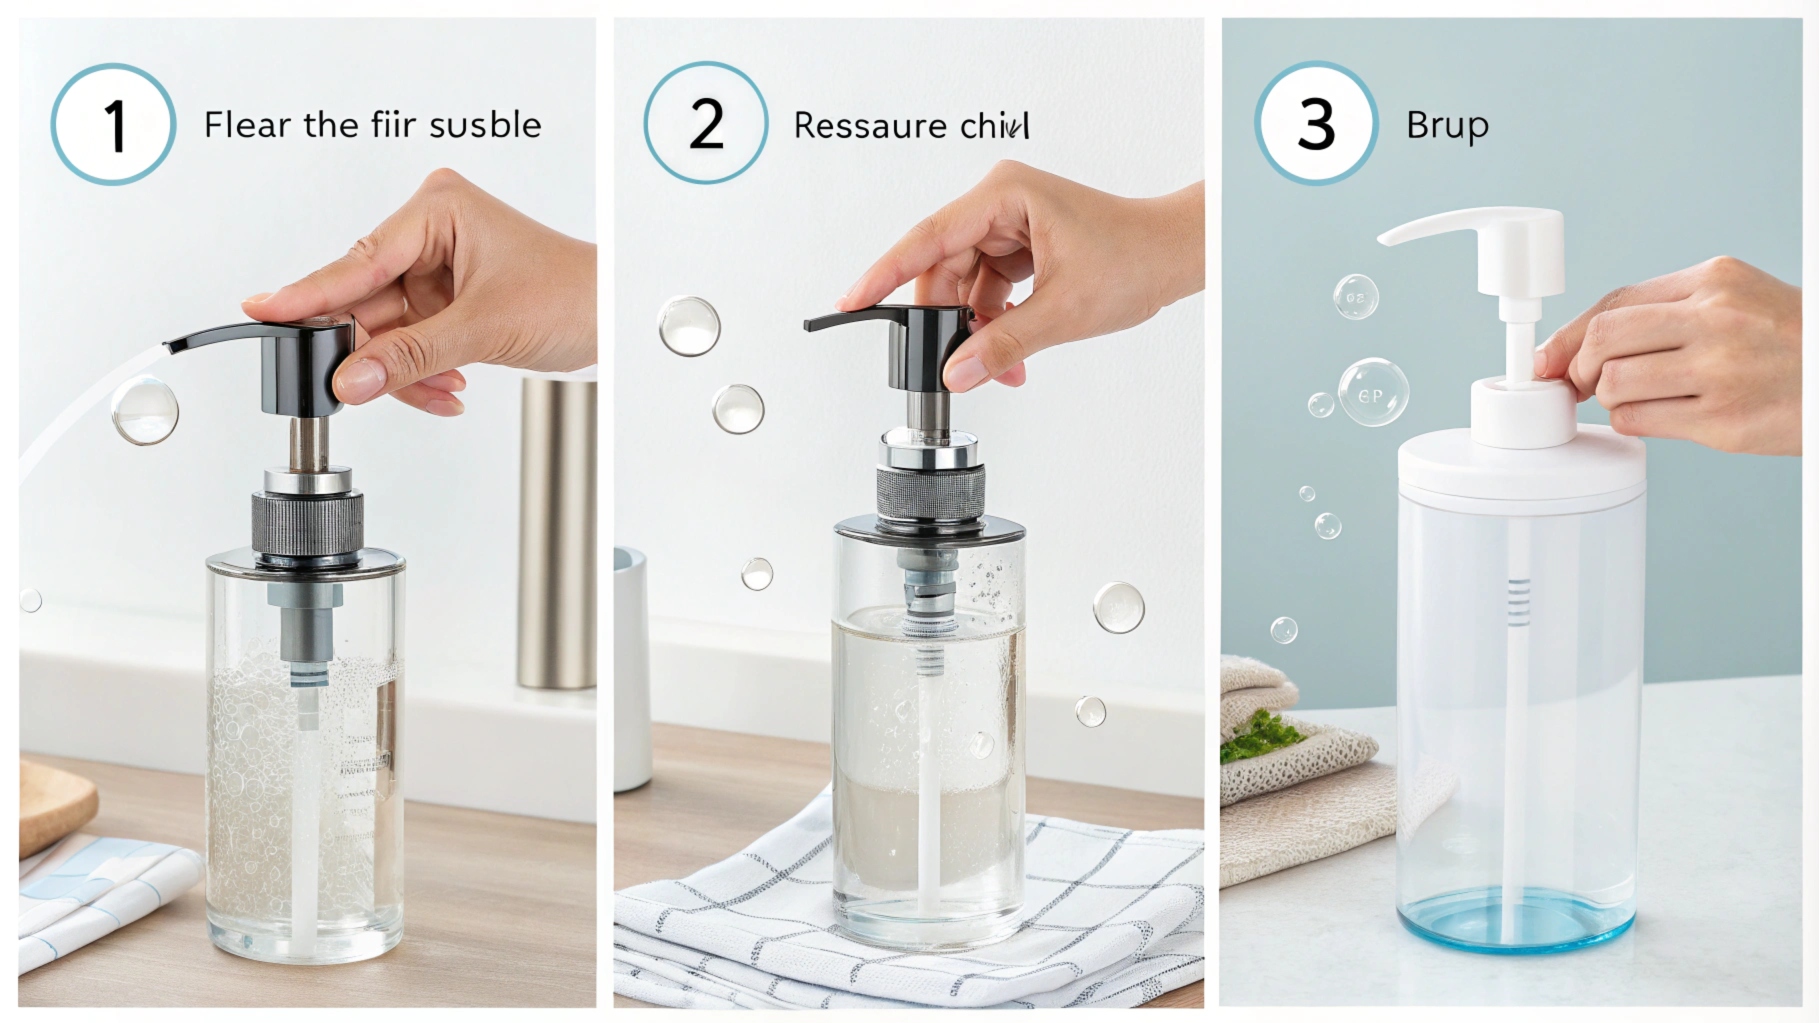
Testing The Soap Dispenser
Check if the soap dispenser pump releases soap smoothly by pressing it several times. Listen for any unusual sounds or resistance that may show a clog or broken part. Testing helps find the problem before fixing the pump.
Testing the soap dispenser ensures it works efficiently and dispenses soap smoothly. After repairing the pump, it’s crucial to test its operation. This helps in identifying any remaining issues and guarantees a hassle-free experience.Checking For Smooth Operation
Ensure the pump moves without resistance. Press down on the pump and release. It should return to its original position smoothly. If you feel any stiffness, recheck the alignment. Misaligned components can hinder smooth operation. Lubricate moving parts if necessary.Ensuring Proper Soap Flow
Fill the dispenser with soap. Push the pump to see if soap comes out. There should be a steady stream. If the soap dribbles or doesn’t flow, inspect the nozzle. Blockages in the nozzle can restrict flow. Clean it thoroughly using warm water.Fixing Remaining Issues
Identify any persistent problems during testing. If the pump still sticks, inspect the springs. Weak or damaged springs can cause sticking. Replace them if needed. For inconsistent soap flow, check for air bubbles. Air bubbles disrupt soap dispensing. Prime the pump by pressing multiple times. This helps remove trapped air.Preventive Maintenance Tips
Preventive maintenance can save you time and frustration by keeping your soap dispenser pump working smoothly. Small habits and simple care routines often prevent common issues before they start. Let’s look at practical tips you can apply right now to extend the life of your soap dispenser pump.
Regular Cleaning Schedule
Set a weekly or biweekly cleaning routine for your soap dispenser. Soap residue and dirt build-up can clog the pump mechanism quickly, making it hard to use. Rinse the pump with warm water and wipe down the nozzle to keep it clear.
Occasionally, soak the pump in warm water mixed with a little vinegar to dissolve stubborn soap deposits. This simple step can prevent blockages that stop the pump from working. Have you noticed your pump getting sticky or slow? Cleaning it regularly can fix that before you need a full repair.
Using Compatible Soap Types
Not all soaps work well with every dispenser. Thick or chunky soaps can clog the pump or cause it to jam. Choose liquid soaps with a smooth consistency to keep the pump operating smoothly.
Check the soap label for any warnings about dispenser compatibility. If you switch soap brands, test the pump to see if it still works well. Your dispenser will thank you by lasting longer and needing fewer fixes.
Avoiding Common Mistakes
Many people unknowingly damage their soap dispenser pumps with everyday habits. Avoid pressing the pump too hard; gentle, steady pressure works best. Over-pumping can wear out the spring mechanism faster.
Don’t fill the dispenser too full. Overfilling can cause leaks or soap to get trapped inside the pump. Also, avoid mixing different soaps in the dispenser, which can cause clogs or chemical reactions.
Have you ever forced a stuck pump? Try soaking it first—force often causes more damage. Small changes in how you use your soap dispenser can make a big difference in its lifespan.
When To Replace The Pump
Knowing when to replace your soap dispenser pump can save you time and frustration. Sometimes, a simple fix won’t do because the pump is beyond repair. Recognizing the right moment to switch to a new pump helps keep your sink area functional and clean without unnecessary hassle.
Signs Of Irreparable Damage
Is your pump leaking soap even after cleaning? Persistent leaks often mean the internal seals are worn out. Another clear sign is when the pump no longer springs back after pressing, making it impossible to dispense soap properly.
Cracks in the pump housing or a broken nozzle also suggest it’s time for a replacement. If you notice rust or corrosion, especially on metal parts, the damage usually runs too deep to fix. Have you tried cleaning and lubricating the pump without success? That’s a strong hint the pump’s mechanics have failed.
Choosing A New Pump
Look for a replacement pump that matches your dispenser’s size and style. Pumps vary in length and diameter, so measure your old one before buying. Consider the soap type you use, too—some pumps handle thick lotions better than others.
Material matters as well. Plastic pumps resist corrosion, while stainless steel options offer durability and a sleek look. Don’t overlook customer reviews; they often reveal how well a pump performs over time.
Installation Tips
Before installing, clean the dispenser neck thoroughly to ensure a tight seal. Screw the new pump on gently but firmly—over-tightening can cause cracks. Pump the soap a few times to prime it and check for leaks.
If the pump feels stiff or doesn’t dispense smoothly, try loosening it slightly or adjusting the tube inside. Keep a small towel handy to wipe any spills during the process. Have you ever found that a simple twist or repositioning solved your pump issues? Sometimes, small tweaks make a big difference.
Frequently Asked Questions
How Do I Fix A Soap Dispenser Pump That Won’t Pump?
Clean the pump mechanism to remove clogs or dried soap. Soak it in warm water and use a pin to clear the nozzle. Reassemble and test to ensure smooth pumping action.
Why Is My Soap Dispenser Pump Stuck?
A stuck pump usually means dried soap or debris blockage. Soak the pump in warm water and gently work the plunger until it moves freely.
Can I Replace The Soap Dispenser Pump Part?
Yes, most pumps are replaceable. Purchase a compatible pump online or at a store. Follow instructions to install the new pump easily.
How Do I Unclog A Soap Dispenser Nozzle?
Use warm water to soak the nozzle and a thin needle to clear any blockage. Repeat until soap flows smoothly.
Conclusion
Fixing a soap dispenser pump can save time and money. Small problems like clogs or broken springs cause most issues. Cleaning and simple repairs often bring it back to life. Regular care helps prevent future trouble. Try these easy steps before buying a new dispenser.
A working pump makes washing hands easier and cleaner. Keep your soap dispenser ready for daily use. Simple fixes often work better than replacement. Give your dispenser a quick check today.