
Are your kitchen cabinets starting to peel and look worn out? This can make your whole kitchen feel old and neglected, even if everything else is spotless.
But don’t worry—you don’t have to replace your cabinets or spend a fortune to fix this problem. You’ll discover simple, effective ways to restore your peeling kitchen cabinets and bring back their fresh, clean look. Keep reading, and you’ll learn easy steps that anyone can follow to save your cabinets and improve your kitchen’s appearance right now.

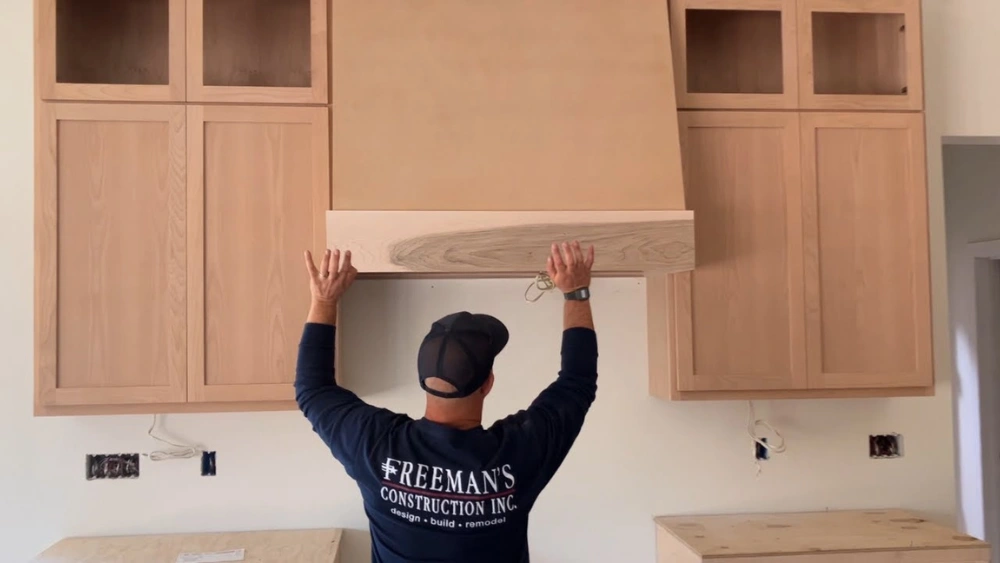
Credit: www.facebook.com
Causes Of Peeling Cabinets
Peeling kitchen cabinets can be frustrating, especially when you want your space to look clean and well-maintained. Understanding what causes the peeling is the first step to fixing the problem effectively. Let’s break down the common reasons why your cabinets might be peeling and what signs to watch for.
Moisture Damage
Moisture is a major enemy of kitchen cabinets. If you notice peeling near the sink or dishwasher, moisture could be seeping into the cabinet surfaces. Over time, water causes the paint or veneer to lift and separate from the wood underneath.
Have you checked for leaks or poor ventilation in your kitchen? Even small amounts of trapped moisture can cause significant damage. Addressing moisture issues early can save you from more expensive repairs later.
Poor Adhesion
Sometimes cabinets peel because the paint or finish didn’t stick well in the first place. This happens when surfaces aren’t cleaned properly before painting or when low-quality paint is used. Dust, grease, or old paint layers can prevent new coats from adhering.
Did you ever paint a surface without prepping it properly and then watch the paint peel off? That’s exactly what happens with cabinets lacking proper surface preparation. Ensuring good adhesion is key to a lasting finish.
Age And Wear
Even the best cabinets show signs of wear over time. Constant opening, closing, and exposure to kitchen activities gradually break down finishes. The older the cabinets, the more likely the paint or laminate will crack and peel.
Think about how often you use your kitchen daily. Wear and tear from everyday use can slowly damage surfaces without you noticing until peeling starts. Regular maintenance can help extend the life of your cabinets and keep peeling at bay.

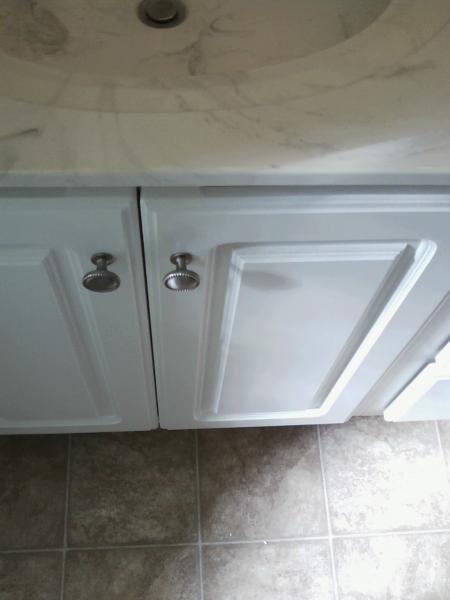
Credit: www.facebook.com
Tools And Materials Needed
Fixing peeling kitchen cabinets requires the right set of tools and materials to get the job done smoothly. Having everything ready before you start saves time and frustration. Let’s break down what you’ll need so you can tackle the repair like a pro.
Essential Tools
- Screwdriver:To remove cabinet doors and hardware easily.
- Putty Knife:Perfect for scraping off loose or peeling paint or veneer.
- Sandpaper:Various grits (120 to 220) to smooth surfaces before painting or refinishing.
- Paintbrushes or Foam Brushes:For applying primer, paint, or sealant evenly.
- Utility Knife:Useful for trimming peeling edges or cutting new veneer pieces.
- Clamps:To hold pieces firmly in place if you’re gluing veneer back on.
- Drop Cloths:Protect your floors and countertops from dust and spills.
Recommended Materials
- Wood Filler or Putty:Fills in cracks or gouges before sanding and painting.
- Primer:Ensures paint adheres well and lasts longer on your cabinets.
- Paint or Stain:Choose a durable finish designed for kitchen cabinets, such as semi-gloss or satin.
- Veneer Sheets or Contact Paper:For replacing or covering peeled sections with a fresh look.
- Wood Glue:Strong adhesive to reattach peeling veneer or loose trim.
- Clear Sealant or Polyurethane:Adds a protective layer to keep cabinets looking new longer.
Have you checked your toolbox lately to see if you have these items? Sometimes, missing just one key tool can turn a quick fix into a long, frustrating project. Gathering everything beforehand sets you up for success and helps you focus on the repair itself.
Preparing The Cabinets
Preparing your kitchen cabinets properly is the key to fixing peeling surfaces that last. Skipping this step often leads to the paint or finish peeling again, wasting your time and effort. Taking time to clean and sand creates a smooth, clean base that helps new paint or finish stick firmly.
Cleaning The Surface
Start by removing all dirt, grease, and grime from the cabinet surfaces. Use a mixture of warm water and mild dish soap with a soft cloth or sponge. Avoid harsh chemicals that can damage the wood or existing finish.
After washing, rinse thoroughly with clean water and dry completely with a towel. Any leftover dirt or moisture will prevent paint or primer from adhering properly. Have you ever painted a surface only to see bubbles or peeling days later? Cleaning is the step that prevents that.
Sanding Peeling Areas
Once the cabinets are clean and dry, focus on sanding the peeling spots. Use medium-grit sandpaper (around 120-150 grit) to gently remove the peeling paint or finish. Sand until the edges of the peeling area are smooth and feathered into the surrounding surface.
This process also roughens the surface slightly, which helps new paint stick better. Remember to wear a mask to avoid inhaling dust. Don’t rush sanding—taking your time here will save you from having to redo the work later.
Credit: www.doityourself.com
Fixing Small Peeling Spots
Small peeling spots on kitchen cabinets can quickly catch your eye and make the entire space look worn out. Fixing these minor blemishes is easier than you might think and can save you from costly replacements. Addressing these spots promptly also prevents further damage and helps maintain your cabinets’ charm.
Using Wood Filler
Wood filler is a simple and effective way to repair tiny peeling areas. Start by gently sanding the peeling spot to remove loose paint and smooth the surface. Then, apply wood filler with a putty knife, pressing it into the damaged area to fill gaps and cracks.
Once dry, sand the filler until it’s flush with the cabinet surface. This step is crucial for a seamless finish. Have you noticed how a smooth base makes the paint job look professional? It really does make a difference.
Touch-up Paint Techniques
After the filler is ready, touch-up paint is your best friend for blending the repair with the rest of the cabinet. Use a small brush or a foam applicator to carefully apply paint only to the fixed spot. Thin layers work better than one thick coat, allowing for a natural look.
Match your cabinet’s color as closely as possible to avoid noticeable patches. If you’re unsure, test the paint on a hidden area first. Have you ever tried mixing two shades to get an exact match? That trick can save you from multiple trips to the store.
Repairing Large Peeling Sections
Large peeling sections on kitchen cabinets can make your kitchen look old and worn out. Fixing these areas takes time but improves the cabinet’s life and appearance. The key is to remove the damaged finish completely and prepare the surface before repainting. This process ensures a smooth, long-lasting result.
Stripping Old Finish
Start by removing the peeling paint or varnish. Use a paint stripper or sandpaper to get rid of the old finish. Apply the stripper evenly and wait a few minutes for it to work. Then scrape off the soft finish carefully with a putty knife. Sand the area with fine-grit sandpaper to make it smooth. Clean the surface with a damp cloth to remove dust and residue. Let the cabinet dry fully before the next step.
Applying Primer And Paint
Apply a high-quality primer to the stripped area. Primer helps paint stick better and prevents future peeling. Use a brush or roller for even coverage. Let the primer dry according to the instructions. Next, paint the cabinet with a durable kitchen paint. Use thin, even coats and allow each coat to dry before applying the next. Two or three coats usually work best. Finish by letting the paint cure completely to protect the cabinet from moisture and wear.
Preventing Future Peeling
Preventing future peeling of kitchen cabinets helps keep them looking fresh and new. Peeling happens because of moisture, heat, and lack of care. Taking simple steps protects your cabinets and extends their life. Focus on reducing moisture and cleaning regularly to avoid damage.
Proper Ventilation
Good ventilation reduces moisture build-up near cabinets. Use exhaust fans while cooking to remove steam and heat. Open windows if possible to let fresh air circulate. Avoid placing cabinets too close to sinks or stoves. Moisture and heat cause paint and finish to peel faster.
Regular Maintenance Tips
- Wipe cabinets often with a damp cloth to remove dirt and grease.
- Dry surfaces quickly to prevent water damage.
- Use mild soap instead of harsh chemicals for cleaning.
- Check for small chips or cracks and fix them early.
- Apply a fresh coat of paint or sealant every few years.
- Keep cabinet doors closed to avoid unnecessary exposure to moisture.
When To Replace Cabinets
Knowing when to replace your kitchen cabinets is crucial to maintaining a functional and attractive kitchen. Peeling cabinets can sometimes be fixed with a simple touch-up, but there are moments when replacement is the smarter choice. Understanding the signs that indicate replacement will save you time, money, and frustration.
Signs Replacement Is Needed
Peeling paint or veneer is often the first sign of cabinet trouble, but it’s not the only one. If your cabinets have warped doors, loose hinges, or water damage, these issues usually mean repair won’t last long.
Look for structural problems like cracked or sagging shelves. These affect the usability of your cabinets and can be dangerous if ignored. Also, consider how outdated your cabinets look—if they no longer match your kitchen style or storage needs, replacement could be the best route.
Ask yourself: Are the problems cosmetic, or do they impact function? If it’s mostly cosmetic, a good sanding and repaint might do. But if the cabinets feel unstable or have mold, replacement is necessary.
Choosing New Cabinet Options
Once you decide to replace, the choices can feel overwhelming. Think about your budget and the style you want to achieve. Do you want classic wood, sleek laminate, or something eco-friendly like bamboo?
Storage needs matter too. Adding pull-out shelves, lazy Susans, or deeper drawers can make a huge difference in daily kitchen use. Don’t forget to consider hardware; new handles and knobs can enhance both function and style.
Take measurements carefully before shopping. It’s easy to get excited and pick cabinets that don’t fit right or meet your needs. Planning your layout and options ahead ensures your new cabinets improve your kitchen’s look and performance.
Frequently Asked Questions
Why Are My Kitchen Cabinets Peeling?
Peeling often occurs due to moisture, heat, or poor-quality paint. It can also result from improper surface preparation. Identifying the cause helps prevent future damage and guides the repair method.
How Do I Repair Peeling Kitchen Cabinet Paint?
First, remove loose paint by sanding or scraping. Clean the surface thoroughly. Apply a primer, then repaint with a high-quality, moisture-resistant paint. Allow each layer to dry properly for best results.
Can Peeling Cabinets Be Fixed Without Replacement?
Yes, most peeling cabinets can be repaired without replacing them. Proper sanding, priming, and repainting restore appearance and durability. Replacement is usually necessary only if structural damage exists.
What Tools Are Needed To Fix Peeling Cabinets?
You’ll need sandpaper or a sanding block, a putty knife, primer, paint, a paintbrush or roller, and cleaning supplies. These tools help prepare, repair, and finish the cabinets efficiently.
Conclusion
Fixing peeling kitchen cabinets is easier than it seems. Clean and sand the damaged areas first. Use good quality primer and paint for best results. Take your time and work carefully. Small repairs can make your kitchen look fresh again.
Regular care will keep cabinets looking nice longer. Enjoy a neat, smooth cabinet finish you can be proud of. Simple steps bring big changes to your kitchen space.