
Is your soap dispenser empty, clogged, or just not working like it used to? Changing a soap dispenser might seem tricky, but it’s easier than you think.
Imagine quickly fixing it yourself without calling a plumber or buying a whole new unit. In this guide, you’ll learn simple, step-by-step tips that save you time and money. Keep reading, and you’ll master the quick fix that keeps your sink clean and your routine smooth.
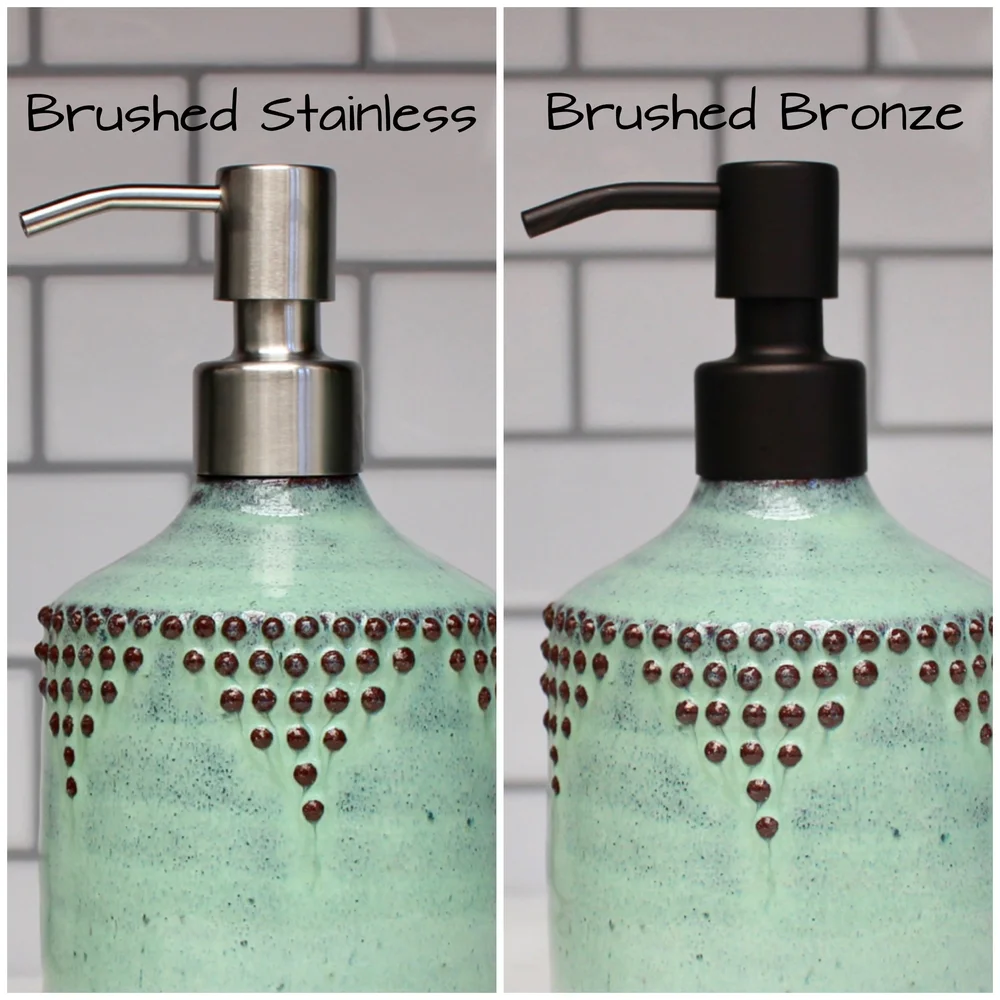
Credit: www.backbaypottery.com
Tools And Materials Needed
Before you start changing your soap dispenser, gathering the right tools and materials is crucial. Having everything on hand prevents frustrating interruptions and helps the task go smoothly. Let’s look at what you need to prepare so you can replace your soap dispenser efficiently and with confidence.
Basic Tools Checklist
Having a simple set of tools ready can make all the difference. Usually, you won’t need anything complicated. Here’s what you should have nearby:
- Screwdriver:A Phillips or flathead, depending on your dispenser’s screws.
- Adjustable wrench:Useful for loosening nuts and fittings.
- Bucket or bowl:To catch any leftover soap or water.
- Cleaning cloth:To wipe down the area before and after installation.
- Plumber’s tape (optional):Helps ensure a tight seal and prevent leaks.
Once you gather these, you’ll be ready to handle most soap dispenser replacements without a hitch. Have you ever been halfway through a job and realized you forgot a basic tool? Avoid that hassle by double-checking your supplies first.
Choosing The Right Soap Dispenser
Picking the right soap dispenser matters more than you might think. It’s not just about looks; size, compatibility, and installation type all play roles. Consider the space under your sink or on your countertop—will the new dispenser fit comfortably?
Think about the soap type you prefer. Some dispensers work best with liquid soap, while others handle foaming or gel varieties better. A dispenser that matches your soap choice will work more smoothly and last longer.
Also, check how the dispenser mounts. Is it a top-mounted unit that fits into a pre-drilled hole, or does it require additional drilling? Choosing one that matches your current setup saves time and effort. What features do you value most: ease of refill, durability, or style?

Credit: www.amazon.com
Preparing The Area
Preparing the area before changing a soap dispenser helps make the process smooth. It keeps your workspace clean and prevents water damage. Taking time to get ready saves effort later.
Clearing The Sink Area
Remove all items around the sink. Clear soap bottles, sponges, and towels. A tidy area gives you enough space to work comfortably. It also avoids accidents like knocking things over.
Wipe the sink surface with a clean cloth. This removes dirt and water spots. A clean surface makes it easier to handle tools and parts.
Turning Off Water Supply
Locate the water valves under the sink. These valves control water flow to the dispenser. Turn the valves clockwise to close them. This stops water from flowing while you work.
Check if the water is off by pressing the dispenser pump. No water should come out. If water still flows, turn the valves tighter or check the main water supply.
Removing The Old Dispenser
Removing the old soap dispenser is the first task before installing a new one. This process ensures a clean surface and avoids leaks or spills. It also helps maintain the sink area neat and ready for the upgrade.
Detaching The Soap Bottle
Start by emptying any soap left in the bottle. Twist the bottle counterclockwise to unscrew it from the dispenser head. Some bottles may be clipped in place, so gently pull if twisting doesn’t work. Keep the bottle aside for cleaning or refilling later.
Unscrewing The Dispenser Head
Grip the dispenser head firmly and turn it counterclockwise. It may be tight, so use a cloth for a better grip. Avoid using excessive force to prevent damage. Once loose, lift the head off the mounting surface carefully.
Cleaning The Mounting Surface
Remove any soap residue or dirt from the mounting surface. Use a damp cloth and mild detergent to wipe the area clean. Dry the surface completely to ensure the new dispenser sticks or screws in properly. A clean surface prevents leaks and keeps the sink area tidy.

Credit: www.amazon.com
Installing The New Dispenser
Installing the new soap dispenser is a simple process that ensures your sink area looks neat and functions well. The key is to handle each part carefully. Take your time to fit the dispenser properly for smooth operation.
Inserting The Dispenser Pump
Start by placing the dispenser pump into the sink hole. Push it down gently until it sits firmly. Make sure the pump head is above the sink surface and aligned straight. This helps the soap flow easily when pressed.
Securing The Mounting Nut
Under the sink, screw the mounting nut onto the dispenser pump’s threaded shaft. Tighten it by hand first, then use a wrench if needed. The nut should hold the dispenser firmly without wobbling. Avoid over-tightening to prevent damage.
Attaching The Soap Bottle
Screw the soap bottle onto the bottom of the dispenser pump. Turn it clockwise until it feels snug. Check that the bottle sits securely and does not leak. Fill the bottle with your favorite soap before use for best results.
Testing The Dispenser
Testing the dispenser is crucial after installation. Ensuring it functions correctly prevents future issues. This process involves priming the pump, checking for leaks, and adjusting the soap flow. Each step plays a vital role in maintaining a smooth operation.
Priming The Pump
Start by pressing the pump several times. This action fills the tube with soap. Air pockets can affect the flow. Keep pressing until soap comes out smoothly. It’s essential for consistent dispensing.
Checking For Leaks
Inspect the dispenser for any leaks. Look around the pump and bottle connection. Leaks can waste soap and create messes. Ensure seals are tight and secure. Fix any issues before proceeding.
Adjusting The Soap Flow
Test the soap amount dispensed with each pump. Adjust the flow if it’s too much or too little. Many dispensers have adjustable settings. Find the balance that works best for your needs. Proper flow ensures efficient soap use.
Maintenance Tips
Maintaining your soap dispenser doesn’t have to be a chore. With a few simple habits, you can keep it working smoothly and extend its life. Let’s look at some practical tips that make maintenance easy and effective.
Regular Cleaning
Soap dispensers collect residue and dirt quickly. Wipe the pump and nozzle with a damp cloth weekly to avoid buildup. If you notice soap drying and clogging the nozzle, soak the pump in warm water for a few minutes to loosen it.
Have you ever skipped cleaning, only to find your dispenser barely working? A quick wipe can save you from that frustration.
Preventing Clogs
Clogs happen when soap thickens or dries inside the pump. To prevent this, avoid using soaps that are too thick or contain particles. Diluting your soap slightly with water can keep it flowing smoothly.
Try pumping the dispenser a few times after refilling to push out any air bubbles that can cause blockages. This simple step often gets overlooked but makes a big difference.
Refilling Best Practices
Refill your soap dispenser before it runs completely dry to avoid air pockets. Always use the right type of soap recommended for your dispenser model. Mixing different soaps can cause chemical reactions leading to clogs or damage.
When refilling, pour slowly to prevent spills and overflows. Have you noticed how a slow refill keeps the pump working better for longer?
Frequently Asked Questions
How Do I Remove The Old Soap Dispenser?
To remove the old soap dispenser, first unscrew or unclip it from the sink or countertop. Disconnect the pump from the reservoir. Clean any soap residue to avoid messes during installation of the new dispenser.
What Tools Do I Need To Change A Soap Dispenser?
You generally need a screwdriver or wrench, depending on your dispenser type. Some models require no tools. Have a towel handy to catch drips. Check your dispenser’s manual for specific tool requirements.
How Can I Install A New Soap Dispenser Easily?
Insert the new dispenser’s pump through the sink hole. Secure it underneath with the locking nut. Attach the soap reservoir, then fill it with soap. Test the pump to ensure it works smoothly without leaks.
How Often Should I Replace A Soap Dispenser?
Replace your soap dispenser when it leaks, clogs, or breaks. Regular use may cause wear after 1-2 years. Cleaning and maintenance can extend its life but don’t delay replacement if it malfunctions.
Conclusion
Changing a soap dispenser is simpler than it seems. Just follow the steps carefully and take your time. A new dispenser can improve your sink’s look and function. You don’t need special tools or skills to do it right. Keep the area clean and dry to avoid leaks.
Regularly check the dispenser to keep it working well. Now you can enjoy a fresh and easy-to-use soap dispenser every day. Simple tasks like this help maintain a neat and tidy bathroom or kitchen. Give it a try and see the difference yourself.