
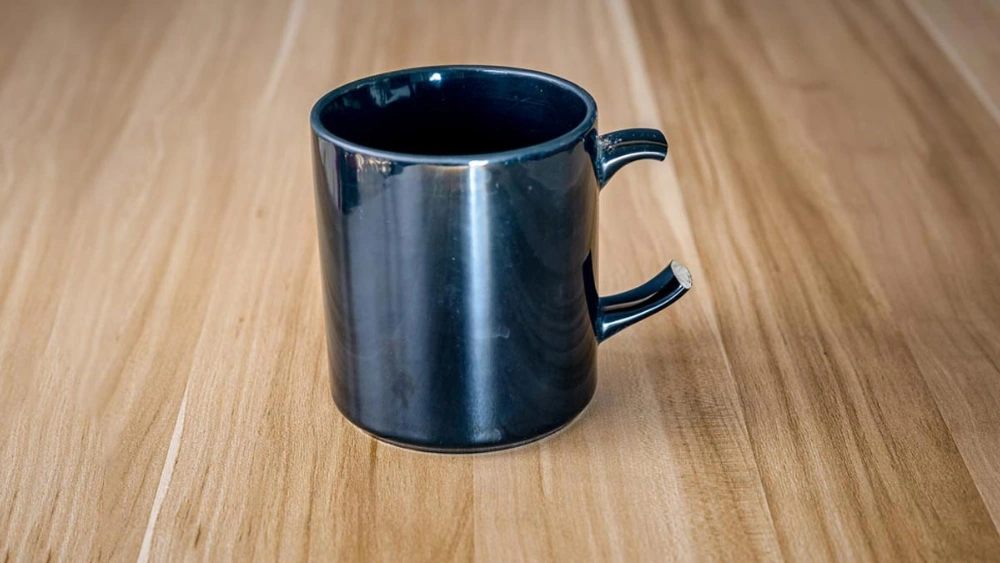
Have you ever dropped your favorite mug and felt that sinking feeling as it shattered on the floor? You might think it’s beyond saving, but what if you could fix it yourself and bring it back to life?
Repairing a broken mug is easier than you imagine, and it can save you money while keeping your special cup close. In this guide, you’ll discover simple, step-by-step methods to repair your mug quickly and safely. Keep reading, and you’ll learn how to turn that broken piece into something useful again.
Your mug—and your wallet—will thank you.
Credit: drfabulous.medium.com
Assess The Damage
Before fixing a broken mug, take time to carefully assess the damage. Understanding the extent of the break helps decide the best repair method. It also prevents wasting time on pieces beyond repair. A clear look at the damage sets a strong base for the repair process.
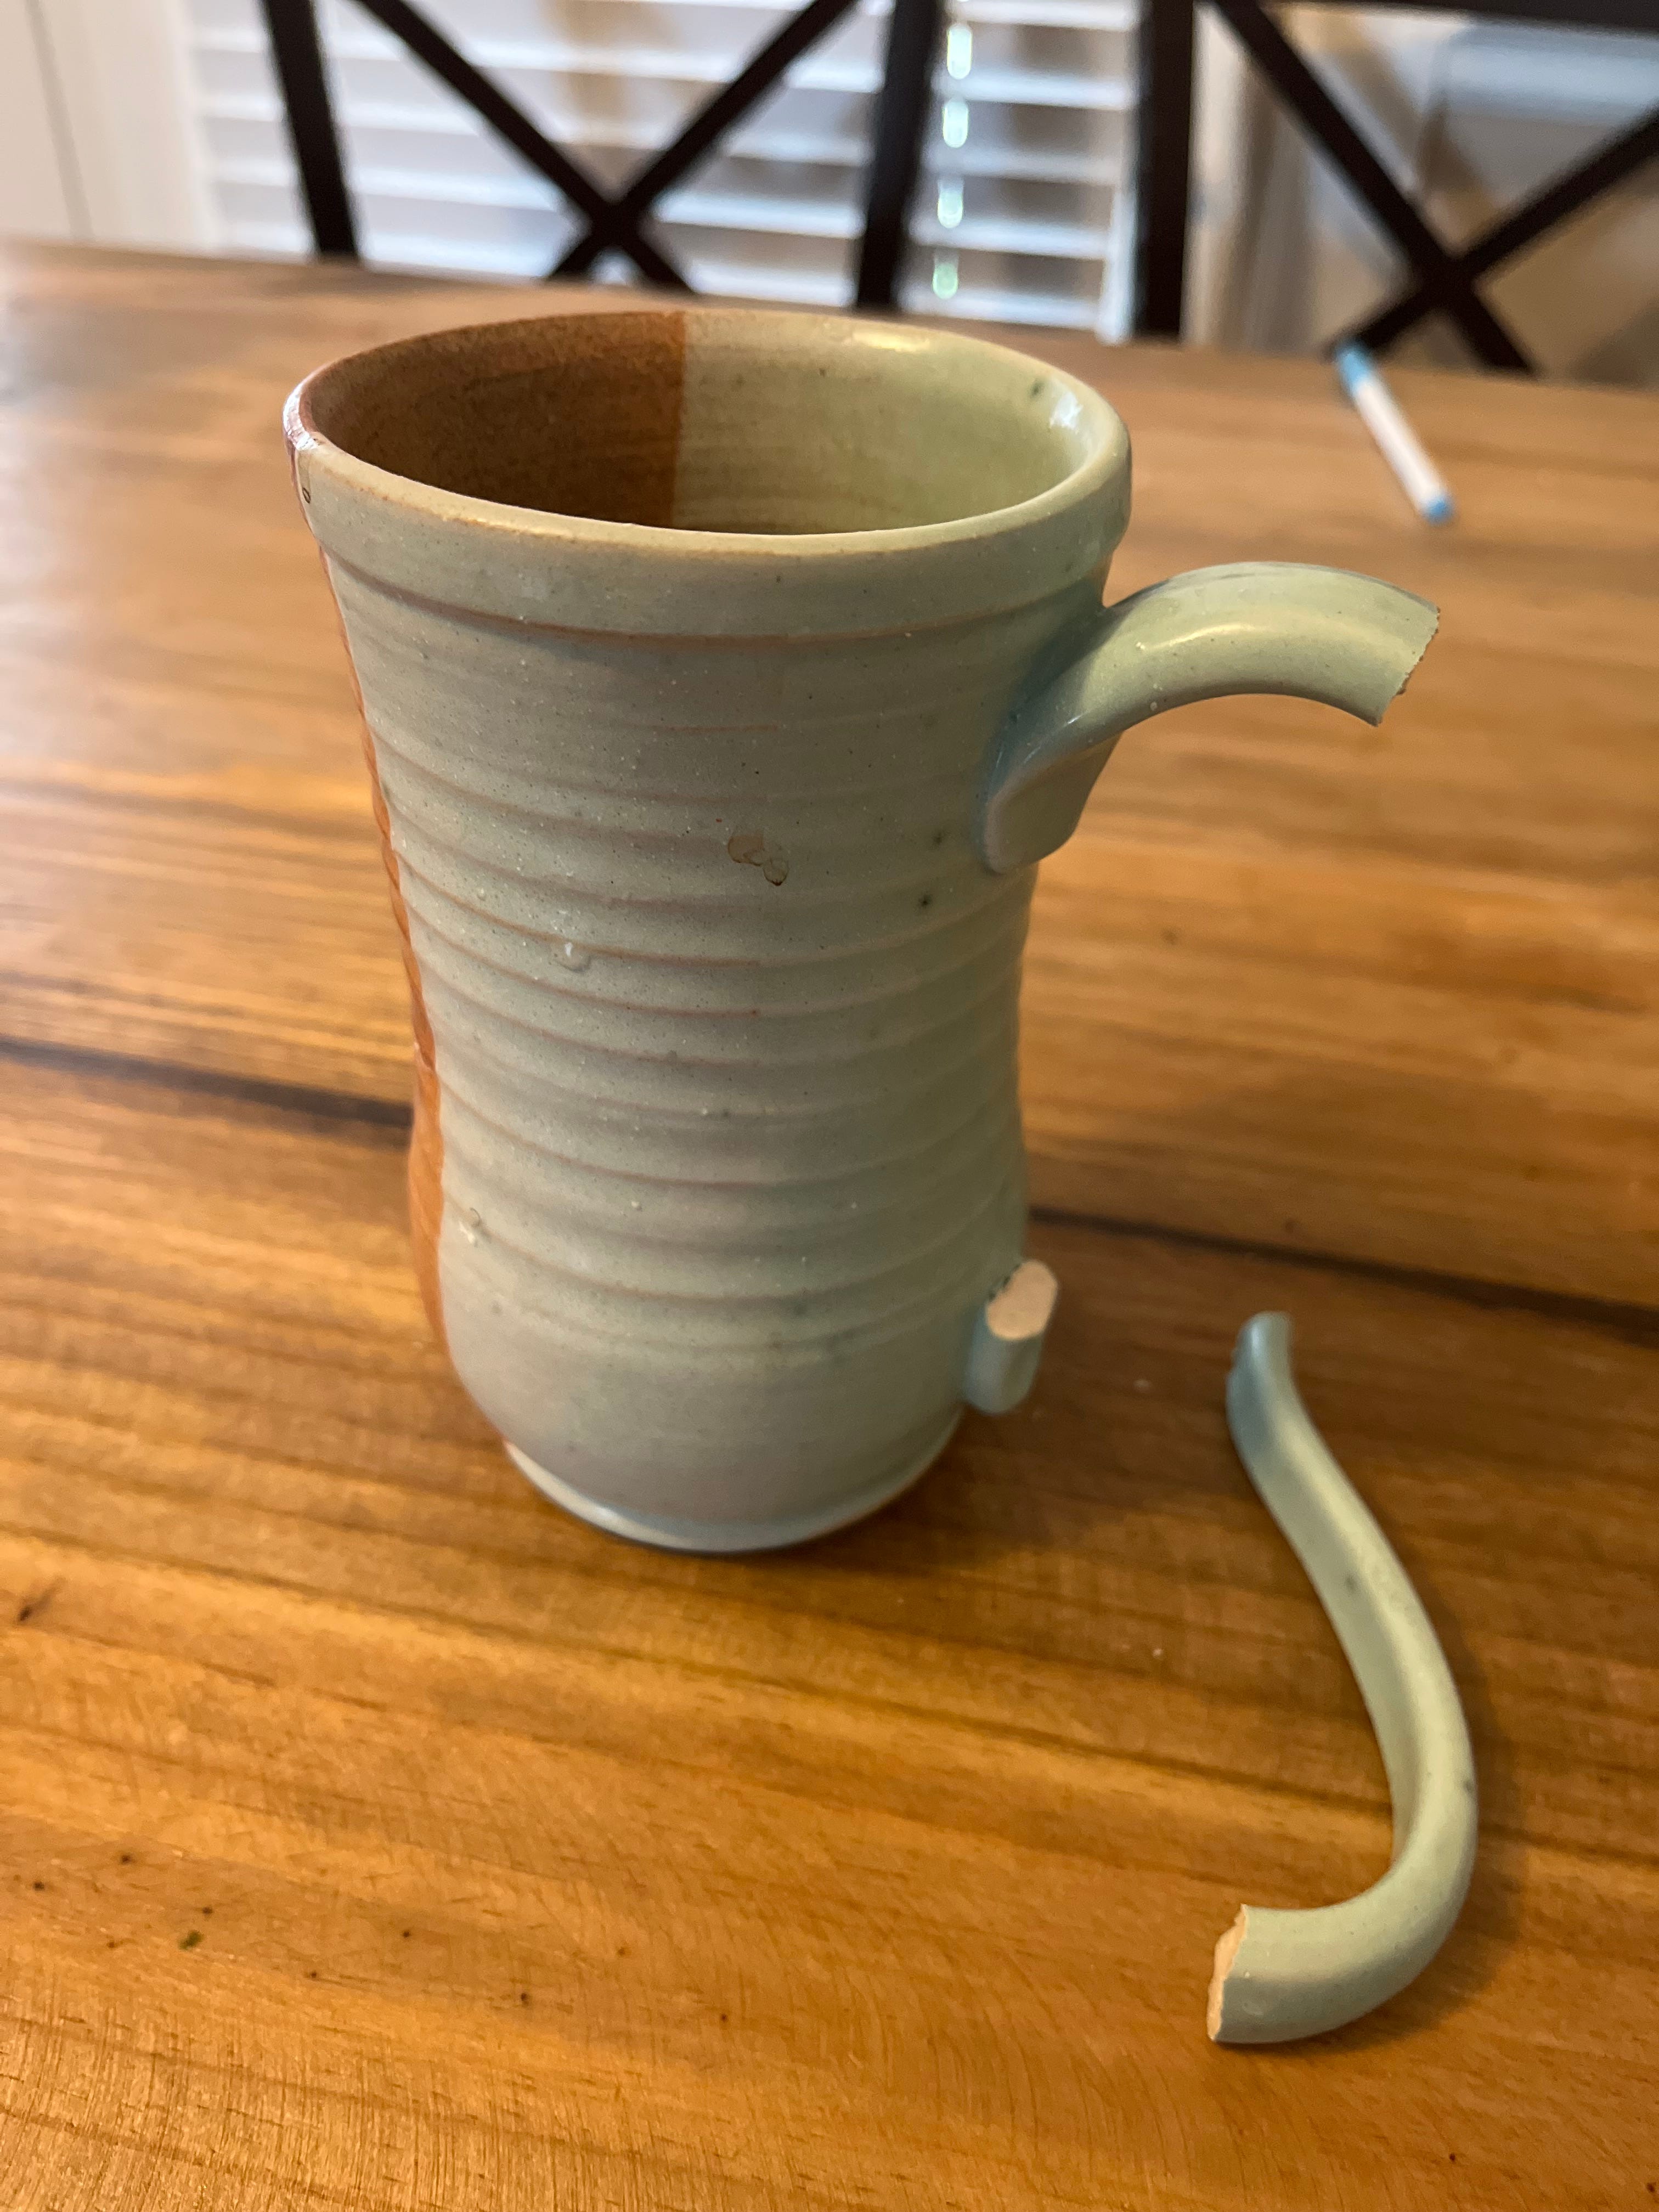
Identify The Type Of Break
Look closely at how the mug broke. Is it a clean crack, a chip, or shattered into many pieces? Cracks often run along the surface. Chips affect the rim or handle. Shattered mugs may have many fragments. Each type needs a different repair approach.
Check For Missing Pieces
Gather all the broken parts. Check if any pieces are lost or too small to use. Missing parts make repair difficult or impossible. Small fragments might be glued, but large gaps weaken the mug. Note all missing sections before deciding to fix it.
Determine Repair Feasibility
Think about whether the mug can be fixed safely and neatly. Consider the material—ceramic, porcelain, or glass. Some materials bond better with glue. Also, the mug’s use matters. Repairs on heavily used mugs need to be strong. If the damage is severe, replacement may be better.

Credit: www.reddit.com
Gather Repair Materials
Gathering the right materials is key to fixing a broken mug successfully. Having everything ready ensures the repair process goes smoothly. It also helps avoid mistakes and saves time. Focus on choosing the best adhesive, cleaning supplies, and tools to hold the pieces in place.
Choose The Right Adhesive
Select an adhesive made for ceramics. Epoxy glue works well for strong and lasting bonds. Some glues dry clear, keeping the mug looking neat. Avoid using craft glue or tape alone; they may not hold up to heat or washing.
Prepare Cleaning Supplies
Clean surfaces bond better. Use rubbing alcohol or warm soapy water to remove dirt and grease. Have a clean cloth or paper towel ready to dry the mug pieces. Avoid oily or dusty surfaces before gluing.
Find Clamps Or Tape
Use clamps or strong tape to hold broken parts together. This keeps pieces from moving while the glue dries. Rubber bands, masking tape, or small clamps work well. Make sure pressure is firm but gentle to avoid more damage.
Clean The Mug Pieces
Cleaning the broken pieces of your mug is a crucial step before you start the repair process. Any dirt or residue left on the surfaces can prevent adhesives from sticking properly. Taking time to clean ensures a stronger and longer-lasting fix for your cherished mug.
Remove Dirt And Residue
Begin by rinsing each piece under warm water to wash away loose dirt. Use a soft cloth or sponge with mild dish soap to gently scrub away any stubborn stains or residue. Avoid harsh chemicals, as they can damage the ceramic and affect the glue’s hold.
Pay special attention to the edges that need to be glued. Even a tiny speck of dust can weaken the bond. Have you ever tried to stick something only to find it peeling off later? That’s often because the surface wasn’t clean enough.
Dry Thoroughly
After cleaning, dry every piece completely using a lint-free towel. Moisture can interfere with the adhesive and cause the repair to fail. You can also let the pieces air dry for a few minutes to ensure no dampness remains in cracks or crevices.
Try to avoid touching the cleaned edges with your fingers afterward, as natural oils can leave residue. Keeping the pieces dry and clean sets the stage for a perfect mug repair.
Apply Adhesive Carefully
Applying adhesive carefully is key to fixing a broken mug. Proper glue use ensures a strong bond and a neat finish. Take your time during this step. Precision matters.
Follow Adhesive Instructions
Read the glue label before starting. Each adhesive has different drying times and application methods. Use the right amount and wait as directed. This prevents weak joints or messy results.
Align Pieces Precisely
Fit broken parts together gently. Make sure edges match perfectly. A slight misalignment can cause gaps or cracks later. Hold pieces steady until the glue sets.
Avoid Excess Glue
Use small amounts of adhesive only. Too much glue oozes out and looks messy. Excess glue takes longer to dry and weakens the fix. Clean off spills immediately with a damp cloth.
Secure The Pieces
Secure the pieces of your broken mug by cleaning and drying them thoroughly. Apply a strong ceramic adhesive to the edges, ensuring they align perfectly. Hold the pieces together until the glue sets, creating a sturdy bond.
Securing the pieces of your broken mug is a crucial step in ensuring a successful repair. Imagine the satisfaction of sipping your coffee from a mug that you’ve personally restored. The key lies in effectively holding the pieces together, allowing the adhesive to work its magic. Here’s how you can do it:
Use Clamps Or Tape
Securing the pieces with clamps or tape can make a huge difference. Clamps provide a firm grip, ensuring the pieces stay in place while the adhesive sets. If you don’t have clamps, tape can be a handy alternative. Choose a tape that is strong enough to hold the pieces but gentle enough not to leave residue. A tip from my own experience: use masking tape for its balance between strength and ease of removal. Do you have any other household items that could help in this process?
Allow Proper Drying Time
Patience plays a crucial role here. Allowing adequate drying time ensures the adhesive bonds the pieces securely. Rushing this step can lead to a weak repair, making the mug prone to breaking again. It’s often tempting to remove the tape or clamps prematurely. However, giving the adhesive at least 24 hours to dry can make all the difference. What other activities can you engage in while waiting?
Credit: www.tiktok.com
Finish And Touch Up
After gluing your broken mug pieces together, the finish and touch-up stage is essential. This step makes the repair look neat and smooth. It also ensures the mug feels comfortable to hold and looks almost new again.
Remove Excess Glue
Check the mug for any glue that squeezed out during bonding. Use a sharp blade or a cotton swab dipped in rubbing alcohol to gently remove extra glue. Be careful not to scratch the mug surface. This cleans up the repair and prevents sticky spots.
Sand Rough Edges
Some edges around the break might feel sharp or uneven. Use fine-grit sandpaper to smooth these areas carefully. Sand lightly and evenly to avoid damaging the mug’s design. This step improves comfort and gives a polished look.
Optional Painting Or Sealing
For a flawless finish, consider painting or sealing the repaired area. Use ceramic paint that matches your mug’s color. Apply thin layers and let each dry fully. A clear sealant can protect the repair from water and heat. This step helps your mug last longer and look better.
Tips For Long-lasting Repairs
Keeping a repaired mug strong takes care and attention. Small actions help your mug last longer after fixing. Use gentle handling and smart habits to protect it. Follow these tips to keep your mug in good shape for daily use.
Handle With Care
Hold your mug gently, especially near the repair area. Avoid sudden movements that can stress the glued parts. Place the mug softly on tables and shelves. Use both hands if the mug feels fragile. Treat it like a delicate item to prevent new cracks.
Avoid Extreme Temperatures
Keep your mug away from very hot or very cold conditions. Do not pour boiling water directly after cold use, or vice versa. Rapid temperature changes can weaken the repair glue. Warm water at a steady temperature works best for cleaning. This helps maintain the bond and prevents further damage.
Regular Maintenance
Check your mug often for any signs of wear or loosening. Clean it gently with a soft cloth or sponge. Avoid harsh scrubbing or abrasive cleaners near the repaired area. Fix small chips or cracks quickly to stop them from growing. Regular care keeps your mug safe and usable for longer.
Frequently Asked Questions
How Can I Fix A Cracked Mug At Home?
You can repair a cracked mug using food-safe epoxy or super glue. Clean the mug, apply glue carefully, and let it dry for 24 hours. Avoid using the mug for hot liquids until fully cured to ensure safety and durability.
Is It Safe To Drink From A Repaired Mug?
Yes, if you use food-safe glue or epoxy. Ensure the adhesive is non-toxic and fully cured before use. Avoid using mugs repaired with non-food-safe products for drinking, as harmful chemicals could leach into beverages.
What Materials Do I Need To Repair A Broken Mug?
You need food-safe epoxy or super glue, a clean cloth, and optionally sandpaper. Ensure the adhesive is suitable for ceramics and safe for items in contact with food. Having a steady surface helps align broken pieces accurately.
Can I Repair A Mug With Missing Pieces?
Repairing a mug with missing pieces is challenging. You can fill gaps with food-safe epoxy putty, but the mug might lose strength. It’s best for decorative use only, not for holding liquids, to avoid leaks or spills.
Conclusion
Repairing a broken mug can save money and reduce waste. Small cracks or chips do not always mean you must throw it away. With simple tools and careful steps, you can fix many types of damage. Take your time and follow safety tips during the process.
Enjoy using your mug again, knowing you helped the environment. Keep practicing, and your repair skills will improve. A little effort can bring your favorite mug back to life. Why buy new when fixing works well?