
Are you ready to create stunning custom mugs with your Cricut Mug Press but don’t know where to start? Setting up your Cricut Mug Press is easier than you think, and once you get it right, you’ll unlock endless possibilities for personalizing gifts, decorating your home, or even starting a small business.
In this guide, you’ll learn step-by-step how to set up your Cricut Mug Press quickly and safely, so you can begin making beautiful mugs that impress everyone. Keep reading, and you’ll be crafting like a pro in no time!
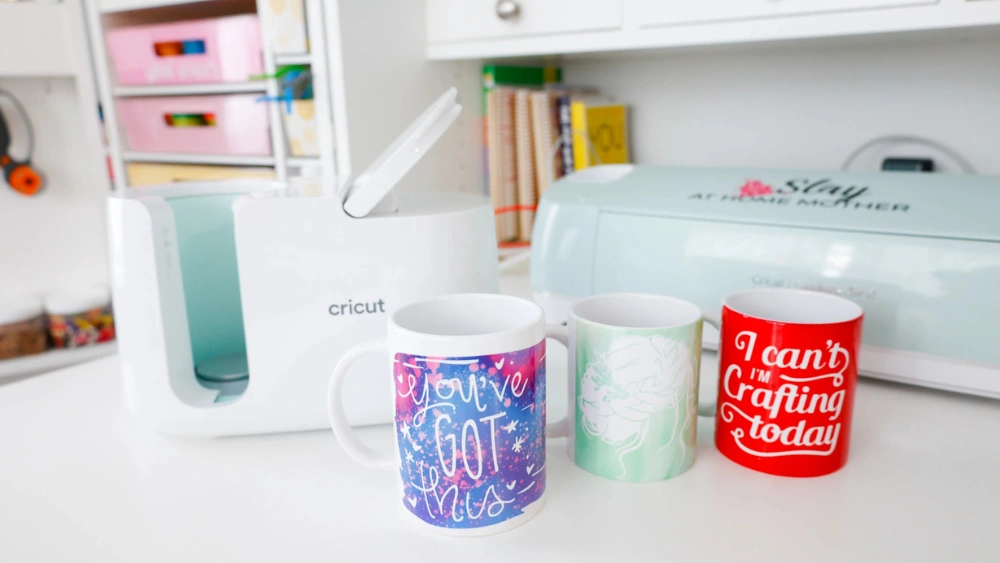
Cricut Mug Press Basics
Getting started with the Cricut Mug Press is easier than you might think. Understanding its basics will help you create personalized mugs with professional results. Let’s break down what you need to know before you start pressing your designs.
Key Features
The Cricut Mug Press is designed for quick, easy mug customization. It heats evenly to ensure your design transfers perfectly every time. The press automatically adjusts temperature and time based on the mug size, removing guesswork from the process.
Its compact size fits comfortably on your workspace without taking up much room. Plus, it has a simple on/off switch and an indicator light to show when it’s ready. Have you noticed how much easier it is to work when tools do the thinking for you?
Essential Tools
Besides the Mug Press itself, you’ll need a few key items to get started. A Cricut cutting machine is necessary to create your design on heat transfer vinyl (HTV) or Infusible Ink sheets. You’ll also want heat-resistant gloves to protect your hands.
Don’t forget a Cricut mug blank, which is specially coated for heat transfer. You’ll find a scraper or weeding tool handy to remove excess vinyl from your design. Having these tools ready speeds up your workflow and prevents frustration.
Types Of Mugs Compatible
The Mug Press works best with Cricut’s own mug blanks, which come in various sizes: 11 oz, 15 oz, and 16 oz. These mugs are coated to handle the heat and ensure your design adheres properly. Using non-compatible mugs can lead to poor results or damage.
Are you tempted to try this on a ceramic mug from your cupboard? It’s better to stick with recommended blanks to avoid uneven heating or fading designs. Choosing the right mug blank is your first step toward a lasting, vibrant finished product.

Credit: www.youtube.com
Preparing Your Workspace
Setting up your Cricut Mug Press starts with preparing your workspace. A well-organized area helps your project go smoothly. It reduces mistakes and keeps everything within reach. Clear space and good lighting make a big difference.
Choosing The Right Surface
Pick a flat and sturdy surface for your Cricut Mug Press. A heat-resistant table or countertop works best. Avoid soft or uneven areas that may cause instability. Ensure the surface is clean and dry before placing the mug press.
Safety Precautions
Heat and electricity are involved, so safety is key. Keep the workspace free of flammable materials. Use heat-resistant gloves to protect your hands. Make sure the area is well-ventilated to avoid fumes. Keep children and pets away during use.
Gathering Materials
Have all your tools and supplies ready to save time. Common items include:
- Cricut Mug Press machine
- Heat-resistant tape
- Infusible Ink transfer sheets or compatible designs
- Blank mugs designed for the press
- Heat-resistant gloves
- Lint roller to clean mug surfaces
Double-check each item before starting your project. This prevents interruptions and helps you focus.
Setting Up The Mug Press
Setting up the Cricut Mug Press is easy and quick. This process prepares your machine to create beautiful, custom mugs. Follow these simple steps to get started without any hassle.
Unboxing And Assembly
Open the box carefully. Remove all parts and check for any damage. Inside, you will find the mug press, power cable, and user manual.
Place the mug press on a flat, stable surface. Make sure there is enough space around it for ventilation. No assembly is needed beyond placing it properly.
Powering On
Connect the power cable to the mug press. Plug it into a nearby electrical outlet. Press the power button to turn the machine on.
The machine will warm up. This takes a few minutes. Wait until the ready light turns on before using the press.
Connecting To Design Software
Download the Cricut Design Space app on your computer or mobile device. Create or upload your mug design.
Connect your Cricut machine via USB or Bluetooth. Follow the app instructions to link your mug press.
Once connected, you can send your design to print. The software guides you through each step for a perfect transfer.
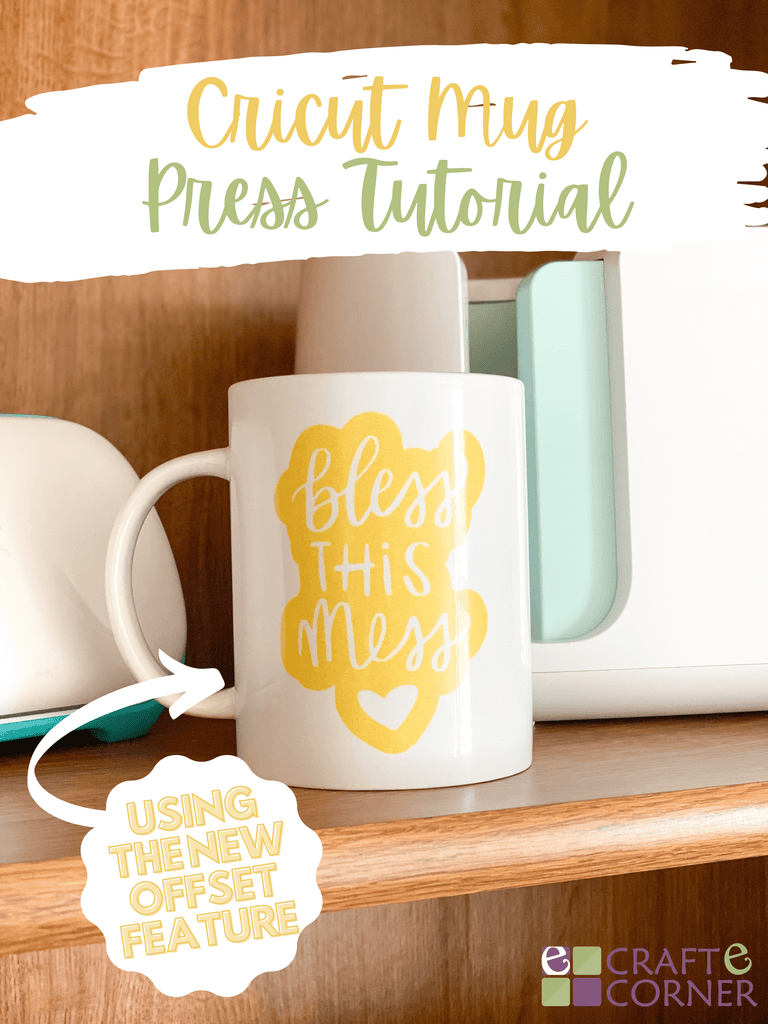
Credit: www.craft-e-corner.com
Designing Your Mug
Designing your mug is where creativity meets practicality with the Cricut Mug Press. Whether you’re crafting a personalized gift or designing a mug that speaks to your soul, this process allows you to express yourself in vibrant colors and eye-catching designs. Let’s dive into the essentials of creating a design that stands out.
Using Cricut Design Space
Cricut Design Space is your playground for creativity. It’s where you can access a vast array of designs or create your own. Begin by opening the application and exploring the library of images and fonts available.
Take some time to experiment with different styles. Try mixing and matching elements to see what resonates with you. Remember, the goal is to make the mug uniquely yours.
Selecting The Right Image
Choosing the right image is crucial to a design’s impact. Think about what message you want your mug to convey. Is it a funny quote, a meaningful symbol, or a simple pattern that catches the eye?
Consider the occasion or the person you’re designing for. For a birthday mug, you might opt for bright colors and cheerful imagery. For a more elegant gift, a minimalist design could work wonders.
Sizing And Positioning
Once you’ve chosen your image, it’s time to think about size and placement. The design should fit the mug surface perfectly without overwhelming it. Use the dimensions provided by Cricut Design Space to guide you.
Positioning is just as important as sizing. Play around with the placement to see what looks best. You might find that centering the design or aligning it to one side creates a striking effect.
Have you ever thought about what makes a mug truly memorable? It’s not just the design but also how it resonates with the person using it. So, why not put a personal touch on your next creation? The possibilities are endless and it’s all in your hands.
Loading And Pressing The Mug
Loading and pressing the mug is a key part of using the Cricut Mug Press. This process ensures your design sticks well and looks great. Careful steps help avoid mistakes and protect your mug and machine.
Preparing The Mug Surface
Clean the mug surface with a damp cloth. Remove all dust, grease, and dirt. Use rubbing alcohol for better cleaning. Dry the mug completely before applying the design. A smooth, clean surface helps the design stick well.
Applying The Design
Cut your design on heat transfer vinyl (HTV). Weed out the extra vinyl carefully. Position the design on the mug with the clear liner side out. Use heat-resistant tape to hold the design in place. Make sure the design sits flat with no wrinkles.
Operating The Press
Plug in the Cricut Mug Press and turn it on. Wait for the machine to reach the correct temperature. Open the press and place your mug inside. Close the press gently but firmly. The machine will start pressing automatically.
Wait for the press to finish. It will beep or show a light when done. Open the press and carefully remove the mug. Let the mug cool before removing the tape and clear liner. Your mug is now ready to use or gift.
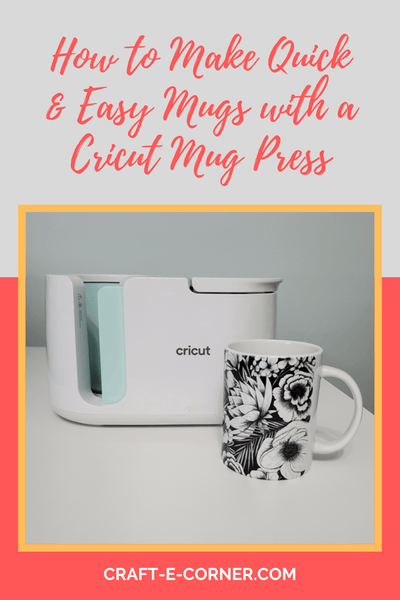
Credit: www.craft-e-corner.com
Post-press Care
After you’ve finished pressing your mug with the Cricut Mug Press, the work isn’t quite over. Proper post-press care is essential to maintain the quality of your design and ensure safety. Taking a few extra moments to handle your mug correctly can save you from smudged prints and potential burns.
Cooling Down
Let your mug cool naturally on a heat-resistant surface. Avoid touching the design area right away; it remains extremely hot and delicate. Cooling usually takes about 10-15 minutes, but it’s better to be patient than risk ruining your hard work.
Removing The Mug Safely
Use heat-resistant gloves or a thick towel to handle the mug. Gently lift it straight out of the press without twisting to prevent smudging or damaging the wrap. Have you ever rushed and ended up with a crooked design? Taking it slow here protects your project and your fingers.
Cleaning Tips
Wait at least 24 hours before washing your mug to let the design fully cure. Hand wash with a soft sponge and mild soap to keep the print vibrant longer. Steer clear of abrasive scrubbers or dishwashers, as they can fade or peel your design faster than you’d like.
Troubleshooting Common Issues
Common problems with the Cricut Mug Press often involve heating or alignment issues. Checking connections and following setup instructions closely usually solves most errors. Simple fixes like cleaning the press or adjusting settings help ensure smooth operation.
Setting up your Cricut Mug Press can be exciting, but some issues may arise. Troubleshooting these common problems will ensure your designs come out perfect every time. Let’s explore solutions to fix uneven pressing, design smudging, and machine errors.Uneven Pressing
Uneven pressing can ruin your design. Start by checking the pressure settings. Adjust the knob for better results. Ensure the mug is centered in the press. Misalignment can cause uneven pressure. Use heat-resistant tape to secure the design. This prevents shifting during pressing. Clean the press plate regularly. Residue buildup can affect pressure distribution.Design Smudging
Smudging can be frustrating. Make sure the ink is dry before pressing. Wet ink tends to smudge easily. Use high-quality transfer paper. Cheap paper can cause smudging. Double-check the design placement. Misplaced designs can lead to smudging. Adjust the temperature settings. Too high can cause ink to bleed. Ensure the press is clean. Dirt can transfer onto your design.Machine Errors
Machine errors can halt your progress. Check the power connection first. Loose cables can cause errors. Restart the machine to reset any glitches. Update the software regularly. Outdated firmware can lead to errors. Ensure the press is not overheating. Overheating can trigger safety shutdowns. Consult the manual for specific error codes. Codes can guide you to solutions.Tips For Perfect Mugs Every Time
Creating perfect mugs with your Cricut Mug Press requires attention to detail. Small steps make a big difference in the final product. Follow these tips to ensure your mugs look professional and last long.
Choosing Quality Materials
Use high-quality mugs designed for heat transfer. Look for mugs with a polymer coating. This coating helps the design stick better and last longer. Use premium heat transfer vinyl (HTV) or infusible ink sheets. Avoid cheap or thin materials that may peel or fade quickly. Always check the manufacturer’s recommendations for the best results.
Maintenance Tricks
Keep your Cricut Mug Press clean and well-maintained. Wipe the heating element regularly with a soft cloth. Remove any residue or leftover ink after each use. Avoid using harsh chemicals that can damage the press. Store the press in a dry and dust-free place. Regular maintenance ensures consistent heat and pressure, giving you flawless mugs every time.
Creative Design Ideas
Experiment with different styles and colors. Use simple shapes and bold fonts for clear visibility. Add personal touches like names or special dates. Try layering colors for a unique look. Use Cricut Design Space to explore ready-made templates or create your own. Remember, clean and simple designs often work best for mugs.
Frequently Asked Questions
How Do I Prepare My Cricut Mug Press For Use?
To prepare the Cricut Mug Press, plug it in and turn it on. Wait for the ready light to appear. Ensure your mug and design are properly aligned and secured before pressing.
What Is The Ideal Temperature Setting For Cricut Mug Press?
The Cricut Mug Press automatically adjusts the temperature for optimal results. You don’t need to set it manually. Just follow the prompts on the device for best performance.
How Long Should I Press A Mug With Cricut Mug Press?
Press the mug for about 6 minutes. The press will signal when the process is complete. Avoid removing the mug prematurely to ensure proper heat transfer.
Can I Use Any Mug With The Cricut Mug Press?
Use only Cricut-compatible mugs designed for heat transfer. Non-compatible mugs may not withstand the heat or provide good results. Always check mug specifications before pressing.
Conclusion
Setting up your Cricut Mug Press takes just a few simple steps. Start by preparing your design and mug properly. Follow the instructions carefully for safety and best results. Soon, you will create personalized mugs with ease. Enjoy the fun and creativity this tool brings to your projects.
Keep practicing to improve your skills and make unique gifts or products. The Cricut Mug Press opens up many crafting possibilities right at home.