

Are your blender blades not cutting through ingredients like they used to? Dull blades can make your favorite smoothies and sauces frustrating to prepare.
But don’t worry—you don’t have to replace your whole blender just yet. Learning how to sharpen blender blades is easier than you think, and it can save you time, money, and effort. You’ll discover simple, effective ways to bring your blades back to life, so your blender works like new again.
Ready to get those blades razor-sharp? Let’s dive in.
Signs Your Blender Blades Need Sharpening
Knowing when your blender blades need sharpening can save you time and frustration in the kitchen. Sharp blades make blending smooth and efficient, while dull ones slow you down and leave chunks behind. Watch out for these clear signs that your blender blades are begging for a tune-up.
Dull Blades And Poor Performance
If your blender struggles to chop ingredients or leaves large pieces unblended, dull blades are likely the culprit. You might notice that smoothies take longer to reach the right consistency or that you have to stop and stir more often. Have you ever had to add extra liquid just to get your blender moving? That’s a strong hint your blades aren’t cutting through ingredients effectively.
Unusual Noises During Blending
Blenders make noise, but when the sound changes noticeably, pay attention. A grinding or scraping noise can mean the blades are dull or damaged, causing the motor to strain more than usual. It’s like your blender is telling you it’s working harder than it should—don’t ignore this warning.
Visible Blade Damage
Take a close look at your blender blades. Chips, bends, or nicks are clear signs they need sharpening or replacement. Even small imperfections can reduce performance and damage your blender’s motor over time. Have you inspected your blades lately? A quick visual check can prevent bigger problems down the line.
Tools And Materials Required
Sharpening blender blades requires specific tools and materials. Having the right items makes the task easier and safer. Prepare all necessary equipment before starting the sharpening process.
Essential Sharpening Tools
- Sharpening stone or whetstone – ideal for fine blade edges
- Metal file – useful for removing nicks and dull spots
- Sandpaper – for smoothing and polishing blade edges
- Small screwdriver or wrench – to remove the blade assembly
- Clean cloth – to wipe blades before and after sharpening
- Water or honing oil – to lubricate the sharpening stone
Safety Gear To Use
- Cut-resistant gloves – protect hands from sharp edges
- Safety goggles – shield eyes from metal filings and debris
- Protective apron – keeps clothes safe and clean
- Work surface mat – prevents slipping and protects counters
Preparing Your Blender For Sharpening
Preparing your blender for sharpening is a key step to ensure safety and effectiveness. Proper preparation protects both your hands and the blades. It also helps you sharpen the blades evenly and accurately.
Before you start, gather the necessary tools and clear a workspace. Make sure the blender is unplugged to avoid accidents. Taking time to prepare the blender prevents damage during sharpening.
Disassembling The Blender
Remove the blender jar from the base. Unscrew the blade assembly carefully. Keep all parts together to avoid losing pieces.
Handle the blades with care as they are sharp. Lay out the parts on a clean surface. This step helps you access the blades for sharpening.
Cleaning The Blades Thoroughly
Rinse the blades under warm water to remove food residue. Use a soft brush or sponge to clean around the blades. Avoid harsh chemicals that may damage the metal.
Dry the blades completely with a soft cloth. Clean blades sharpen more effectively and last longer. Proper cleaning also prevents rust and other damage.
Credit: en.brilio.net
Sharpening Techniques For Blender Blades
Keeping your blender blades sharp ensures smooth blending and extends the blender’s life. Sharpening blender blades can be simple with the right tools and techniques. Different methods suit various blade types and available equipment. Choose the approach that fits your needs and skill level.
Using A Sharpening Stone
A sharpening stone offers precise control and good results. First, remove the blades carefully from the blender. Hold the blade firmly and rub it against the stone at a 20-degree angle. Use gentle, consistent strokes to sharpen the edge. Repeat this process on both sides of the blade. Rinse the blade and dry it thoroughly before reassembling.
Employing A Rotary Tool
A rotary tool can speed up the sharpening process. Attach a small grinding or sharpening bit to the tool. Secure the blade in a clamp or hold it steady with a cloth. Lightly press the blade edge against the spinning bit. Move the blade evenly to avoid overheating or uneven sharpening. Clean the blade after sharpening to remove metal dust.
Alternative Household Methods
Simple household items can also sharpen blender blades. Use aluminum foil by folding it several times and cutting through it with the blades. This can help to realign and sharpen the edges slightly. Another option is using a coffee grinder stone to rub the blade edges gently. These methods work best for minor touch-ups rather than major sharpening.
Reassembling And Testing The Blades
Reassemble the sharpened blades carefully, ensuring they fit securely in the blender. Test the functionality by blending soft foods first. Adjust as necessary to achieve optimal performance.
Reassembling and testing the blades is crucial after sharpening. This ensures your blender performs at its best. Follow these steps to safely reassemble and test the blades.Proper Blade Reinstallation
After sharpening, place the blade back in the blender. Ensure the blades align with the slots. Tighten the screws firmly. This prevents movement during use. Check the gasket seal for wear. Replace if necessary to avoid leaks. Secure the blade assembly inside the blender jar. Double-check that everything fits snugly.Checking Blade Sharpness And Performance
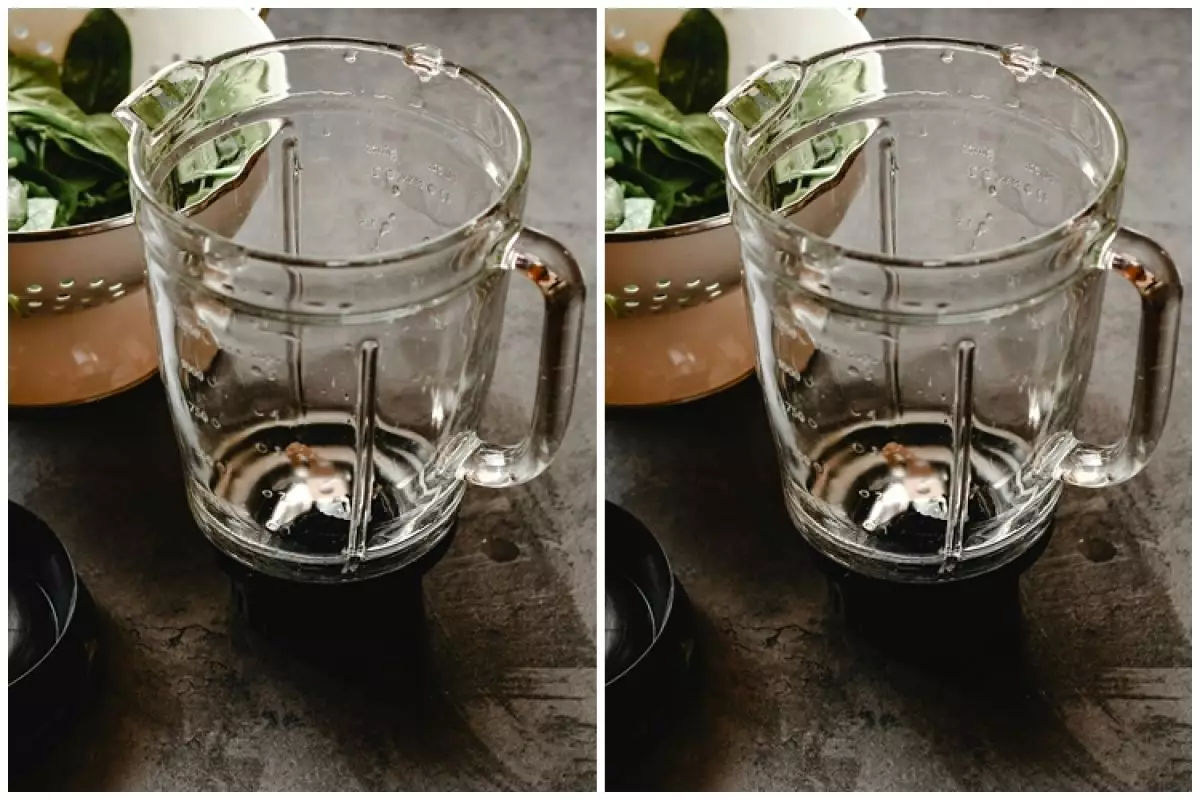
Fill the blender halfway with water. Blend at low speed. Observe the water movement. Sharp blades create a strong vortex. Test with soft fruits and vegetables. Cut them evenly with minimal effort. Listen for smooth operation sounds. No grinding or unusual noises. Perform a test blend with ice. Sharp blades crush ice uniformly.Maintenance Tips To Keep Blades Sharp Longer
Keeping your blender blades sharp doesn’t just happen by chance. It requires consistent care and smart habits that protect the blades from dulling prematurely. These maintenance tips can help you extend the life of your blades and keep your blender performing at its best.
Regular Cleaning Practices
After each use, clean the blades immediately to prevent food particles from hardening and causing corrosion. Use warm, soapy water and a soft brush to gently remove residue without scratching the blades.
Never put the blade assembly in the dishwasher unless your manual specifically says it’s safe. Hand washing helps avoid damage from harsh dishwasher detergents and high heat.
Have you noticed a slight change in blending performance? Sometimes, buildup you can’t see with the naked eye dulls the blades more than you realize. A quick clean after every use keeps your blades sharp and your smoothies smooth.
Avoiding Hard Ingredients
Blenders aren’t meant to crush everything. Avoid throwing in extremely hard items like ice cubes, frozen fruit chunks, or raw nuts without liquid or pre-chopping them.
Using these hard ingredients frequently wears down the blades fast. Instead, try softening them first or add liquid to reduce the strain on the motor and blades.
Think about the last time your blender struggled or made a grinding noise—did you add something tough to blend? Protect your blades by blending smarter, not harder.
Proper Storage Methods
Where and how you store your blender can impact blade sharpness. Always dry the blades completely before storing to prevent rust and corrosion.
Keep your blender in a dry place and avoid stacking heavy kitchen items on top of it. Pressure or impacts can bend or dull the blades over time.
Consider covering the blade assembly with a blade guard or storing it inside the blender jar to keep it safe from accidental knocks. A little care here can save you from a costly blade replacement later.
When To Replace Blender Blades
Knowing when to replace your blender blades is just as important as sharpening them. Using dull or damaged blades can affect your blender’s performance and even risk damaging the motor. Paying attention to certain signs can help you decide the right time to invest in new blades.
Signs Replacement Is Necessary
You might notice your blender struggles more than usual or leaves chunks in your smoothies. This often means the blades have become too dull to cut through ingredients effectively.
Look out for visible damage like bent, cracked, or rusted blades. These issues not only reduce efficiency but can also be unsafe to use.
If your blender starts making unusual noises or the motor feels strained, it’s a good idea to check the blades. Sometimes sharpening won’t fix these problems, and replacement is the best option.
Choosing Compatible Replacement Blades
Blender blades come in many shapes and sizes, so compatibility matters. Always check your blender’s model number or user manual before buying replacement blades.
Using blades that don’t fit properly can cause leaks or damage the blender’s base. You want blades designed specifically for your blender brand and model.
Consider blades made from durable materials like stainless steel for long-lasting sharpness. Some brands offer blade kits that include seals and gaskets, which can save you time and ensure a perfect fit.
Credit: en.brilio.net

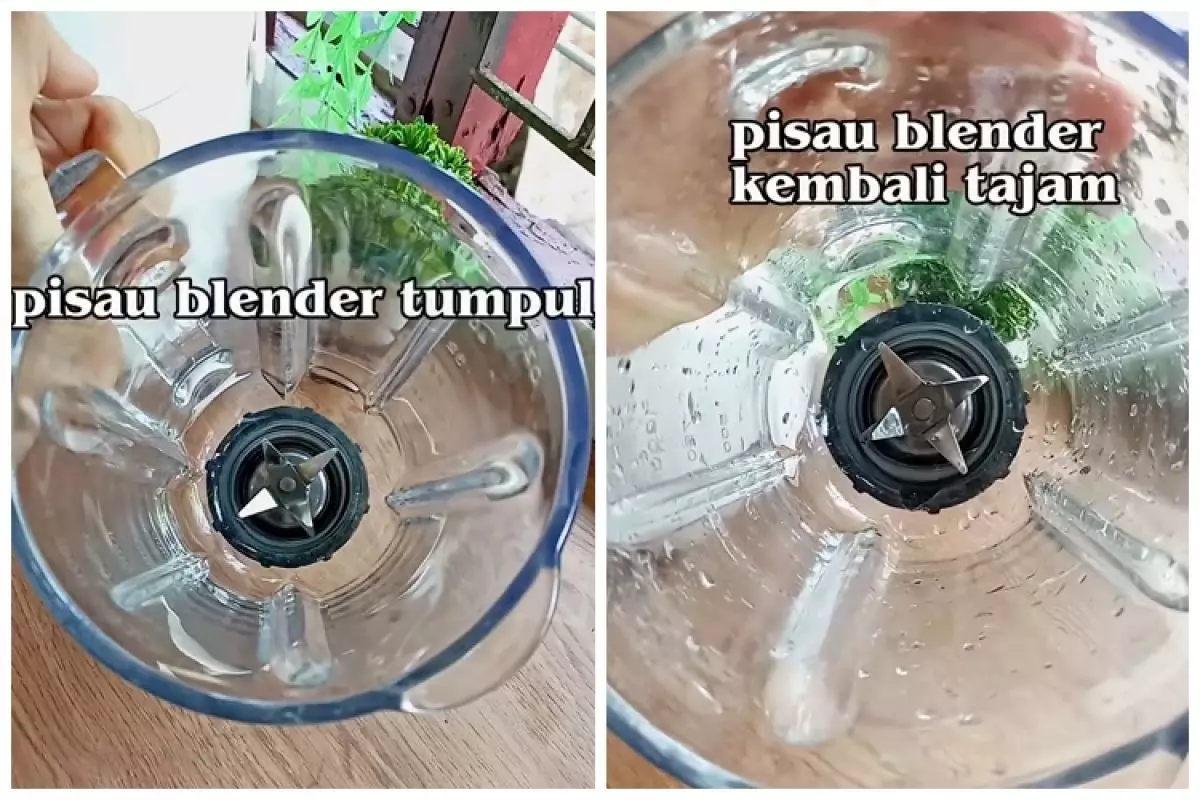
Credit: www.instagram.com
Frequently Asked Questions
How Often Should Blender Blades Be Sharpened?
Blender blades should be sharpened every 3 to 6 months. Frequent use dulls the blades faster. Regular sharpening ensures efficient blending and longer blade life.
Can I Sharpen Blender Blades At Home?
Yes, you can sharpen blender blades at home. Use a sharpening stone or a blade sharpening tool. Always clean and dry blades before sharpening for best results.
What Tools Do I Need To Sharpen Blender Blades?
You need a sharpening stone, a honing rod, or a specialized blade sharpener. Some people use sandpaper or a file. Always use tools suitable for metal blades.
Is It Safe To Sharpen Blender Blades Myself?
Yes, it is safe if you follow proper precautions. Unplug the blender, remove blades carefully, and wear protective gloves. Handle blades gently to avoid injuries.
Conclusion
Sharpening blender blades keeps your appliance working well. Dull blades slow down blending and make tough tasks harder. Regular sharpening saves money by avoiding early replacements. You only need a few simple steps and tools. Careful sharpening improves performance and extends blade life.
Try these tips to keep your blender sharp. Your smoothies, soups, and sauces will blend smoothly again. Small efforts bring big results in the kitchen. Keep your blender blades sharp for best results every time.