

If you own a Dutch oven, you’re already halfway to creating amazing meals with ease. But do you know how to use your Dutch oven both on the stovetop and in the oven without damaging it?
Mastering this skill will unlock a whole new level of cooking freedom. Imagine starting a dish by searing meat right on your stovetop, then sliding the same pot into the oven to finish it perfectly. This simple trick saves you time, reduces cleanup, and brings out richer flavors in your food.
Keep reading, and you’ll learn exactly how to switch between stovetop and oven safely and effectively—turning your Dutch oven into the ultimate cooking tool you never want to live without.
Choosing The Right Dutch Oven
Choosing the right Dutch oven is key to cooking smoothly on both the stovetop and in the oven. Your choice affects heat distribution, ease of handling, and overall cooking results. Let’s look at the crucial features to consider before picking your perfect pot.
Materials And Coatings
Cast iron is the classic choice, known for excellent heat retention and even cooking. You can opt for bare cast iron, which requires seasoning but lasts a lifetime, or enameled cast iron, which offers a smooth surface and easier cleanup.
Think about your cooking style: Do you prefer slow-cooked stews or quick sautéing? Enameled surfaces avoid reactive issues with acidic foods, while bare cast iron develops a natural non-stick layer over time.
Size And Weight Considerations
Choosing the right size depends on your typical meal portions. A 5 to 6-quart Dutch oven suits families, but smaller sizes are great for singles or couples.
Weight matters too. Heavier pots hold heat better but can be tough to lift, especially when full. If you struggle with heavy cookware, look for models with thinner walls or lighter materials that still offer good heat retention.
Handles And Lid Design
Strong, comfortable handles make moving your Dutch oven from stovetop to oven safer and easier. Large, sturdy handles allow a firm grip, even with oven mitts on.
The lid should fit tightly to trap moisture, helping your dishes stay juicy. Some lids have a raised design to catch condensation and drip it back into the food—this feature can make a big difference in slow-cooked meals.

Credit: www.maytag.com
Preparing Your Dutch Oven For Use
Season your Dutch oven with oil before first use to create a non-stick surface. Preheat it slowly to avoid cracks when switching between stovetop and oven. Always check the manufacturer’s instructions for safe temperature limits.
Preparing Your Dutch Oven for Use A Dutch oven is a versatile kitchen essential, perfect for slow-cooked stews or quick stovetop meals. Before you dive into cooking, it’s crucial to prepare your Dutch oven properly. This ensures the best cooking results and extends the life of your pot. Let’s break down the steps needed to get your Dutch oven ready.Cleaning Before First Use
Before using your Dutch oven for the first time, give it a thorough wash. Manufacturers often coat new Dutch ovens with protective oils to prevent rust during storage. Use warm water, mild soap, and a soft sponge to clean off any residue. Don’t forget to dry it completely to avoid water spots or rust.Seasoning Tips For Cast Iron
If your Dutch oven is cast iron, seasoning it is essential. This process creates a natural non-stick surface and protects the iron from rust. Begin by applying a thin layer of vegetable oil to the inside and outside of the oven. Place it in an oven preheated to 350°F (175°C) for about an hour. After it cools, wipe off any excess oil. You might notice a slight sheen—this is the start of a great seasoning layer.Preheating Guidelines
Preheating your Dutch oven ensures even cooking. If you’re using it on a stovetop, heat it on low for a few minutes, allowing the heat to distribute evenly. In the oven, preheat the Dutch oven along with the oven itself. This avoids sudden temperature changes that can crack the enamel. Have you ever wondered why some dishes taste better from a Dutch oven? It could be the even heat distribution from proper preheating.Using Dutch Oven On The Stovetop
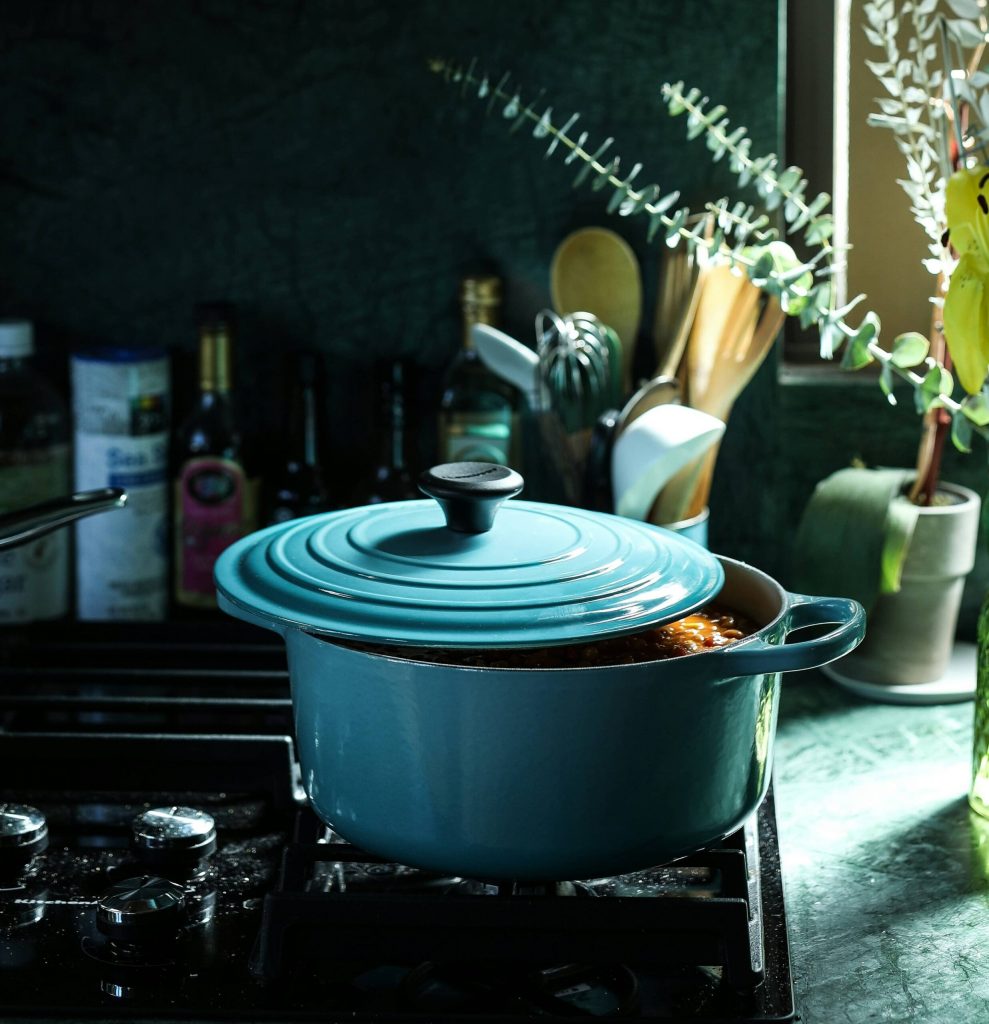
Using a Dutch oven on the stovetop opens many cooking possibilities. This versatile pot works well for simmering, frying, and even slow cooking. Knowing how to use it correctly helps you get the best results.
Selecting The Right Burner
Choose a burner that matches the size of your Dutch oven’s base. A burner too small can cause uneven heating. Too large may waste energy and heat the handles. For even heat, center the Dutch oven on the burner.
Adjusting Heat Levels
Start with medium heat to warm the Dutch oven gradually. Avoid high heat, which can damage the enamel coating. Use low heat for simmering and slow cooking. Adjust heat as needed to keep food from burning or sticking.
Common Cooking Techniques
- Searing meat to lock in juices before slow cooking
- Sautéing vegetables for soups or stews
- Simmering sauces evenly without burning
- Slow cooking chili or braises over low heat
These techniques make full use of the Dutch oven’s thick walls and heat retention. They help cook food evenly and develop rich flavors.
Credit: www.insiderskitchen.com
Using Dutch Oven In The Oven
Using your Dutch oven in the oven opens many cooking possibilities. It allows slow roasting, baking bread, and simmering stews with even heat. The heavy cast iron holds and distributes heat well. This creates delicious dishes with deep flavors. Understanding how to use your Dutch oven safely in the oven is essential.
Oven Temperature Limits
Most Dutch ovens can handle oven temperatures up to 500°F (260°C). Check the manufacturer’s instructions for exact limits. Avoid exceeding these temperatures to protect the enamel coating. High heat can cause discoloration or damage. Use moderate heat to extend your Dutch oven’s life.
Baking And Roasting Tips
- Preheat the oven before placing your Dutch oven inside.
- Use the lid to trap moisture for tender roasts and stews.
- Remove the lid near the end for a crispy crust on bread or roast.
- Place the Dutch oven on the middle rack for even heat.
- Avoid sudden temperature changes by warming the pot gradually.
Avoiding Thermal Shock
Thermal shock happens when a hot Dutch oven meets cold surfaces or liquids. It can crack the enamel or cast iron. Always heat your Dutch oven slowly and avoid pouring cold water into a hot pot. Let the pot cool down naturally before cleaning. Avoid placing a hot Dutch oven on cold countertops. Use wooden or heat-resistant pads to protect surfaces.
Switching Between Stovetop And Oven
Switching your Dutch oven between the stovetop and oven lets you cook versatile meals. This cookware handles both heat sources well. Knowing how to transition safely and manage heat is key. Certain recipes gain flavor and texture by using both cooking methods. Follow these tips to get the best results.
Safe Transition Practices
Always use oven mitts when moving the Dutch oven. The pot stays very hot after use. Avoid placing a hot Dutch oven on cold surfaces to prevent cracking. Use a wooden or silicone trivet instead. Never put a cold Dutch oven directly on a hot burner. Let it warm up gradually to avoid thermal shock.
Managing Heat Differences
The stovetop heats the Dutch oven unevenly. The oven applies heat evenly around the pot. Lower the stovetop heat to avoid burning food. Preheat the oven before placing the Dutch oven inside. Adjust cooking times since oven cooking is slower but more even. Use low to medium heat on the stove for best results.
Recipes That Benefit From Both
- Braising meats: Start on the stove to brown, then finish in the oven to tenderize.
- Soups and stews: Simmer on the stove, then bake for deeper flavors.
- Casseroles: Cook ingredients on the stove, then bake to melt cheese or crisp toppings.
- Bread baking: Use the stove to preheat the Dutch oven, then bake inside for a crusty loaf.
Cleaning And Maintenance
Cleaning and maintaining your Dutch oven ensures it lasts for years. Proper care keeps its surface smooth and cooking performance consistent. This section shares simple tips for cleaning and storing your Dutch oven after use.
Post-cooking Cleaning Tips
Let the Dutch oven cool before cleaning. Avoid sudden temperature changes to prevent cracking. Use warm water and a soft sponge for regular cleaning. Mild dish soap works well but avoid harsh detergents. Dry the pot completely with a soft cloth to prevent rust.
Dealing With Stubborn Residue
Fill the Dutch oven with warm water and a little baking soda. Let it soak for 15 to 20 minutes. Use a non-abrasive scrubber to remove stuck food gently. Avoid metal scouring pads that can damage the surface. For tough stains, repeat the soaking process or simmer water and baking soda inside the pot.
Storage Recommendations
- Store the Dutch oven with the lid off or upside down to allow air circulation.
- Keep it in a dry place to avoid moisture buildup and rust.
- Place a paper towel inside to absorb any residual moisture.
- Do not stack heavy items on top to protect the enamel coating.
Troubleshooting Common Issues
Using a Dutch oven on both stovetop and oven can sometimes cause common issues. These problems might affect cooking results or damage the pot. Knowing how to troubleshoot helps keep your Dutch oven in great shape. It also improves your cooking experience.
Preventing Warping And Cracking
Rapid temperature changes can warp or crack your Dutch oven. Avoid putting a hot pot into cold water. Let it cool down naturally before cleaning. Use medium or low heat on the stovetop to protect the enamel. Never heat an empty Dutch oven for long periods. These simple steps reduce the risk of damage and extend your pot’s life.
Handling Sticking Food
Sticking happens when food cooks on high heat or without enough oil. Always preheat the Dutch oven before adding oil or food. Use enough fat to create a barrier between food and surface. Stir or turn food regularly to avoid burning. For baked dishes, grease the pot well to prevent sticking. Cleaning gently after use keeps the surface smooth for next time.
Restoring Damaged Surfaces
Minor scratches or chips on enamel can be fixed to some extent. Use a gentle abrasive cleaner to polish scratches. Avoid harsh scrubbers that worsen damage. For small chips, apply food-safe enamel repair kits following instructions carefully. Never use a Dutch oven with large cracks or deep chips. Proper care prevents damage and keeps your pot cooking evenly.

Credit: food52.com
Frequently Asked Questions
Can I Use My Dutch Oven On Both Stovetop And Oven?
Yes, Dutch ovens are designed for both stovetop and oven use. They handle direct heat well and distribute it evenly, making them versatile for various cooking methods.
How To Avoid Damaging Dutch Oven On Stovetop?
Use low to medium heat to prevent thermal shock. Avoid sudden temperature changes and never place a hot Dutch oven on a cold surface.
Is It Safe To Switch Dutch Oven Between Stovetop And Oven?
Absolutely. Dutch ovens are made from durable materials like cast iron. Just ensure gradual temperature changes to prevent cracking.
Can I Use Metal Utensils With My Dutch Oven?
Yes, but be cautious. Enameled Dutch ovens can chip with metal utensils, so use wooden or silicone tools to protect the surface.
Conclusion
Using your Dutch oven on both stovetop and oven adds great cooking flexibility. It lets you start dishes on the stove and finish them in the oven. This method helps cook food evenly and keeps flavors rich. Just remember to handle the Dutch oven carefully when switching heat sources.
With practice, you will enjoy making soups, stews, and roasts easily. Keep your Dutch oven clean and dry after use to make it last longer. Enjoy cooking with this versatile tool that fits many recipes and styles. Simple steps lead to tasty meals every time.