

Have you ever wanted to create your very own pocket knife? Making a pocket knife might sound tricky, but with the right steps, you can craft a tool that’s both useful and personal.
Imagine holding a knife you built yourself—strong, sharp, and ready for any task. In this guide, you’ll discover simple methods to make your own pocket knife from start to finish. Whether you’re looking for a new hobby or a practical skill, this article will show you how to turn basic materials into a trusty pocket companion.
Keep reading, and you’ll be surprised at how easy and rewarding it can be!
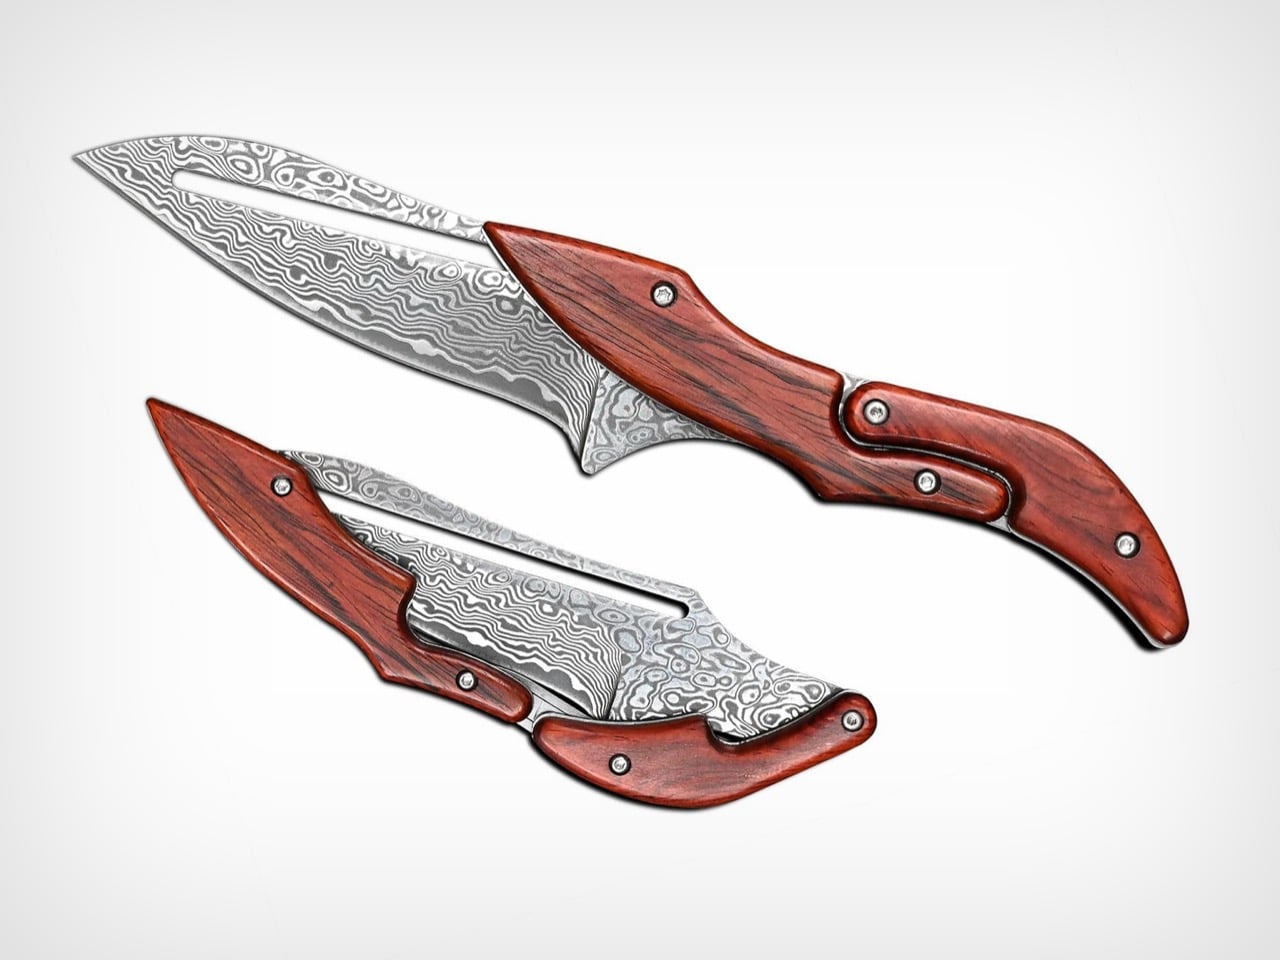
Credit: www.yankodesign.com
Choosing Materials
Choosing the right materials is key to making a strong, useful pocket knife. Each material affects the knife’s durability, weight, and style. Focus on steel for the blade, materials for the handle, and other parts that improve function. This helps create a knife that feels good and lasts long.
Types Of Steel
Steel determines the blade’s sharpness and strength. Some common types include:
- Carbon Steel: Very sharp and easy to sharpen. It can rust if not cared for.
- Stainless Steel: Resists rust and is low maintenance. Slightly harder to sharpen.
- Tool Steel: Tough and durable, good for heavy use.
- Damascus Steel: Known for beautiful patterns and good sharpness.
Choose steel based on how you plan to use the knife and your care routine.
Handle Materials
The handle affects grip comfort and knife weight. Popular handle materials include:
- Wood: Classic look and comfortable feel. Needs some care to avoid damage.
- Micarta: Made from fabric layers, strong and moisture-resistant.
- G-10: A fiberglass material that is tough and light.
- Metal: Durable but can be heavy and cold in hand.
Pick a handle that fits your hand and matches your knife style.
Additional Components
Extra parts add to the knife’s function and safety. Consider:
- Locking Mechanism: Keeps the blade open during use.
- Pocket Clip: Allows easy carrying in a pocket.
- Pivot: The point where the blade turns, should be smooth and strong.
- Backspring: Helps the blade stay open or closed securely.
Good components make your pocket knife safer and easier to use every day.
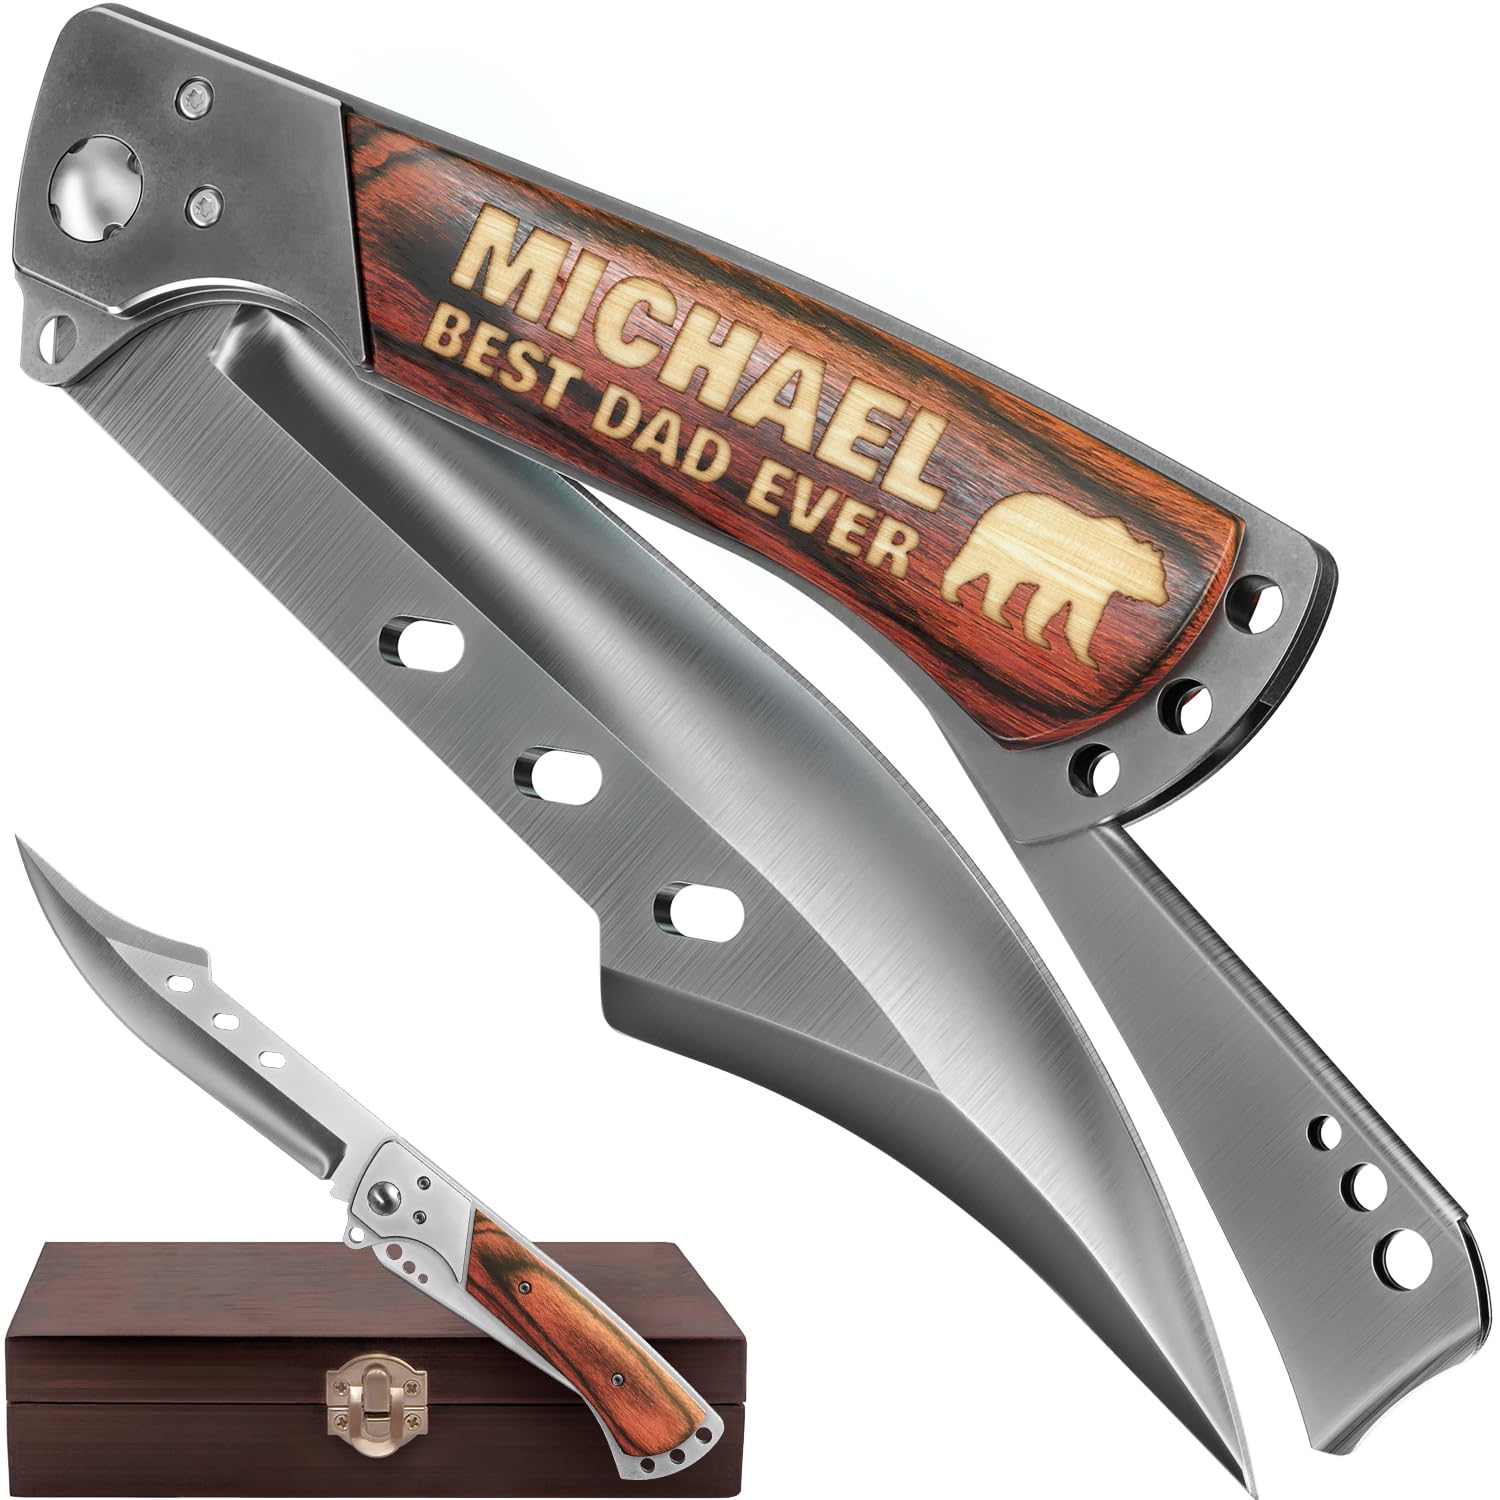
Credit: www.amazon.com
Gathering Tools
Before you start crafting your own pocket knife, gathering the right tools is crucial. Having everything at hand not only makes the process smoother but also improves the quality of your work. Missing even one essential item can lead to frustration or mistakes.
Essential Tools
To create a functional and durable pocket knife, you’ll need a selection of specific tools. A good-quality metal file helps shape the blade precisely. A bench vise holds your workpiece steady, giving you control and safety while cutting or grinding.
A hacksaw or angle grinder is necessary to cut the metal to size. Don’t forget sandpaper or a belt sander to smooth the edges and prepare the blade for sharpening. If you want a handle with custom inlays or designs, small chisels and a drill will be your best friends.
Think about the kind of knife you want to make. Do you prefer a simpler design that requires fewer tools, or are you aiming for something more intricate? Your tools list will change accordingly.
Safety Equipment
Safety should never take a back seat in any DIY project. Protective gloves shield your hands from sharp edges and hot metal. Safety goggles protect your eyes from flying debris and sparks, which are common when grinding or cutting metal.
Using a dust mask is smart, especially when sanding or filing, to avoid inhaling metal particles. If your workspace gets loud from power tools, ear protection can save your hearing. I once skipped gloves during a quick sanding, and the small cut I got reminded me how fast accidents happen.
Are you prepared to keep yourself safe while working on your knife? Investing in safety gear is a small price for avoiding serious injuries.
Designing The Knife
Designing a pocket knife is a crucial step that sets the foundation for both its function and feel. Every choice you make influences how the knife performs and how comfortable it will be during use. Thoughtful design means balancing style with practicality to create a tool you’ll want to carry every day.
Blade Shape
The blade shape determines what tasks your knife will handle best. A drop point blade offers versatility and strength, great for general use. Meanwhile, a tanto blade provides extra tip strength, ideal if you expect to do piercing work.
Think about how you plan to use your knife. Will it be for slicing, carving, or detailed cutting? Your blade shape should match those needs to avoid frustration later on.
Handle Ergonomics
Your knife handle needs to fit your hand comfortably, especially if you’ll use it often. Curved handles tend to offer a secure grip, reducing hand fatigue during extended use. Flat handles might look sleek but can feel awkward in your palm.
Try holding different handle styles before deciding. Notice how each feels when you grip tightly or apply pressure. This hands-on approach helps you avoid a knife that slips or causes discomfort.
Folding Mechanism
Safety and ease of use depend heavily on the folding mechanism you choose. A liner lock is popular because it securely locks the blade open but releases quickly when needed. Frame locks provide similar security with a more robust feel.
Consider how often you’ll open and close your knife. If speed matters, a mechanism with smooth action and reliable locking is crucial. Would you prefer a manual or assisted opening? Your choice affects both convenience and safety.
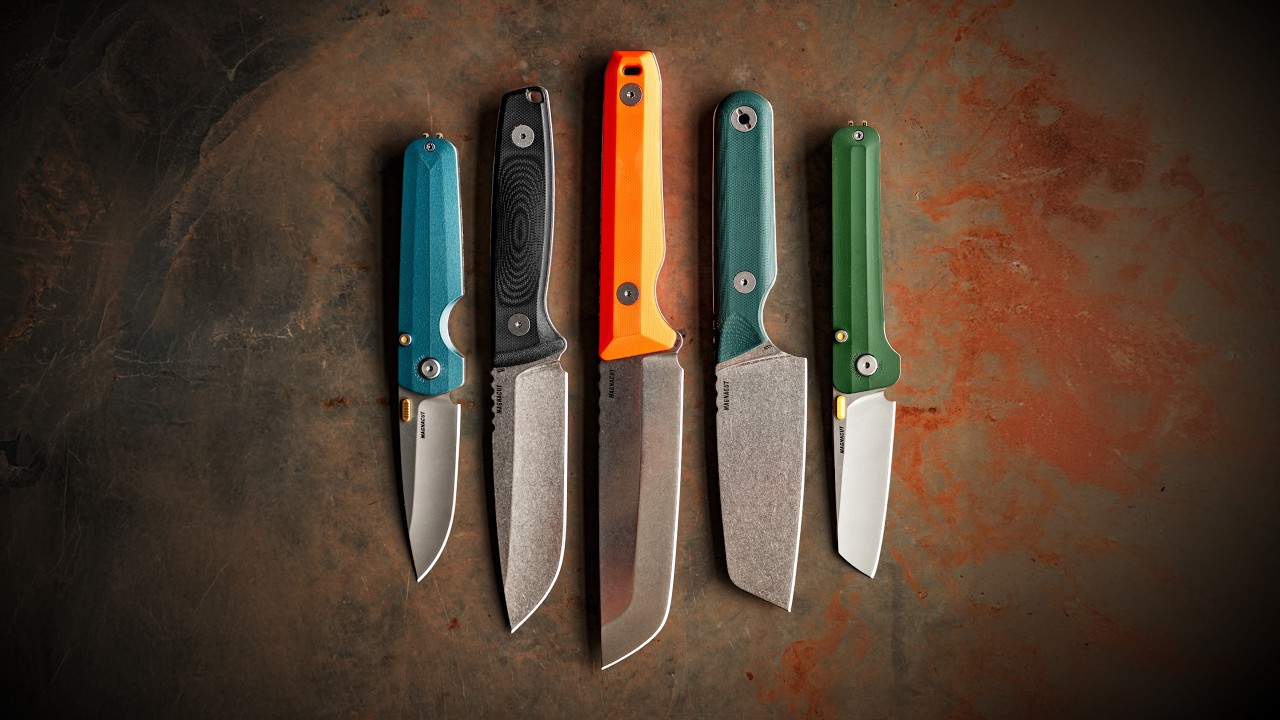
Credit: www.youtube.com
Shaping The Blade
Shaping the blade is a crucial part of making a pocket knife. It defines the knife’s cutting ability and overall look. This process involves careful cutting, grinding, and treating the steel. Each step shapes the blade to perform well and last long.
Cutting The Steel
Start by cutting the steel into the rough shape of the blade. Use a hacksaw or metal cutting tool. Follow the design outline drawn on the steel. Cut slowly to avoid mistakes or damage. This step sets the foundation for the blade shape.
Grinding The Edge
Use a belt grinder or file to refine the blade’s shape. Grind the steel to form the cutting edge. Keep the angle consistent for a sharp edge. Remove any rough or uneven spots. This process smooths the blade and improves its cutting power.
Heat Treatment
Heat treatment hardens the blade steel. Heat the blade until it glows red, then cool it quickly in oil or water. This step makes the blade strong and durable. After hardening, temper the blade by gently heating it again. Tempering reduces brittleness and improves toughness.
Crafting The Handle
The handle is more than just a grip; it defines how comfortable and secure your pocket knife feels in your hand. Crafting a handle requires attention to detail, choice of materials, and precision. Your goal is to create a handle that balances durability, aesthetics, and ergonomics.
Cutting And Shaping
Start by selecting a material that suits your style and use. Wood is popular for its warmth and natural look, while synthetic materials like G-10 or Micarta offer toughness and water resistance.
Use a saw or CNC machine to cut your chosen material into rough shapes. Then, refine the shape with files and sandpaper, focusing on comfort and grip. Don’t rush this step—how the handle feels in your hand will make or break the knife’s usability.
Attaching To Blade
Align the handle scales to the tang of the blade carefully. Make sure the fit is tight and even to avoid any movement later on. Use strong epoxy glue designed for metal and wood or synthetic materials.
Secure the scales with pins or screws for extra strength. Drilling holes through the handle and tang and inserting metal pins ensures durability. Check the alignment continuously to prevent any misfit during curing.
Finishing Touches
Once the glue dries and pins are set, start sanding the handle smooth. Work your way through finer grits to remove scratches and create a comfortable surface.
Add a finish that suits your material: oil for wood to enhance grain and protection, or a sealant for synthetics. This step not only improves appearance but also protects the handle from moisture and wear.
Have you ever held a knife that just felt right? That’s the result of careful handle crafting. Don’t overlook this part—it’s where your knife becomes truly personal.
Assembling The Knife
Assembling the knife is the stage where all parts come together. This process shapes the knife’s strength and smoothness. Proper assembly ensures the knife works well and lasts long. Taking care during this phase makes a big difference.
Installing Pivot And Springs
Start by placing the pivot. The pivot holds the blade and handle together. Use the right screws to secure it tightly. Next, add the springs. Springs control the blade’s opening and closing. Position them carefully to avoid misalignment. Tighten all screws evenly to prevent wobbling. Check parts move freely before proceeding.
Testing The Folding Action
Open and close the blade slowly. Feel for smoothness in the movement. The blade should lock firmly in place. If it sticks or feels loose, adjust the pivot or springs. Repeat testing until the folding feels right. Proper folding action makes the knife safe to use. This test ensures the knife operates perfectly every time.
Sharpening And Polishing
Sharpening and polishing are key to making a pocket knife perform well. A sharp edge cuts cleanly and safely. Polishing improves the blade’s look and prevents rust. Both steps need care and the right tools.
Edge Refinement
Start by shaping the blade’s edge with a sharpening stone. Use a coarse stone for dull edges, then a finer stone to smooth the edge. Hold the blade at a consistent angle, usually 20 degrees. Move the blade gently across the stone in a sweeping motion. Check the edge often for sharpness.
- Use water or oil on the stone to reduce friction.
- Sharpen both sides evenly for balance.
- Test sharpness by slicing thin paper or shaving a hair.
Surface Polishing
After sharpening, polish the blade surface to remove scratches. Use fine sandpaper or a polishing cloth. Move in small circular motions. This step enhances the blade’s shine and helps protect it from rust. Clean the blade after polishing to remove any residue.
- Use metal polish or a mild abrasive paste for best results.
- Polish the handle if it’s metal for a uniform look.
- Wipe the blade dry and apply light oil to prevent corrosion.
Maintenance Tips
Keeping your pocket knife in top shape is just as important as crafting it. Maintenance ensures your knife stays sharp, safe, and reliable for every task. Simple habits can extend its life and improve performance.
Cleaning
After each use, clean your pocket knife thoroughly. Dirt, moisture, and debris can cause rust or damage moving parts.
- Use warm water and mild soap to wash the blade and handle.
- Dry the knife completely with a soft cloth to prevent rust spots.
- For stubborn grime, a toothbrush can reach tight crevices.
Have you noticed how even a small speck of dirt can affect the smooth opening of your knife? Keeping it clean avoids that hassle.
Storage
Proper storage protects your knife from environmental damage and accidental dulling. Avoid tossing it loosely in a drawer with other tools or keys.
- Use a sheath or dedicated knife case to prevent scratches.
- Store in a dry place to reduce moisture buildup.
- Consider adding silica gel packs to your storage area to absorb humidity.
Think about the last time you found your blade covered in rust spots—could better storage have prevented that?
Regular Sharpening
A sharp blade is safer and more effective than a dull one. Regular sharpening keeps your knife ready for any cutting task.
- Use a whetstone or sharpening tool designed for pocket knives.
- Maintain the original angle of the blade edge for best results.
- Test sharpness by carefully slicing a piece of paper—does it cut cleanly?
Skipping sharpening might seem okay until you struggle to cut through simple materials. How often do you check your blade’s edge?
Frequently Asked Questions
What Materials Do I Need To Make A Pocket Knife?
To make a pocket knife, you’ll need steel for the blade, wood or metal for the handle, pins, and epoxy. Basic tools include a grinder, drill, files, and sandpaper. Safety gear like gloves and goggles is also essential for protection.
How Long Does It Take To Make A Pocket Knife?
Making a pocket knife typically takes 4 to 8 hours for beginners. The time varies depending on skill level, tools, and design complexity. More experienced makers may complete simpler knives faster, while detailed work extends the process.
Is It Safe To Make Your Own Pocket Knife?
Yes, making your own pocket knife is safe if you follow safety guidelines. Always wear protective gear and handle tools carefully. Work in a well-ventilated area and keep your workspace organized to avoid accidents.
Can I Customize The Design Of My Pocket Knife?
Absolutely! You can customize blade shape, handle material, and engraving. Personalizing your knife makes it unique and suits your style. Experiment with different finishes and handle textures to create a distinct look.
Conclusion
Making pocket knives can be a fun and useful skill. Start with basic tools and safe steps. Choose the right materials to create a strong blade. Take your time to shape and sharpen carefully. Practice will help you improve each knife you make.
Enjoy the process and learn from mistakes. Soon, you will have a handy pocket knife made by your own hands. Keep safety as your top priority throughout. Crafting your own knife brings pride and satisfaction. Try it today and see what you can create.