

Is your soap dispenser not working right? Maybe the spring inside is stuck or broken, stopping the soap from coming out smoothly.
You don’t need to buy a new one or call a repair person. Fixing the soap dispenser spring yourself is easier than you think. You’ll learn simple steps that save you time and money. Keep reading, and soon your soap dispenser will work like new again.
Common Soap Dispenser Spring Issues
Soap dispenser springs are small but essential parts that keep your dispenser working smoothly. Over time, these springs can develop problems that stop your dispenser from pumping soap properly. Understanding common issues can save you time and frustration when fixing your soap dispenser.
Spring Wear And Tear
Springs inside soap dispensers experience constant pressure and movement. This constant use can cause the spring to weaken or lose its tension. When this happens, the dispenser might not return to its original position, making it hard to pump soap effectively.
If you notice your dispenser feels loose or doesn’t bounce back after pressing, worn-out springs could be the cause. Replacing the spring is often the simplest fix. Have you checked if your dispenser feels less responsive over time?
Spring Misalignment
Sometimes the spring shifts out of place during use or cleaning. A misaligned spring won’t compress and expand properly, causing the pump to jam or stick. This issue can be tricky because the spring might look fine but doesn’t work as it should.
Carefully inspect the spring to see if it sits crooked or off its track inside the dispenser. Realigning it back to its correct position often restores smooth operation. Could a quick adjustment be the simple fix you need?
Spring Rust And Corrosion
Soap and water exposure can cause metal springs to rust or corrode over time. Rust makes the spring stiff and less flexible, which impacts the dispenser’s function. If your dispenser squeaks or feels stiff, corrosion might be the problem.
Cleaning the spring with vinegar or replacing it if rust is severe will help. Plastic springs are less prone to rust, so consider swapping to a plastic spring if corrosion keeps returning. Have you noticed any discoloration or rough texture on your spring?
Tools Needed For Repair
Fixing a soap dispenser spring requires a few specific tools to make the job easier and more effective. Having the right items ready saves you frustration and helps you complete the repair quickly. Let’s take a closer look at the essential tools you’ll need for this task.
Basic Household Tools
You probably already have most of these around your home. A small screwdriver set is key for opening the dispenser housing without causing damage. Needle-nose pliers come in handy for pulling out the old spring and placing the new one precisely.
Don’t forget a clean cloth to wipe down parts as you work. Sometimes, a flashlight helps you see inside the dispenser better, especially in dimly lit areas. These simple tools form the foundation of a smooth repair process.
Replacement Springs
Finding the right replacement spring is crucial. Check the size and tension of your old spring before buying a new one. Many hardware stores carry universal dispenser springs, but matching the exact size ensures your dispenser will work like new.
Keep your old spring as a reference when shopping. If you’ve ever tried fixing something without the right part, you know how frustrating it can be to guess and end up with a mismatch.
Lubricants And Cleaners
Sometimes, the spring isn’t broken but just stuck due to grime or rust. Having a lubricant like silicone spray can help the spring move smoothly again. Avoid heavy oils that attract dirt and cause more problems over time.
Use mild cleaners or vinegar to remove buildup before applying lubricant. A clean, well-lubricated spring lasts longer and keeps your dispenser working properly. Would you agree that a little maintenance can prevent bigger headaches later?
Steps To Fix The Spring
Fixing a soap dispenser spring requires careful attention to detail. The process includes taking apart the dispenser, checking the spring condition, fixing or swapping the spring, and then putting everything back together. Follow these clear steps to restore your dispenser’s smooth function.
Disassembling The Dispenser
Start by removing the soap dispenser from its place. Twist or pull the pump head to detach it. Use a small screwdriver if screws hold the parts together. Keep all pieces in a safe spot to avoid losing them.
Inspecting The Spring
Locate the spring inside the pump mechanism. Check for signs of damage like bending, rust, or breakage. Compare the spring to a new one if possible. A worn-out spring will not provide enough tension for the pump.
Realigning Or Replacing The Spring
If the spring is out of place, gently realign it to fit properly. Use pliers carefully to avoid breaking the spring. For broken springs, replace them with an exact match. Springs can be found online or in hardware stores.
Reassembling The Dispenser
Put all parts back in reverse order. Make sure the spring sits correctly inside the pump. Tighten screws securely but avoid over-tightening. Test the dispenser by pressing the pump several times to check for smooth action.
Credit: www.youtube.com
Preventing Future Spring Problems
Preventing future issues with your soap dispenser’s spring saves you time and frustration. A well-maintained spring ensures smooth operation and extends the life of your dispenser. Let’s look at simple ways you can avoid common spring problems and keep your dispenser working like new.
Regular Cleaning Tips
Dirt and soap residue can build up around the spring, causing it to stick or weaken. Make it a habit to clean your dispenser every week. Use warm water and a mild detergent to wipe down the pump mechanism gently.
Remove the pump and rinse it thoroughly to clear out any clogs. Dry the spring area completely before reassembling to prevent rust. Have you noticed your dispenser becoming harder to press after a few days? Cleaning often can stop that from happening.
Proper Usage Guidelines
Press the pump gently instead of forcing it down hard. Excessive pressure can bend or break the spring over time. Also, avoid leaving the pump pressed down when not in use; it stresses the spring unnecessarily.
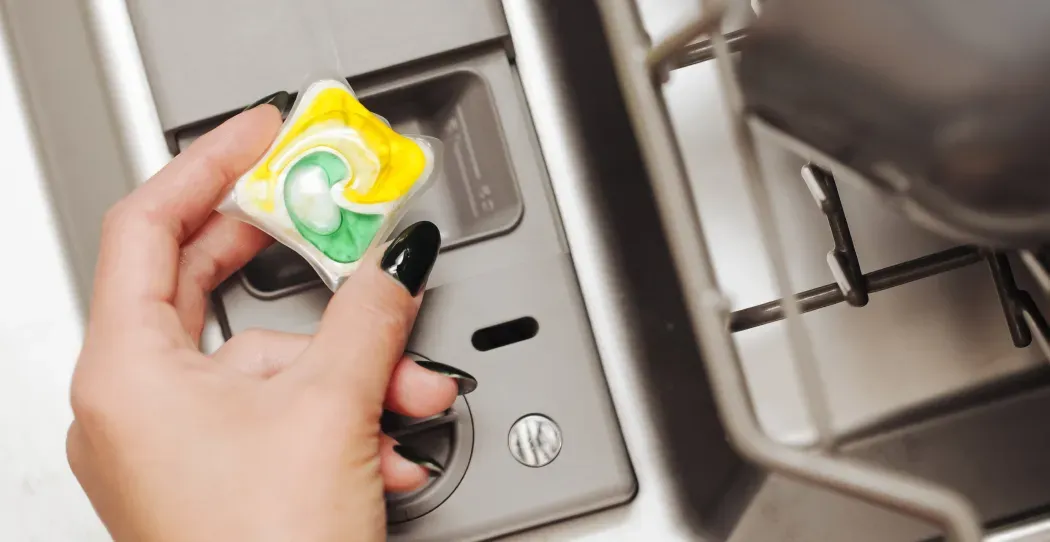
Using thick or chunky soaps may clog the spring mechanism. If you prefer gel or foaming soaps, check if they’re compatible with your dispenser. You might be surprised how small changes in how you use your dispenser can prevent damage.
Choosing Durable Dispensers
Not all soap dispensers are made equal, especially when it comes to their internal springs. Look for models with stainless steel or reinforced springs, which resist rust and wear better than basic metal ones.
Reading product reviews helps spot dispensers known for durability. Brands that offer replacement parts or warranties can save you money and hassle in the long run. Have you ever bought a cheap dispenser only to replace it within months? Investing a bit more upfront can prevent repeated repairs.
When To Seek Professional Help
Fixing a soap dispenser spring can be straightforward. But sometimes, problems can be complex. Knowing when to seek professional help is crucial. This guide covers signs you shouldn’t ignore. It also explains complex issues needing expert attention.
Signs Of Severe Damage
Not all soap dispenser issues are minor. Some signs indicate severe damage. If the dispenser leaks heavily, it might be broken. A cracked body or loose components need professional repair. If the pump mechanism feels jammed or too stiff, it could be a sign of deeper issues. These problems might require specialized tools and expertise.
Complex Mechanism Issues
Modern soap dispensers have intricate mechanisms. Some springs are part of complex systems. If the spring isn’t working properly, it may affect the whole unit. A dispenser with a non-functional spring may need expert attention. Professionals can assess if the spring is causing further damage. They ensure the mechanism operates smoothly without risk of future breakdowns.

Credit: www.youtube.com
Credit: www.woodcocks.us
Frequently Asked Questions
How Do I Fix A Broken Soap Dispenser Spring?
To fix a broken soap dispenser spring, first remove the dispenser head. Replace the old spring with a new one of the same size. Reassemble the parts and test for smooth operation. This restores the dispenser’s pumping function effectively.
Why Is My Soap Dispenser Spring Stuck?
A soap dispenser spring may get stuck due to soap residue or dirt buildup. Clean the spring and surrounding parts with warm water and mild soap. Dry thoroughly before reassembling to ensure smooth movement and prevent sticking issues.
Can I Replace A Soap Dispenser Spring Myself?
Yes, you can replace a soap dispenser spring yourself. Purchase a compatible spring, disassemble the dispenser head, swap the spring, and reassemble. Basic tools and careful handling make this a simple DIY fix.
What Tools Do I Need To Fix A Soap Dispenser Spring?
You typically need a small screwdriver, pliers, and replacement spring. Clean cloth and mild soap help with maintenance. Having these tools makes soap dispenser spring repair quick and easy.
Conclusion
Fixing a soap dispenser spring is easier than it seems. With a few simple steps, you can restore its function quickly. Keep your tools ready and work carefully. This small repair saves money and time. Remember to test the dispenser after fixing the spring.
Regular cleaning helps prevent future problems. Now, your soap dispenser will work smoothly again. Easy fixes like this keep your home running well. Don’t let a broken spring stop you from enjoying clean hands.