

Is your soap dispenser pump stuck or not working right? It can be frustrating when you need soap, and the pump just won’t cooperate.
But don’t worry—you don’t have to buy a new one or call a repair expert just yet. Fixing your soap dispenser pump is easier than you think. In this guide, you’ll learn simple steps to get your pump working smoothly again.
Keep reading, and you’ll save time, money, and avoid unnecessary hassle. Let’s get your soap dispenser back in action!
Common Pump Problems
Soap dispenser pumps often face common problems that stop them from working well. These issues can make it hard to get soap out. Knowing the usual pump problems helps to fix them faster and save money. Most problems relate to parts inside the pump that get blocked or broken. Cleaning or small repairs usually bring the pump back to life quickly.
Clogged Nozzle
Soap can dry and block the nozzle. This stops soap from flowing out. To fix, remove the nozzle and soak it in warm water. Use a pin to clear tiny holes. Rinse well before putting it back. Regular cleaning prevents clogs and keeps soap flowing smoothly.
Broken Spring
The spring inside the pump helps it move up and down. If the spring breaks, the pump won’t pop back. This stops soap from coming out. Open the pump head carefully to check the spring. Replace it with a new one of the same size. A working spring ensures smooth pumping action.
Airlock Issues
Air can get trapped inside the pump tube. This airlock stops soap from moving up. Press the pump several times to push the air out. Sometimes removing the pump and pumping air in the tube helps. Clearing airlock restores soap flow and makes the dispenser work well again.

Credit: www.instagram.com
Tools Needed
Fixing the pump on your soap dispenser doesn’t require a full toolbox, but having the right items on hand makes the job smoother and faster. Knowing exactly what you need helps avoid frustrating trips to the store. Let’s look at the tools that can get your soap flowing again without hassle.
Basic Household Items
Most soap dispenser problems can be fixed with simple things you probably already have. A clean cloth or paper towel is essential to wipe away soap residue and keep your workspace tidy. A bowl of warm water helps soften clogs, making it easier to clear the pump.
- Warm water:Soften dried soap or debris inside the pump.
- Cloth or paper towels:Clean spills and dry parts as you work.
- Toothpick or needle:Clear tiny clogs in narrow pump openings.
- Dish soap:Clean greasy buildup inside the pump mechanism.
- Rubber gloves:Protect your hands from soap and cleaning agents.
Specialized Tools
Sometimes, basic items aren’t enough, especially if the pump is stuck or broken. A small adjustable wrench can loosen stubborn parts without damaging the dispenser. Needle-nose pliers give you precision control when you need to grip or pull small components.
- Adjustable wrench:Loosen tight pump nuts or connectors.
- Needle-nose pliers:Handle small internal parts and springs.
- Small brush (like a toothbrush):Scrub hard-to-reach areas.
- Compressed air canister:Blow out dust and debris inside the pump.
Have you ever tried fixing a soap dispenser pump only to realize you were missing the right tool? Gathering these items beforehand saves time and keeps frustration low. Which of these tools do you already have ready for your next quick fix?
Step-by-step Fixes
Fixing a soap dispenser pump often needs simple actions. These steps help restore its function quickly. Follow clear instructions to make the pump work again.
Cleaning The Nozzle
Soap buildup can block the nozzle. Remove the dispenser head carefully. Rinse the nozzle under warm water. Use a soft brush to clear any residue. Dry the nozzle before reattaching it. This simple cleaning often solves the problem.
Unclogging The Pump
Soap can dry inside the pump tube. Press the pump several times to test flow. If blocked, soak the pump in warm water. Use a thin wire or toothpick to clear clogs. Rinse and dry the pump before reassembling. This clears hardened soap and restores flow.
Replacing The Spring
A broken spring can stop the pump from working. Remove the dispenser head and locate the spring. Take out the damaged spring carefully. Find a replacement spring that fits the pump. Insert the new spring and test the pump action. This often fixes the issue.
Removing Airlocks
Air trapped in the pump stops soap flow. Pump the dispenser several times quickly. Hold the pump underwater and press to release air. Repeat until soap flows smoothly. This removes airlocks and restores proper function.
Preventive Tips
Preventing pump issues in soap dispensers saves time and hassle. Simple care and smart habits keep pumps working smoothly. Follow easy tips to avoid clogs and leaks. Consistent attention makes your dispenser last longer.
Regular Maintenance
Clean the pump every week to stop buildup. Use warm water to rinse out soap residue. Wipe the nozzle and pump head gently. Check for cracks or damage regularly. Replace worn parts quickly to avoid bigger problems.
Choosing The Right Soap
Use soap made for pump dispensers only. Thick or grainy soaps can block the pump. Avoid homemade soaps with large particles. Thin, liquid soaps flow easily and keep the pump clear. Read labels to ensure soap fits your dispenser type.
Proper Usage Techniques
Press the pump slowly and evenly. Avoid forcing the pump if it sticks. Keep the dispenser upright to prevent air bubbles. Do not overfill the dispenser to stop leaks. Store the dispenser away from direct sunlight and heat.
When To Replace The Dispenser
Replace the dispenser when the pump stops working despite cleaning and fixing attempts. Signs include leaks, broken parts, or no soap flow. Regular use wear can also mean it’s time for a new dispenser.
When soap dispensers stop working, deciding to replace them is crucial. Sometimes, fixing the pump isn’t enough. Knowing when to switch to a new dispenser saves time and money.Signs Of Irreparable Damage
Identifying damage signs is essential. If the pump feels stuck, it might be broken. Cracks or leaks in the body indicate serious issues. Discolored or rusted parts show wear and tear. Sometimes, fixing these problems isn’t possible. Consistent malfunctioning suggests replacement is necessary.Cost Vs. Repair
Consider repair costs versus buying new. Fixing pumps can be expensive. Replacement parts add up quickly. Sometimes, buying a new dispenser is cheaper. Evaluate repair versus replacement carefully. New dispensers often offer better functionality. Improved designs may last longer and work more efficiently.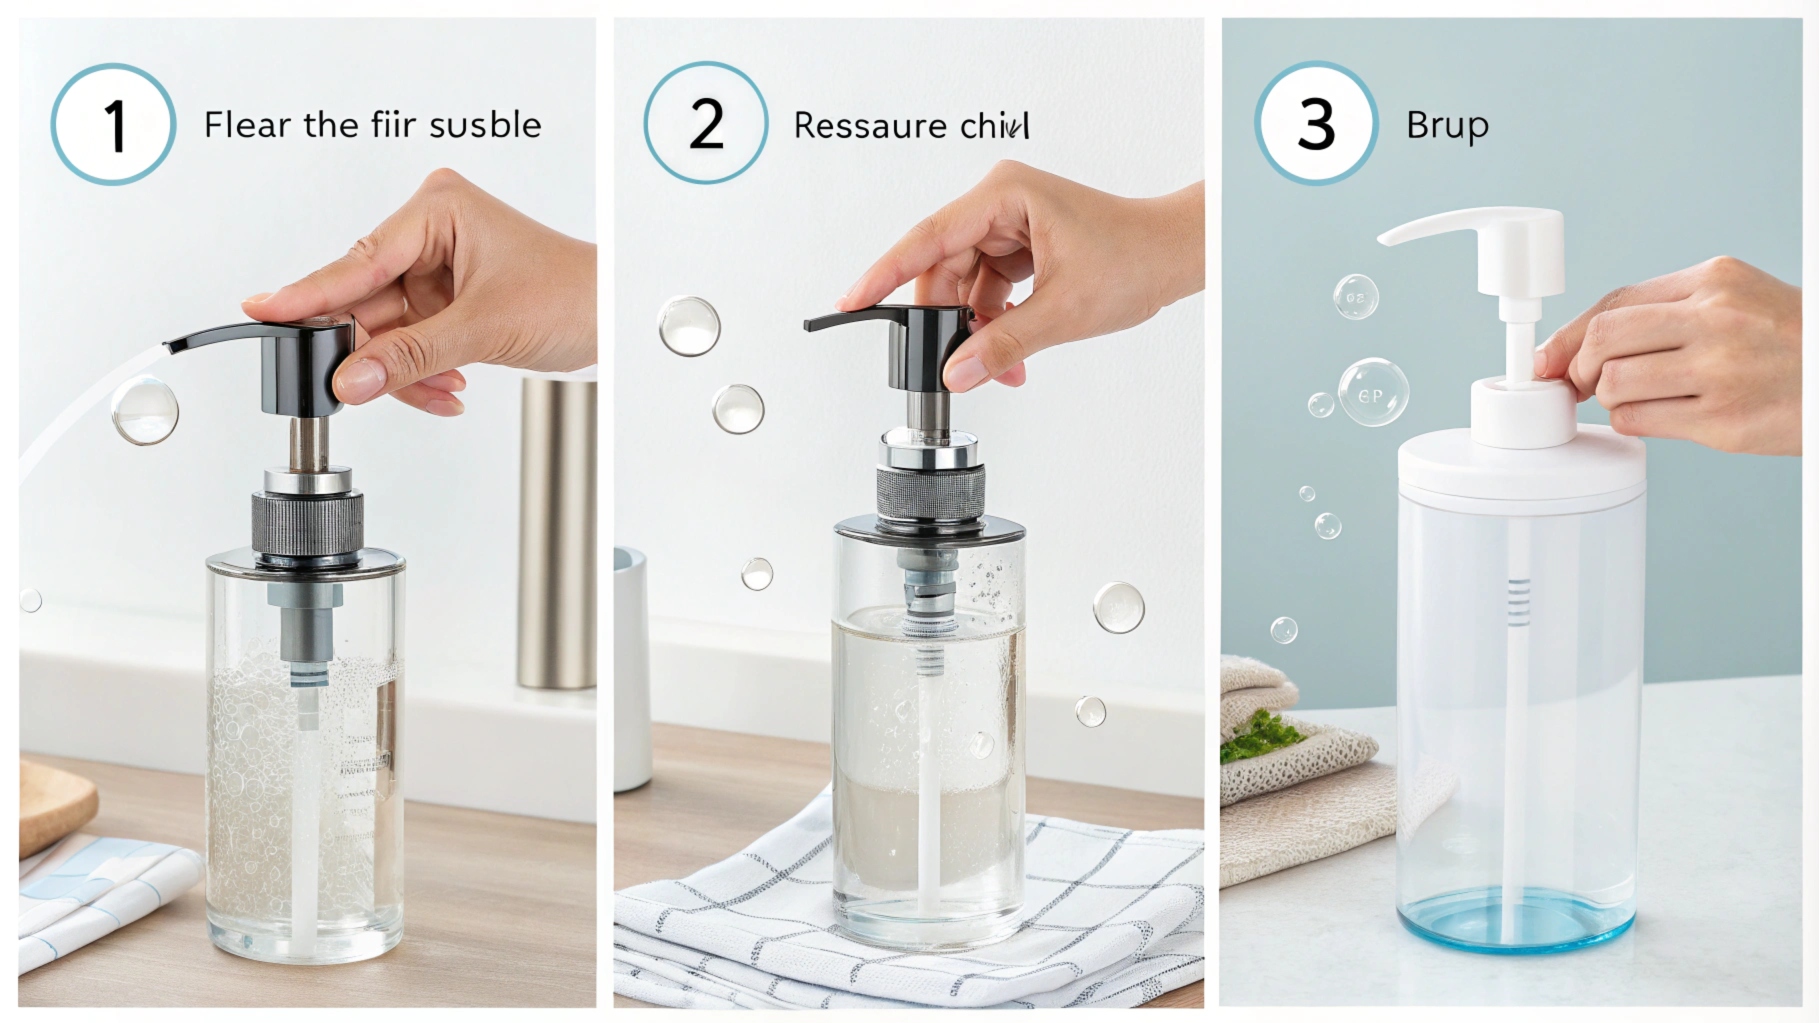
Credit: beautypluspacking.com
Credit: beautypluspacking.com
Frequently Asked Questions
How Do I Unclog A Soap Dispenser Pump?
To unclog a soap dispenser pump, remove the pump and soak it in warm water. Use a thin brush to clear blockages. Rinse thoroughly and reassemble. Regular cleaning prevents buildup and keeps the pump working smoothly.
Why Is My Soap Dispenser Pump Not Pumping Soap?
A soap dispenser pump may fail due to clogs, airlocks, or a broken spring. Check for blockages and clear them. Ensure the pump is properly aligned. If damaged, replacing the pump may be necessary.
Can I Fix A Broken Soap Dispenser Pump Spring?
Yes, you can fix a broken spring by replacing it. Purchase a compatible spring or a new pump assembly. Carefully disassemble the pump, replace the spring, and reassemble. This restores the pump’s functionality efficiently.
How To Maintain A Soap Dispenser Pump For Longevity?
Clean the pump regularly with warm water to avoid soap buildup. Avoid thick soaps that clog the pump. Pump the dispenser a few times after refilling to clear airlocks and ensure smooth operation.
Conclusion
Fixing a pump on a soap dispenser is simple with the right steps. Clean the pump and check for clogs first. Make sure the spring and tube work well. Test the pump after each step to see if it works.
A little care can save you money and time. Keep your soap dispenser working smoothly for daily use. Small fixes often prevent bigger problems later. Try these tips to keep your dispenser ready every day.