

Have you ever grabbed your favorite mug only to find its handle broken? It’s frustrating, right?
But don’t toss it out just yet. You can fix that broken handle yourself, saving money and keeping your cherished mug. In this guide, you’ll learn simple, step-by-step methods to repair your mug quickly and effectively. Keep reading, and you’ll have your mug looking good as new in no time.
Ready to bring your mug back to life? Let’s get started!
Assess The Damage
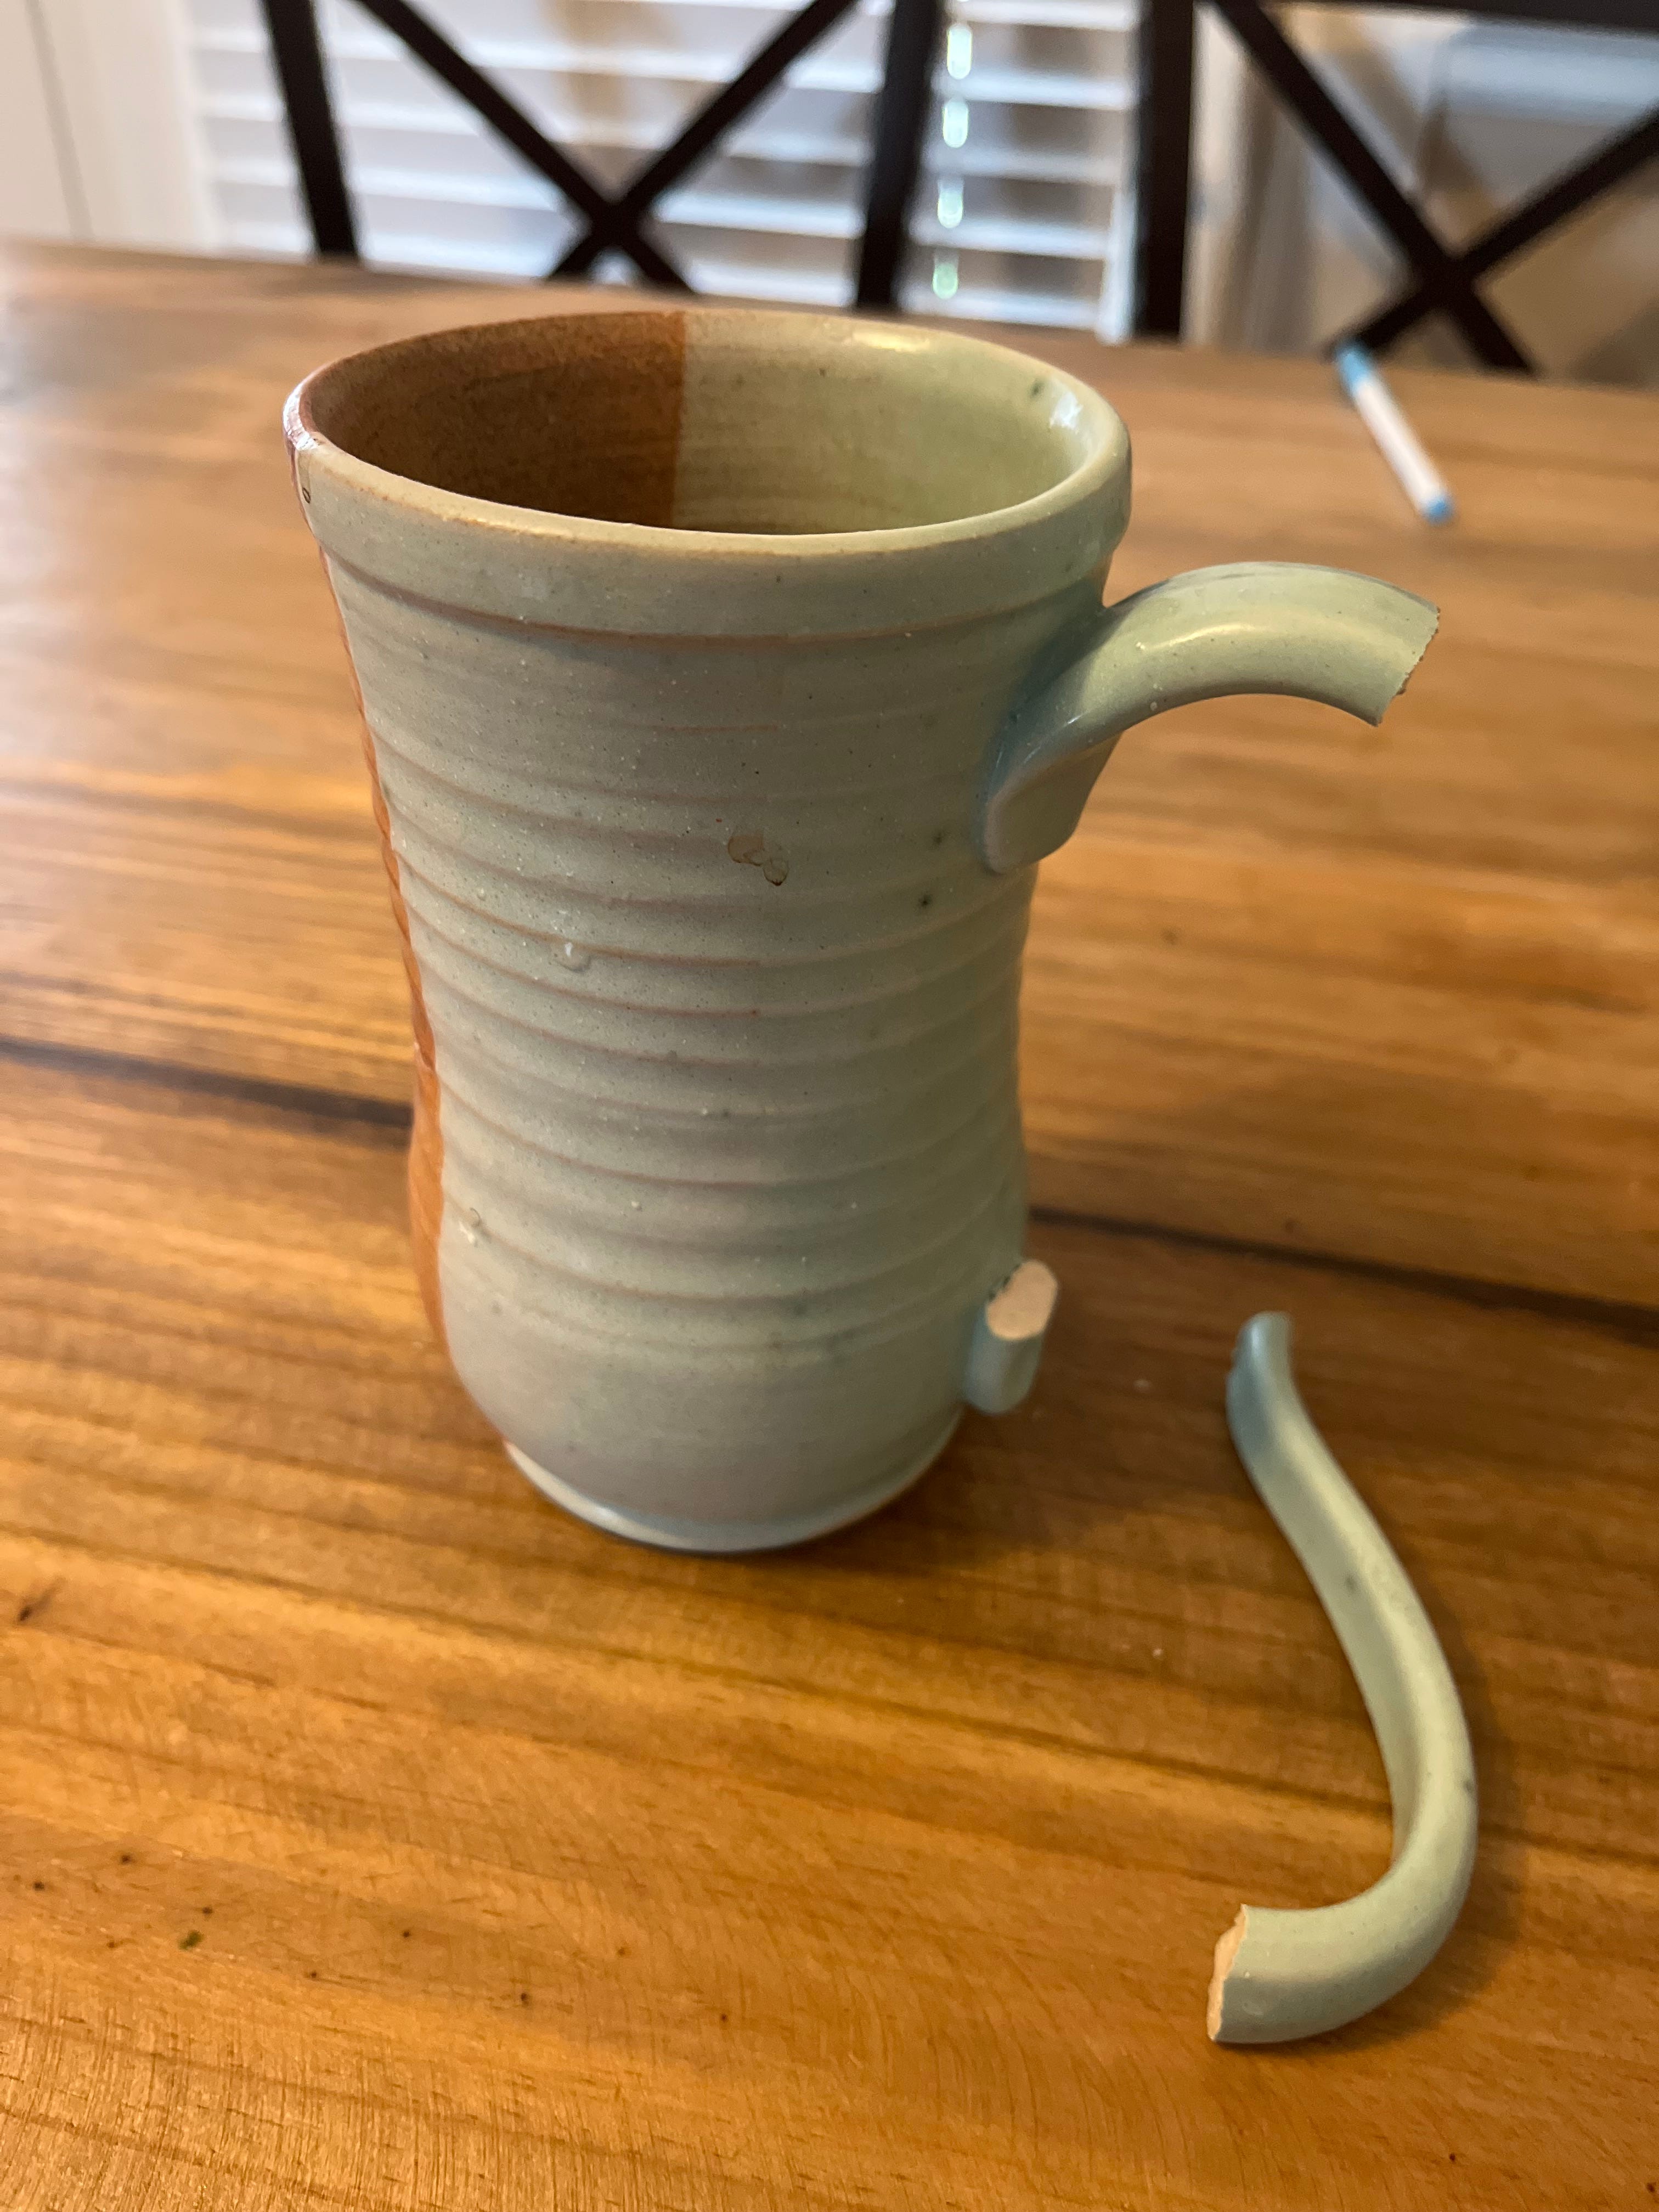
Before fixing a broken mug handle, carefully assess the damage. This helps decide the best repair approach. Understanding the break’s nature ensures a strong, lasting fix. Take your time to inspect both the handle and the mug. Small cracks or chips may still allow for a good repair. Large breaks or missing pieces need special attention. Start by checking the condition of both parts.
Check The Handle And Mug Condition
Look closely at the handle and where it broke off. Make sure no pieces are missing. Check for hairline cracks around the break area. Examine both the handle and mug edges. Clean surfaces improve glue adhesion. Notice if the handle is bent or warped. Check if the mug body has other damage. Handle shape affects how well it fits back.
Identify Repairable Breaks
Determine if the break can be fixed effectively. Clean breaks with smooth edges repair best. Jagged or crumbled edges may not bond well. Small chips around the break can be glued carefully. Missing pieces reduce repair strength significantly. Breaks close to the mug base might be harder to fix. If the handle is cracked but not broken, reinforcement could work. Assessing these details guides your repair process.
Gather Repair Materials
Gathering the right materials is the first step to fix a broken mug handle. Having everything ready makes the repair easier and cleaner. It also helps the handle stick well and last longer. Focus on selecting strong adhesives and cleaning supplies. These tools prepare the surfaces for a solid bond. Proper preparation reduces the chance of the handle breaking again.
Choose The Right Adhesive
Select an adhesive made for ceramics or porcelain. Look for waterproof and heat-resistant glue. These types hold up well to washing and hot drinks. Epoxy glue is a strong choice for fixing mug handles. It bonds tightly and dries hard. Avoid regular super glue as it may not last. Read the label to ensure the glue is safe for dishware.
Prepare Cleaning Supplies
Clean the broken parts before gluing. Dirt or grease stops the adhesive from sticking. Use rubbing alcohol or mild soap with water. Wipe the handle and mug edges gently with a cloth. Dry both parts completely before applying glue. Keep paper towels or a soft cloth nearby. They help remove any glue spills quickly.
Prepare The Mug For Repair
Preparing the mug for repair is a vital step. It ensures the glue sticks well and the handle fits perfectly. Taking time here prevents future breaks and makes the repair strong.
Clean The Broken Surfaces
Remove dirt and old glue from the broken edges. Use warm water and mild soap to wash the surfaces. Rinse thoroughly and wipe with a clean cloth. Avoid using harsh chemicals that can weaken the mug.
Dry And Position The Pieces
Let the mug and handle dry completely before gluing. Moisture can stop the glue from sticking properly. Hold the handle in place to check the fit. Make small adjustments until the pieces align perfectly.

Credit: www.msn.com
Apply Adhesive Correctly
Applying adhesive correctly is crucial to ensuring your broken mug handle stays fixed and durable. The right technique can make a difference between a quick fix and a lasting repair. Let’s dive into how to get the adhesive just right for a strong bond.
Use The Proper Amount
Too much glue can create a mess and weaken the bond, while too little won’t hold the pieces together properly. Apply a thin, even layer on both surfaces that will join. Think of it like buttering toast—not too thick, but enough to cover every inch.
Using a toothpick or a small brush helps you control the amount precisely. Spread the adhesive gently to avoid air bubbles, which can cause cracks later. Remember, patience here pays off; rushing leads to sloppy results.
Avoid Common Mistakes
Many people rush the process and don’t let the adhesive set properly. Don’t try to move or use the mug too soon. Give the glue the recommended curing time, usually 24 hours, for the best strength.
Another mistake is neglecting to clean the surfaces before gluing. Dirt, grease, or moisture can stop the adhesive from sticking well. Always wipe the broken edges with rubbing alcohol and let them dry before applying glue.
Have you ever fixed something only to find it breaks again quickly? Applying adhesive correctly prevents this frustrating cycle and saves you time and effort in the long run.
Secure The Handle
Secure the broken mug handle by cleaning the surfaces before gluing. Press firmly and hold until the bond sets for a strong fix.
Securing the handle of your mug is crucial for a long-lasting repair. It ensures the handle stays in place while the adhesive sets. Follow these simple steps to secure the handle effectively.Clamp Or Tape For Stability
Use a clamp for firm support. It holds the handle securely. If a clamp isn’t available, use strong tape. Wrap the tape tightly around the handle and mug. Ensure the handle remains in its original position.Allow Adequate Drying Time
Let the adhesive dry fully before using the mug. Check the adhesive’s instructions for drying time. Avoid touching or moving the mug during this period. A complete drying process ensures a strong bond.Finishing Touches
After carefully gluing your broken mug handle back in place, the final steps ensure your repair looks neat and feels comfortable to hold. Finishing touches make a big difference in both appearance and usability. Taking the time to clean up and smooth the edges will give your mug a polished, like-new finish.
Remove Excess Glue
Glue can squeeze out during the repair, leaving visible, sticky spots around the handle joint. Use a damp cloth or a cotton swab dipped in rubbing alcohol to gently wipe away any extra glue before it dries. Be careful not to disturb the bond while cleaning.
If the glue has already hardened, lightly scraping it with a plastic scraper or your fingernail can remove bumps. Avoid metal tools to prevent scratching the mug’s surface. Removing excess glue not only improves the mug’s look but also prevents rough patches that might irritate your fingers.
Smooth Rough Edges
Once the glue is fully dry, check for any sharp or uneven edges around the handle. Sand these areas gently using fine-grit sandpaper to create a smooth, comfortable grip. This step is especially important if you plan to use the mug daily.
Don’t rush the sanding—small, careful strokes will avoid damaging the mug’s finish. After sanding, wipe away any dust with a soft cloth. How much smoother does your mug feel after just a few minutes of this simple step?
Test The Repair
After gluing or fixing your broken mug handle, testing the repair is crucial. This step ensures your mug is safe to use and the handle can hold up under normal conditions. Skipping this can lead to spills or even more damage, which nobody wants.
Check Handle Strength
Start by gently gripping the handle and applying a little pressure. Does it feel solid, or is there any wobbling? If the handle moves or feels loose, the glue might need more time to cure or additional support.
Try lifting the mug with water inside to simulate real use. Pay attention to any creaking sounds or sudden shifts. If the handle holds steady, you’re off to a good start.
Safe Usage Tips
Even after a successful repair, treat your mug with care. Avoid sudden temperature changes like pouring boiling water immediately after taking the mug out of the fridge.
- Hand wash the mug gently instead of using a dishwasher.
- Don’t microwave the mug if the glue isn’t heat-resistant.
- Consider using the mug for cold or room-temperature drinks only.
How often do you check your repaired items for safety? Testing your mug handle regularly can prevent unexpected accidents and prolong its life.

Credit: www.patreon.com
Alternative Repair Methods
Using strong glue or epoxy can bond a broken mug handle effectively. Wrapping the joint with tape or rubber bands helps hold the pieces while drying. For a cleaner look, try using colored glue or paint to hide the repair lines.
When your favorite mug’s handle breaks, it can feel like a small disaster. But instead of tossing it in the trash, there are alternative repair methods that can breathe new life into your cherished mug. From DIY solutions to professional services, you have options that can restore its functionality and keep your morning rituals intact.Using Epoxy Putty
Epoxy putty is a versatile repair option. It’s simple to use and can be found in most hardware stores. Just mold the putty around the broken area, ensuring it covers all the cracks. Once it hardens, it creates a sturdy bond that can withstand daily use. Make sure to choose a food-safe epoxy if you plan to drink from the mug again. It might surprise you how durable this method can be. Have you tried it yet on your broken items?Professional Repair Services
For those who prefer a hassle-free solution, professional repair services offer expertise. These services can be found online or locally, often specializing in ceramic repairs. They use high-quality materials and techniques to ensure your mug looks as good as new. While it might seem like a splurge, consider how much your mug means to you. Wouldn’t it be worth it to have a professional handle the repair with care?Prevent Future Breakage
Fixing a broken mug handle is only half the battle. To keep your favorite mugs intact longer, you need to prevent future breakage. Small changes in how you handle and store your mugs can make a big difference in their lifespan. Let’s look at practical ways to protect your mugs.
Proper Handling And Storage
How you hold your mug matters more than you might think. Always grip the mug firmly but gently, avoiding sudden twists or pressure on the handle. Carrying a mug by the handle alone is best, but if you need extra support, use your other hand under the base.
Storage plays a key role too. Avoid stacking mugs directly on top of each other; this often leads to chips or cracks. Instead, store mugs side-by-side or use shelf liners to cushion them. If you keep mugs in a cabinet, make sure they have enough space to prevent bumping during opening or closing.
- Use hooks or mug racks to hang mugs by their handles carefully.
- Place soft padding or shelf liners in cabinets to reduce impact damage.
- Keep mugs away from high-traffic areas where they might be accidentally knocked over.
Choose Durable Mugs
Have you ever noticed how some mugs seem to last forever while others break easily? The difference often lies in the materials and construction. Opt for mugs made from thicker ceramic or tempered glass—they tend to resist cracks and chips better.
Consider mugs with reinforced handles or those designed for durability. Some brands specifically test their mugs for strength, so look for reviews or product details highlighting this feature. Investing a little more upfront can save you the hassle of repairs later.
Would you rather fix a handle repeatedly or enjoy a sturdy mug that stands up to daily use? Picking the right mug is a simple step that pays off every morning.
Credit: drfabulous.medium.com
Frequently Asked Questions
How Can I Fix A Broken Mug Handle At Home?
You can fix a broken mug handle using strong, waterproof adhesive. Clean both surfaces, apply glue, hold firmly, and let it dry for 24 hours. Avoid using the mug in a dishwasher to preserve the repair.
What Type Of Glue Works Best For Mug Handles?
Epoxy glue works best for fixing mug handles. It bonds ceramic strongly and resists heat and water. Always follow the manufacturer’s instructions and allow the glue to cure fully before use.
Is It Safe To Drink From A Repaired Mug?
Yes, if food-safe, non-toxic glue is used, the mug is safe. Ensure the glue is fully cured and the repair is stable before drinking. Avoid using repaired mugs in microwaves or dishwashers to maintain safety.
Can I Repair A Mug Handle Without Glue?
Yes, you can use ceramic repair kits or epoxy putty as alternatives. These materials bond well and fill gaps, restoring strength and appearance. Follow instructions carefully for a durable fix.
Conclusion
Fixing a broken mug handle is easier than you think. Use strong glue and hold pieces firmly. Let the glue dry completely for best results. This small repair saves money and reduces waste. Enjoy your favorite mug again without worry.
Simple steps bring your mug back to life. Try it yourself and see how well it works. A little effort makes a big difference. Keep your mugs safe and use them longer.