

Have you ever faced the frustration of a burnt Dutch oven? It’s a common kitchen mishap that can leave stubborn stains and sticky residue.
But don’t worry—cleaning your Dutch oven doesn’t have to be a headache. In this guide, you’ll discover simple, effective ways to restore your pot to its original shine. Whether you’re a seasoned cook or just starting out, these tips will save you time and keep your Dutch oven looking great for years.
Ready to bring your Dutch oven back to life? Let’s dive in!
Causes Of Burnt Residue
Burnt residue in a Dutch oven happens from food sticking and burning on the surface. This residue forms when cooking conditions are not ideal. Understanding what causes burnt residue helps prevent damage and keeps your cookware in good shape.
Several factors contribute to burnt residue, including the type of food, heat levels, and cooking time. Each of these plays a role in how easily food can burn and leave stubborn marks on your Dutch oven.
Common Foods That Burn Easily
- Sugary sauces like barbecue or tomato-based sauces
- Thick stews with dense ingredients
- Milk or cream-based dishes that can scorch quickly
- Sticky foods like rice or pasta when left unattended
Heat Settings To Avoid
- High heat without stirring or monitoring
- Using direct flame on low-quality Dutch ovens
- Skipping preheating, causing uneven heat distribution
- Prolonged cooking at high temperatures
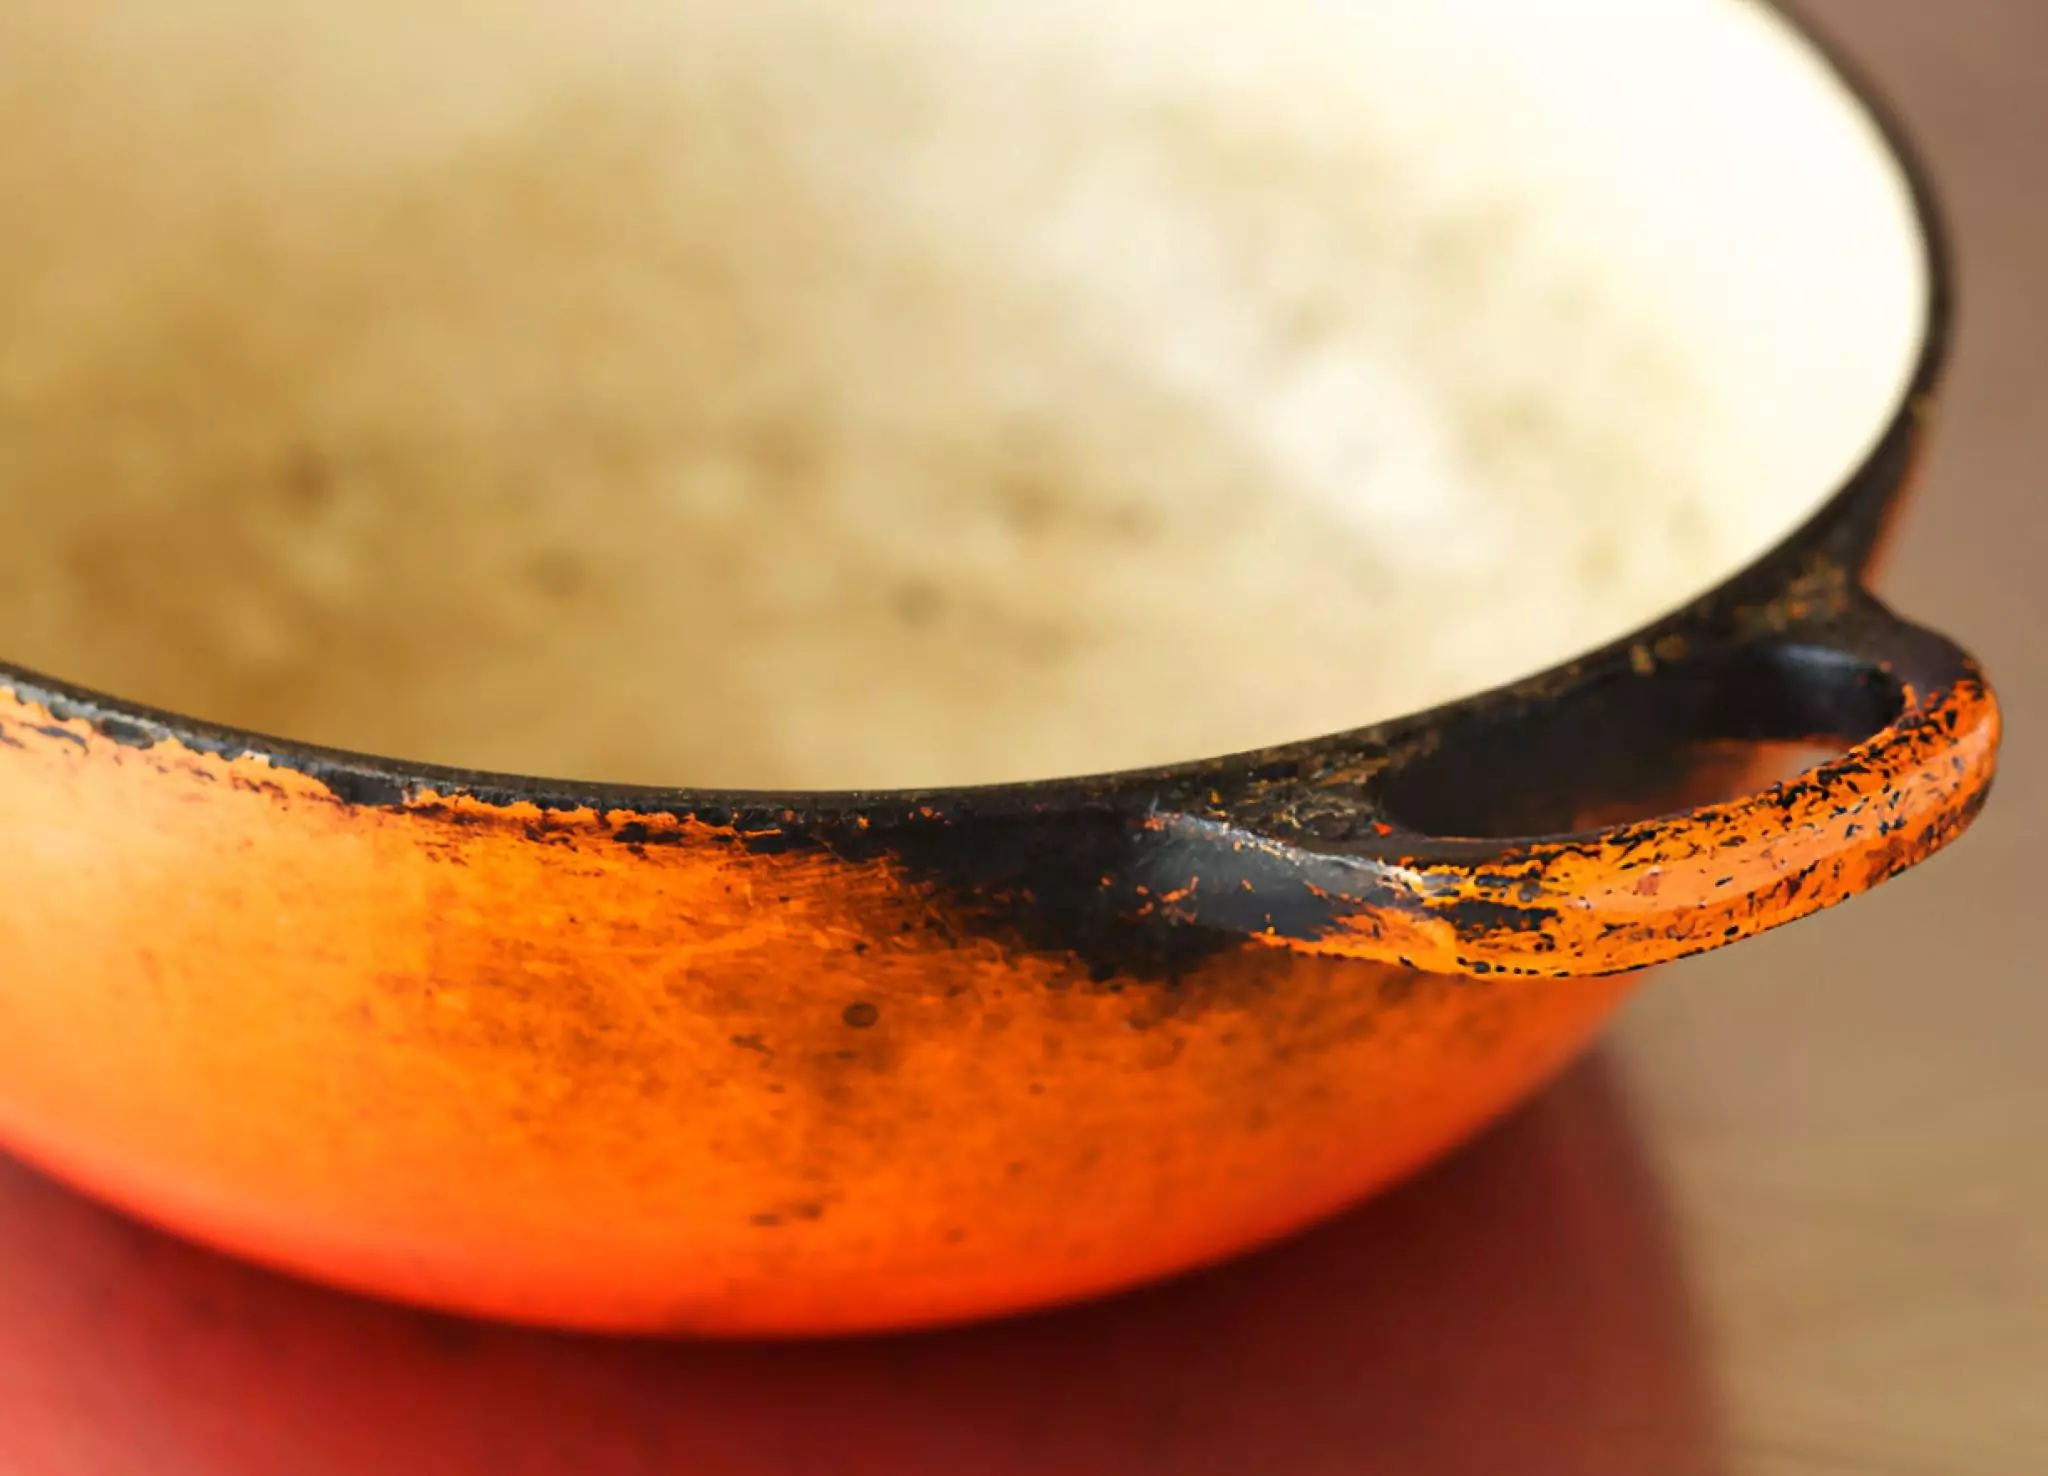
Effects Of Burnt Residue On Cookware
- Permanent discoloration and stains on the surface
- Reduced non-stick performance over time
- Damage to the enamel or seasoning layer
- Unpleasant burnt odors that linger during cooking
Credit: cleanzen.com
Immediate Actions After Burning
Taking quick action after burning your Dutch oven helps protect its surface. Acting fast makes cleaning easier and prevents permanent damage. Follow these steps to manage the burnt mess right away.
Cooling Down Safely
Let the Dutch oven cool down naturally on a heat-safe surface. Avoid pouring cold water directly onto the hot pot. Sudden temperature changes can crack the enamel or cast iron. Wait until it reaches room temperature before cleaning.
Removing Loose Debris
Use a soft brush or cloth to gently remove burnt food bits. Avoid using metal scrubbers that can scratch the surface. Clearing loose debris early stops it from sticking harder later. Dispose of the scraps in the trash, not the sink.
Preventing Stains From Setting
Fill the Dutch oven with warm water and a little dish soap. Let it soak for at least 30 minutes to soften burnt spots. This helps stop stains from becoming permanent. After soaking, rinse gently to remove loosened residue.
Basic Cleaning Techniques
Cleaning a burnt Dutch oven doesn’t have to be intimidating. The key lies in gentle but effective basic techniques that protect your cookware while restoring its shine. These simple steps can save you time and effort, making your Dutch oven ready for the next delicious meal.
Soaking With Warm Water
Start by filling your Dutch oven with warm water and letting it soak for at least an hour. The warm water helps loosen burnt food particles without scrubbing hard. If the burnt layer is thick, you might want to leave it soaking overnight.
Have you ever tried soaking and then noticed how much easier the grime comes off? It’s surprising how much soaking can reduce the need for heavy scrubbing.
Using Mild Detergents
Choose a mild dish soap that won’t damage your Dutch oven’s enamel or seasoning. Add a few drops to the warm water before soaking or use it with a soft sponge afterward. Harsh chemicals or abrasive cleaners can cause scratches or dull the surface.
Think about your favorite soap for delicate dishes—using that on your Dutch oven keeps it safe and clean. Would you use a strong cleaner on your fine china? The same care applies here.
Scrubbing Without Damaging
Use a non-abrasive scrubber like a nylon brush or a sponge designed for cookware. Avoid steel wool or metal scouring pads, which can scratch the surface. Gently scrub in circular motions to lift burnt bits without harming the finish.
I once tried a rough scrubber on my Dutch oven and ended up with visible scratches. Since then, I always opt for gentle tools that clean effectively but keep the pot looking like new.
Effective Home Remedies
Cleaning a burnt Dutch oven can feel like a tough task, but you don’t need harsh chemicals or expensive cleaners to restore it. Some simple ingredients from your kitchen can work wonders. These effective home remedies are easy, safe, and often more satisfying to use than store-bought products.
Baking Soda Paste Method
Baking soda is a gentle but powerful cleaner. Make a thick paste by mixing baking soda with a little water. Spread this paste over the burnt areas of your Dutch oven and let it sit for about 15 to 20 minutes.
After waiting, scrub the paste gently using a non-abrasive sponge or cloth. You’ll notice the burnt residue loosening up. Rinse well with warm water and repeat if needed. Ever tried this on stubborn stains? It often surprises people with how well it works.
Vinegar Soak Approach
White vinegar is another excellent natural cleaner. Pour equal parts vinegar and water into your Dutch oven until the burnt parts are covered. Let it soak for at least 30 minutes, or longer if the burn is severe.
The acid in vinegar helps break down burnt food and grime. After soaking, use a sponge to scrub the softened residue. If you want, you can boil the vinegar-water mix in the pot for 10 minutes to boost cleaning power before scrubbing.
Salt And Oil Scrub
If you like a bit of elbow grease, try combining coarse salt with cooking oil. Sprinkle a generous amount of salt over the burnt spots, then add a small amount of oil on top. Use a paper towel or cloth to scrub in circular motions.
This combination acts like a natural abrasive that won’t damage your Dutch oven’s surface. It also helps lift burnt bits without scratching. Have you ever used salt as a scrubber? It’s a surprisingly effective trick that’s worth trying before reaching for strong detergents.
Deep Cleaning For Stubborn Burns
Deep cleaning a Dutch oven with stubborn burnt spots takes patience and the right techniques. These burns may not come off with simple scrubbing. You need methods that loosen burnt food without damaging the cookware. The following tips help restore your Dutch oven’s clean surface safely and effectively.
Boiling Water And Baking Soda
Fill the Dutch oven with water to cover the burnt areas. Add two to three tablespoons of baking soda. Heat the pot on the stove until the water boils gently. Let it simmer for about 15 to 20 minutes. The baking soda softens the burnt residue, making it easier to remove.
After simmering, turn off the heat and let the water cool. Use a soft sponge to scrub away loosened burns. Rinse thoroughly with warm water. Repeat the process if necessary for tougher stains.
Using Commercial Cleaners Safely
Some commercial cleaners target tough burnt stains effectively. Choose products made for cast iron or enamel cookware. Read the label carefully to ensure safety. Apply the cleaner according to the instructions. Let it sit on the burnt spots for the recommended time.
Wear gloves to protect your skin. Avoid inhaling fumes by working in a well-ventilated area. After treatment, rinse the Dutch oven thoroughly. Clean off any cleaner residue to prevent damage or taste issues.
Avoiding Abrasive Tools
Never use steel wool or harsh scrubbers on your Dutch oven. These can scratch the surface or strip protective layers. Use soft sponges, nylon brushes, or plastic scrapers instead. These tools clean effectively without harming the pot.
Gentle cleaning preserves the finish and extends your Dutch oven’s life. Patience and care matter more than scrubbing hard. Your Dutch oven will look better and cook better for years.

Credit: cleanzen.com
Maintaining Your Dutch Oven
Maintaining your Dutch oven goes beyond just cleaning it after use. Proper care helps preserve its cooking performance and extends its lifespan. By adopting a few simple habits, you can keep your Dutch oven looking great and functioning perfectly for years.
Seasoning Tips
Seasoning your Dutch oven creates a natural non-stick surface and prevents rust. After each cleaning, dry it thoroughly and apply a thin layer of vegetable oil inside and out. Heat it gently on the stove or in the oven to let the oil soak in.
Have you ever noticed food sticking more than usual? This often means it’s time to re-season. Don’t skip this step, especially if your Dutch oven has a matte finish or shows signs of dryness.
Proper Storage
Where and how you store your Dutch oven affects its condition. Keep it in a dry place with the lid slightly ajar to allow air circulation. This prevents moisture buildup, which can lead to rust or mold.
Avoid stacking heavy items on top, which can damage the enamel or distort the shape. If space is tight, consider placing a paper towel or cloth between the pot and lid for extra protection.
Regular Cleaning Habits
Cleaning your Dutch oven promptly after use prevents stubborn stains and burnt residue. Use warm water and a soft sponge instead of harsh scrubbers that can damage the surface. For tough spots, soak with warm water before gently scrubbing.
Have you tried using baking soda paste for stubborn burnt areas? It’s a gentle, effective option that won’t harm your cookware. Avoid dishwasher use unless your Dutch oven is explicitly labeled dishwasher safe, as harsh detergents can erode the seasoning or enamel.
Preventing Future Burnt Residue
Preventing burnt residue in your Dutch oven keeps it looking and working great. Taking simple steps can save time and effort later. Small changes in cooking habits protect your pot from tough stains and damage.
Adjusting Cooking Techniques
Use low to medium heat to cook most dishes. Avoid rapid boiling or frying at high temperatures. Stir food often to stop it from sticking to the bottom. Add liquids like broth or water early to keep food moist. Let the Dutch oven heat up slowly before adding ingredients.
Monitoring Heat Levels
Keep an eye on the stove’s heat settings. Use a burner that matches the size of your Dutch oven. Avoid using the highest heat for long periods. Turn down the heat as food begins to simmer. Use a thermometer to check the pot’s surface temperature if needed.
Using Protective Cooking Accessories
Place a heat diffuser between the burner and your Dutch oven. Use wooden, silicone, or plastic utensils to avoid scratching. Avoid metal tools that can damage the pot’s surface. Use a lid to trap moisture and prevent burning. Clean the pot right after cooking to stop residue buildup.

Credit: www.facebook.com
Frequently Asked Questions
How Do I Clean Burnt Dutch Oven Stains?
To clean burnt stains, fill the Dutch oven with water and baking soda. Bring to a boil and let cool. Scrub with a non-abrasive sponge, then rinse. Repeat if necessary. This method helps lift stubborn stains and is gentle on the enamel surface.
Can Vinegar Remove Burnt Dutch Oven Residue?
Yes, vinegar is effective for removing burnt residue. Pour vinegar into the Dutch oven, bring to a boil, and let sit. Use a soft sponge to scrub away residue. Rinse thoroughly after cleaning. Vinegar’s acidity helps break down stubborn food particles.
Are There Tips To Prevent Dutch Oven Burns?
To prevent burns, avoid high heat settings and preheat gradually. Use enough oil or fat when cooking, and stir regularly. Clean the Dutch oven promptly after use to avoid residue buildup. These practices can help maintain the enamel surface and prevent burning.
Is Baking Soda Safe For Dutch Oven Cleaning?
Baking soda is safe and effective for cleaning Dutch ovens. It’s a gentle abrasive that lifts stains without damaging the enamel. Mix baking soda with water to form a paste, apply it to stains, and scrub gently. Rinse thoroughly after cleaning.
Conclusion
Cleaning a burnt Dutch oven is not hard. Use gentle scrubbing and natural cleaners. Avoid harsh tools that can damage the pot. Regular care keeps your Dutch oven working well. A clean pot means better cooking results every time. Take your time and be patient.
Your effort will bring back the pot’s shine. Enjoy cooking with a fresh, clean Dutch oven again.