

Are you tired of waiting around for your bread to toast just right? Using an air fryer can make your mornings quicker and your toast crispier, but how long should you actually toast bread in an air fryer?
Getting the timing wrong can leave you with bread that’s either burnt or still soft. You’ll discover the perfect toasting times and tips to help you enjoy golden, delicious toast every time. Keep reading to make your air fryer work perfectly for your breakfast needs!
Choosing The Right Bread
Choosing the right bread plays a big role in how well your toast turns out in an air fryer. Different breads toast differently because of their texture, moisture, and thickness. Picking the best bread helps you get even browning and the perfect crunch. It also prevents burning or under-toasting.
Types Of Bread Suitable For Air Fryer
Some breads are better for air frying than others. White bread, whole wheat, and sourdough work well. They crisp nicely without drying out too fast. Bread with seeds or nuts adds extra flavor but may need shorter toasting times. Avoid very soft breads like brioche as they can burn easily. Stale bread can also toast well and becomes crunchy.
Thickness And Its Impact On Toasting
The thickness of the bread slice changes how long it needs to toast. Thin slices toast quickly and become crisp fast. Thick slices take longer and may toast unevenly inside. For even results, use slices about ½ inch thick. Thicker bread might stay soft inside while the outside crisps. Adjust the time to avoid burning or soggy centers.
Air Fryer Settings For Toasting
Setting the right temperature and time is key to perfect toast in an air fryer. Different breads and thicknesses need slight tweaks. Knowing the ideal settings helps avoid burnt or soggy results. Here’s a simple guide on temperature and timing for crisp, golden toast every time.
Ideal Temperature Range
Toast best at a temperature between 350°F and 400°F. This range crisps the bread without burning it quickly. For lighter toast, choose the lower end. For darker, golden-brown toast, go closer to 400°F. Avoid temperatures above 400°F to prevent burning.
Recommended Toasting Time
Toast bread for 3 to 5 minutes in the air fryer. Thin slices toast faster, about 3 minutes. Thick slices or dense bread need closer to 5 minutes. Check halfway to avoid over-toasting. Adjust time based on your air fryer model and bread type.
Step-by-step Toasting Process
Toasting bread in an air fryer is quick and easy once you know the right steps. The process requires just a few simple actions but paying attention to details can make all the difference. Let’s walk through how to get that perfect golden crunch every time.
Preparing The Air Fryer
First, make sure your air fryer basket is clean and dry. This prevents any unwanted flavors from transferring to your toast. Preheat the air fryer at 350°F (175°C) for about 3 minutes to ensure even heat distribution.
Preheating might seem unnecessary, but it helps the bread toast evenly instead of warming slowly. Have you ever noticed uneven browning in your toast? This step fixes that problem.
Placing Bread Correctly
Lay the bread slices flat in a single layer inside the basket. Avoid stacking or overlapping slices, as this causes uneven toasting. If you want to toast multiple slices, give them enough space so hot air can circulate freely.
If your air fryer basket is small, toast in batches instead of crowding it. This simple adjustment improves texture and color dramatically.
Monitoring Toasting Progress
Set the timer for 3 to 5 minutes but keep an eye on your toast. Air fryer models vary, so checking early prevents burning. Halfway through, you can flip the bread for a more uniform toast.
Ask yourself: is the toast crisp enough or does it need a little more time? Watching closely helps you avoid overly dark slices and get your perfect crunch.
Tips For Perfectly Crispy Toast
Getting perfectly crispy toast in an air fryer is simple with a few key tips. The right touch makes your toast crisp without burning. Small changes create big differences in texture and flavor.
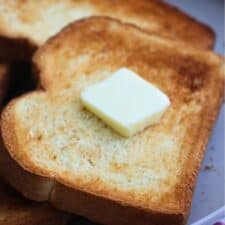
Using Oil Or Butter
Brushing bread with a thin layer of oil or melted butter before toasting helps it crisp nicely. This adds a golden color and a richer taste. Use olive oil, vegetable oil, or butter for best results. Apply evenly to avoid soggy spots.
Avoiding Over-toasting
Keep an eye on the toast while it cooks. Air fryers heat quickly and can burn bread fast. Start with shorter cooking times, around 3 to 4 minutes, then check texture. Stop toasting once the bread turns golden brown. Over-toasting makes bread hard and bitter.
Adjusting For Different Bread Types
Thicker bread slices need more time to toast than thin ones. Dense breads like rye or whole grain take longer to crisp. Light breads like white or sandwich bread toast faster. Adjust your cooking time by 1 to 2 minutes depending on bread thickness and type.
Troubleshooting Common Issues
Toasting bread in an air fryer usually takes 3 to 5 minutes at 350°F. Adjust time for thicker slices or preferred crispiness. Watch closely to prevent burning or uneven toasting.
Toasting bread in an air fryer can seem like a breeze until you encounter some common hiccups. Whether your toast ends up unevenly cooked, too dry, or even smoky, these issues can turn a simple task into a frustrating ordeal. But don’t worry! With a few tips, you can master the art of air frying toast and enjoy perfectly crisp slices every time.
Uneven Toasting
Uneven toasting is a common issue when using an air fryer. This often happens because of inconsistent air circulation or overcrowding the basket. Make sure to leave some space between the slices. This allows hot air to circulate evenly, ensuring each piece gets toasted just right. Consider flipping the bread halfway through the cooking time. This simple trick can make a world of difference in achieving an even golden-brown finish.
Bread Too Dry Or Too Soft
The perfect toast strikes a balance between crunchy and chewy, but sometimes it just doesn’t hit the mark. If your bread turns out too dry, it might be because of setting the temperature too high or toasting for too long. Lower the temperature slightly and reduce the cooking time. You might be surprised how just a few degrees can change the texture dramatically. For bread that’s too soft, increase the temperature a little or extend the cooking time. It’s all about finding that sweet spot where your toast comes out exactly as you want it.
Smoke Or Burning Smell
Encountering smoke or a burning smell can be alarming, but it’s usually an easy fix. This often occurs if crumbs from previous cooking sessions are left in the air fryer. Always clean your air fryer basket before starting a new batch. Those lingering crumbs can burn and cause unwanted smoke. Check if the temperature settings are too high. Sometimes, a slight adjustment is all it takes to eliminate that unsettling scent and keep your kitchen smoke-free. Are you ready to experiment with these tips? Don’t let small issues spoil your perfect toast. Instead, embrace the learning process and find joy in tweaking settings until you achieve your desired crunch. What’s your favorite toast topping that makes all the effort worthwhile?
Credit: beautyandthebenchpress.com
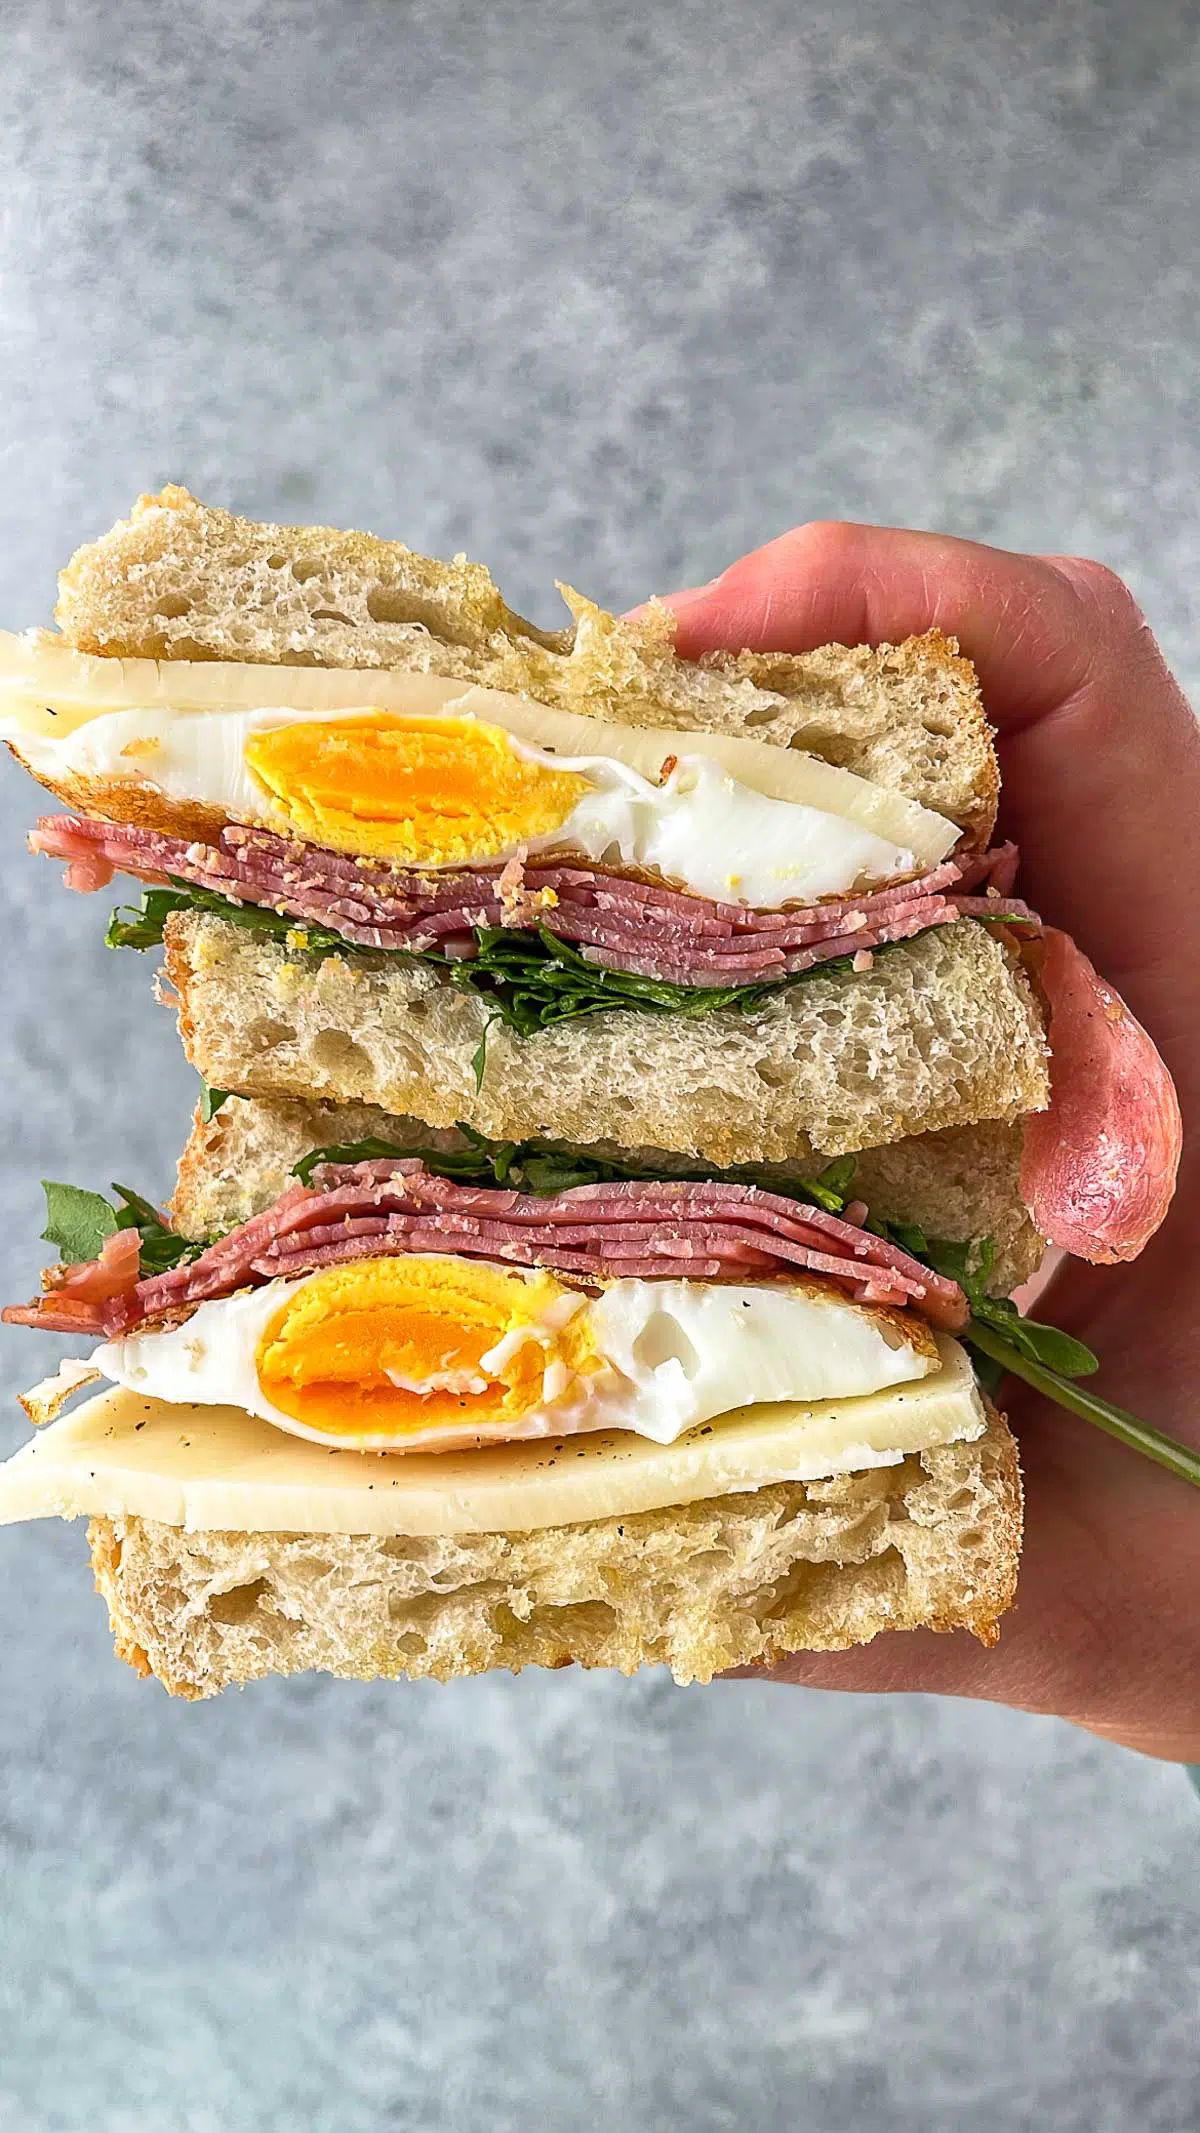
Creative Toast Variations
Creative toast variations turn a simple slice into a delicious treat. Toasting bread in an air fryer gives a perfect crisp base. From sweet spreads to savory layers, the options are endless. Experimenting with toppings before toasting adds flavor and texture. These ideas help you enjoy toast in new and tasty ways.
Adding Toppings Before Toasting
Place toppings on the bread before putting it in the air fryer. This allows the flavors to blend and the toppings to cook slightly. Use thin slices or small amounts to avoid sogginess. Some great toppings include:
- Shredded cheese that melts and browns nicely
- Thin tomato slices for a juicy burst
- Herbs like basil or oregano for aroma
- Butter or garlic spread for extra richness
- Thinly sliced fruits like apples or pears for sweetness
Keep the toppings balanced so the bread crisps well. Avoid heavy sauces that can make the bread soggy.
Sweet Vs Savory Options
Toast can be a base for sweet or savory delights. Sweet options are quick to prepare and satisfy sugar cravings. Try spreading honey, jam, or peanut butter before or after toasting.
- Cinnamon sugar sprinkled on buttered toast
- Mashed banana with a drizzle of maple syrup
- Nutella with sliced strawberries
Savory choices offer a rich and satisfying meal or snack. Combine toasted bread with cheese, meats, or vegetables for extra flavor.
- Avocado slices topped with salt and pepper
- Smoked salmon with cream cheese and dill
- Scrambled eggs with chives on warm toast
Both sweet and savory toasts can be toasted in the air fryer for crisp edges. Adjust toasting time based on toppings to avoid burning.
Credit: thebellyrulesthemind.net
Frequently Asked Questions
How Long To Toast Bread In Air Fryer?
Toast bread in an air fryer for 3 to 5 minutes at 350°F. Adjust time based on bread thickness and desired crispiness.
What Temperature Is Best For Air Fryer Toast?
Set the air fryer to 350°F for optimal bread toasting. This temperature crisps bread evenly without burning.
Can You Toast Frozen Bread In An Air Fryer?
Yes, toast frozen bread in the air fryer for 5 to 7 minutes. This thaws and crisps the bread well.
How To Avoid Burning Bread In Air Fryer?
Toast bread at 350°F and check at 3 minutes. Adjust time to prevent burning and ensure even crispiness.
Conclusion
Toasting bread in an air fryer takes just a few minutes. Set the temperature around 350°F for best results. Keep an eye to avoid burning. Different bread types may need slight time changes. Experiment with timing for your perfect toast.
Air fryers make toasting quick and easy. Enjoy crispy, warm bread anytime at home. Simple, fast, and tasty—what more do you need?