

Is your dish soap dispenser stuck or not working like it used to? It can be frustrating when you’re ready to wash dishes, but the soap won’t come out.
The good news is, you don’t need to call a plumber or buy a new one right away. You can fix it yourself with a few simple steps. In this guide, you’ll learn easy and quick ways to get your dish soap dispenser working perfectly again.
Keep reading, and you’ll save time, money, and avoid unnecessary hassle.

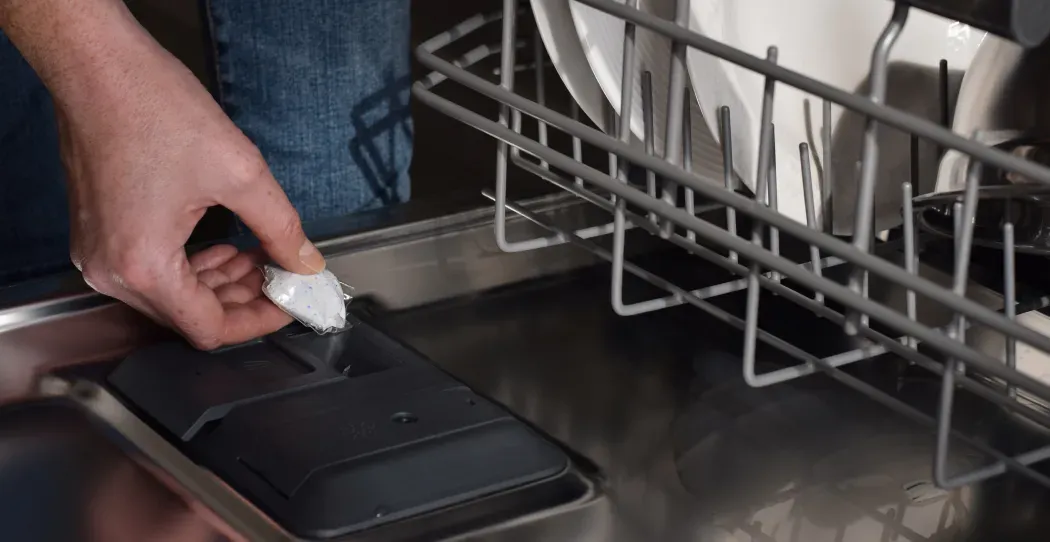
Credit: www.amazon.com
Common Dispenser Problems
Dish soap dispensers can be incredibly convenient, but they sometimes stop working as expected. Understanding common dispenser problems can save you time and frustration. Let’s look at some issues you might face and how to spot them early.
Clogged Nozzle
A clogged nozzle is one of the most frequent problems. Dried soap often builds up and blocks the opening, preventing smooth flow.
Try soaking the nozzle in warm water to dissolve any hardened soap. Use a toothpick or a small brush to gently clear the blockage. Have you checked your nozzle recently?
Broken Pump Mechanism
If pressing the pump feels loose or it doesn’t spring back, the pump mechanism might be broken. This can happen due to wear or accidental damage.
Replacing the pump is usually easy and inexpensive. Keep your old pump for reference when buying a new one. Sometimes, a quick twist or realignment can fix the issue without replacement.
Leaking Dispenser
Leaking soap around the dispenser base or pump can create a mess and waste soap. This often happens if parts are cracked or seals are damaged.
Inspect the dispenser for any visible cracks or loose fittings. Tighten the pump head and replace rubber seals if needed. How often do you clean and check your dispenser for leaks?
Soap Not Dispensing
When you press the pump but no soap comes out, it can feel frustrating. This might be due to an empty reservoir, air trapped in the pump, or internal blockages.
First, ensure there’s enough soap inside. Pump a few times to push out trapped air. If the problem continues, check for clogs or damage inside the pump tube.
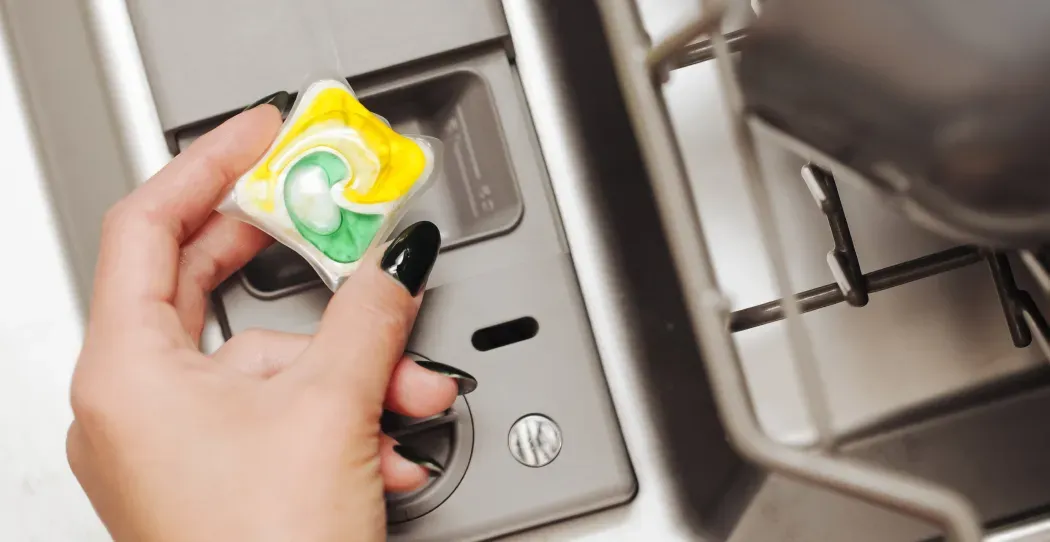
Credit: www.woodcocks.us
Tools And Materials Needed
Before you start fixing your dish soap dispenser, gathering the right tools and materials makes the process smoother and faster. Having everything ready helps you avoid frustrating interruptions. Let’s look at what you’ll need to get the job done efficiently.
Basic Cleaning Supplies
- Warm water and mild dish soap:Perfect for cleaning clogged nozzles or sticky residue.
- Soft cloth or sponge:Use this to wipe the dispenser without scratching the surface.
- Toothpicks or cotton swabs:These small tools reach tight spots and clear blockages.
- Old toothbrush:Helps scrub away stubborn grime around the pump and container.
Having these simple items on hand lets you tackle common issues like clogs or buildup quickly. You might be surprised how often a thorough clean solves dispenser problems.
Replacement Parts
- Dispenser pump:If your pump is broken or leaking, a new one often fits easily.
- O-rings or gaskets:These small seals prevent leaks and maintain pressure—wear and tear can cause failures.
- Soap container or reservoir:Cracks or damage here require replacement to avoid messes.
Check your dispenser model online or at hardware stores to find exact replacement parts. Do you know your dispenser’s brand and model number? It’s crucial for ordering the right components and ensuring a perfect fit.
Safety Precautions
- Wear gloves:Protect your skin from harsh chemicals or soap residues.
- Turn off water supply:If your dispenser is connected to plumbing, shutting off water prevents accidental leaks.
- Read instructions:Follow manufacturer guidelines on replacement parts and cleaning to avoid damage.
Safety might feel obvious, but skipping these steps can lead to injuries or worsen the problem. Have you ever rushed a repair and ended up with a bigger mess? Taking a moment to prepare protects both you and your kitchen.
Step-by-step Cleaning Process
Cleaning your dish soap dispenser might seem like a small task, but it can make a big difference in how well it works. Over time, soap residue and dirt can clog the nozzle or pump, causing it to malfunction. Here’s a clear, easy-to-follow cleaning process that anyone can do to restore your dispenser’s smooth operation.
Removing The Dispenser
Start by carefully removing the dispenser from your sink or countertop. Usually, you can twist the pump counterclockwise to detach it. If it’s stuck, try using a bit of gentle force or a cloth for a better grip.
Be sure to keep any small parts safe—losing them can make reassembly tricky. Have you ever lost a tiny screw and wondered why your repair took twice as long?
Unclogging The Nozzle
The nozzle often gets blocked with dried soap or debris. To clear it, soak the nozzle in warm water for about 10 minutes. This softens the clog and makes it easier to remove.
Use a toothpick or a thin needle to gently poke through the nozzle hole. Avoid using anything sharp that might damage the dispenser. Does your dispenser nozzle look clean but still won’t dispense? This step often fixes that hidden blockage.
Cleaning The Pump
The pump mechanism can trap soap and dirt inside, slowing it down. Rinse the pump under warm running water while pumping it several times to flush out buildup. If it’s very dirty, soak it in a mixture of warm water and vinegar for 15 minutes.
After soaking, pump it again to clear any loosened gunk. This simple rinse can bring your pump back to life without needing to buy a new one.
Reassembling The Dispenser
Once everything is clean and dry, put the dispenser back together by reversing the removal steps. Make sure all parts fit snugly to prevent leaks. Test the pump by pressing it a few times before reinstalling it on the sink.
If it still feels stiff or sticky, repeat the cleaning process or check for any broken parts. Have you noticed how a well-maintained dispenser can save time and frustration during busy kitchen chores?
Repairing Common Mechanical Issues
Mechanical problems with your dish soap dispenser can turn a simple task into a frustrating experience. Addressing these common issues yourself can save time and money. Understanding the mechanics behind the dispenser helps you spot problems early and fix them efficiently.
Fixing A Broken Pump Spring
The pump spring controls the soap’s flow by pushing the dispenser back after each use. If your dispenser feels stuck or doesn’t return to its original position, the spring might be broken or out of place.
Try removing the pump head and inspecting the spring for damage. If it looks stretched or broken, replace it with a similar-sized spring from a hardware store or an online supplier. Reinstall the spring carefully to ensure smooth pumping action.
Sealing Leaks
Leaks around the dispenser base or nozzle can waste soap and create a mess. These leaks often happen because of worn-out seals or loose fittings.
Check the dispenser’s seals and gaskets for cracks or dryness. You can use plumber’s tape or silicone sealant to tighten connections and prevent leaks. Make sure the area is clean and dry before applying any sealant for the best results.
Replacing Worn Parts
Over time, parts like the pump mechanism, nozzle, or soap container may wear down. These worn parts can cause soap to clog or stop the dispenser from working altogether.
Identify the specific part that’s failing by comparing it with a new one or checking the dispenser’s manual. Many manufacturers offer replacement parts that you can order online. Swapping out worn components can restore your dispenser’s full function without the need for a complete replacement.
Preventive Tips For Dispenser Maintenance
Keeping your dish soap dispenser in top condition doesn’t have to be a daunting task. With a few preventive maintenance tips, you can ensure it stays functional and hassle-free. These small habits can make a big difference, preventing common issues like clogs and leaks. Let’s dive into some practical tips for maintaining your dish soap dispenser.
Regular Cleaning Schedule
Maintaining a regular cleaning schedule is crucial. Just as you clean other kitchen items, your soap dispenser needs attention too. A quick rinse with warm water once a week can prevent soap residue buildup. This simple step can help you avoid clogs and ensure smooth operation.
Have you ever noticed your dispenser getting sticky or difficult to use? Regular cleaning can tackle these issues head-on. Taking a moment to clean it can save you from future frustration.
Using The Right Soap
Choosing the right soap is more important than you might think. Not all soaps are created equal, and some can be too thick for dispensers. Opt for a liquid soap that’s designed for pump dispensers. This will ensure that the soap flows easily and doesn’t clog the mechanism.
Have you ever tried using a thicker soap and noticed your dispenser struggling? Switching to a more suitable soap can make a noticeable difference. It’s a simple change that can enhance the longevity of your dispenser.
Avoiding Overfilling
Overfilling your dispenser might seem harmless, but it can lead to leaks and malfunctions. Filling it up to the recommended level ensures that the pump functions correctly. Plus, it’s easier to manage and refill when needed.
Have you ever thought about how much soap your dispenser actually needs? Keeping it adequately filled can prevent unnecessary mess and keep your kitchen tidy. It’s a small change with big benefits.
When To Replace The Dispenser
Knowing when to replace your dish soap dispenser can save you time, frustration, and even a messy sink area. Some problems are fixable, but others signal it’s time to get a new dispenser. Paying attention to these signs helps you avoid wasting effort on repairs that won’t last.
Signs Of Irreparable Damage
Cracks in the soap reservoir that cause leaks are a clear sign you need a new dispenser. If the pump mechanism is stuck or broken beyond simple cleaning or oiling, replacement is the best option. Rust or corrosion on metal parts often means the dispenser won’t function properly anymore.
Has your dispenser started dripping soap uncontrollably or stopped dispensing altogether? These are red flags. Sometimes cleaning helps, but if you notice persistent clogs or uneven dispensing despite maintenance, it’s time to switch it out.
Choosing A New Dispenser
Think about your kitchen’s style and how often you use the dispenser. A heavy-use kitchen needs a durable model, preferably one made from stainless steel or high-quality plastic. Also, check the size of the reservoir to match your soap-buying habits — larger reservoirs mean fewer refills.
Consider compatibility with your sink setup. Some dispensers fit only certain sink hole sizes, so measure carefully before buying. You might want to pick a dispenser with a removable pump for easier cleaning, which extends its life.
Installation Tips
Before installing, clean the sink area thoroughly to ensure a good seal and prevent leaks. Insert the new dispenser through the sink hole, then secure it from underneath with the provided nut or bracket.
Attach the soap bottle or reservoir and test the pump several times to prime it. If the dispenser feels loose, tighten the mounting hardware carefully without overdoing it to avoid cracks.
Have you checked that the pump head aligns properly with your soap bottle? Misalignment can cause leaks and poor dispensing. Taking a few extra minutes during installation can prevent headaches later on.
Credit: www.woodcocks.us
Frequently Asked Questions
How Do I Unclog A Dish Soap Dispenser?
To unclog, remove the dispenser pump and soak it in warm water. Use a thin brush to clear any blockages. Rinse thoroughly before reassembling to ensure smooth soap flow.
Why Is My Dish Soap Dispenser Not Dispensing Soap?
A dispenser may not work due to clogs, airlocks, or faulty springs. Check for blockages and clean the pump. Ensure the dispenser is properly installed and the spring mechanism is functional.
Can I Fix A Broken Dish Soap Dispenser Pump?
Yes, minor pump issues can be fixed by cleaning or replacing worn parts. If the spring or valve is damaged, consider replacing the entire pump for best results.
How Often Should I Clean My Dish Soap Dispenser?
Clean your dispenser every 1-2 months to prevent soap buildup and clogs. Regular maintenance keeps it dispensing smoothly and extends the dispenser’s lifespan.
Conclusion
Fixing a dish soap dispenser can save time and money. Small problems often have simple solutions. Clean the dispenser regularly to prevent clogs. Check for leaks or broken parts before replacing. Use the right soap to avoid damage. A working dispenser makes washing dishes easier.
Try these tips to keep it running well. Maintenance helps your kitchen tools last longer. Don’t let a broken dispenser slow you down. Simple fixes bring back convenience quickly and easily.